![[No title]](/data/xfmg/thumbnail/3/3262-9bb66229571da9e32790660eb429ae18.jpg?1642808573)
![[No title]](/data/xfmg/thumbnail/3/3336-ad508420cc4b69b99f6a6946809d16e4.jpg?1642808603)
The Quansheng UV-K5 has rapidly developed a reputation at the most "hackable" radio on the market today. There are many firmware variants available produced by the ham community, and more seem to come every week. Now, a daughterboard is available that opens up the radio for full HF/MW/SW/LW reception, which also includes AM/FM/SSB modes, as well as broadcast HD FM. One of my local hams purchased the kit and did a photoshoot of the install, which he shared with me for publication.
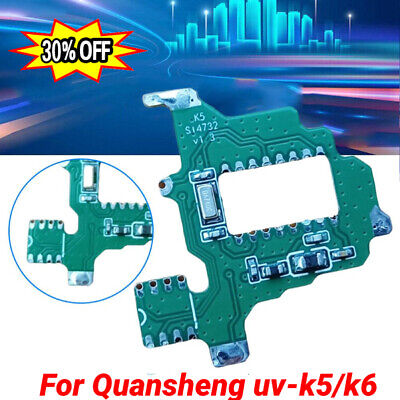
Here's a photo of the entire kit, available on ebay for about $10. The base of the radio in the picture gives you an idea of the size of the components:
Here's a link to the item on ebay:
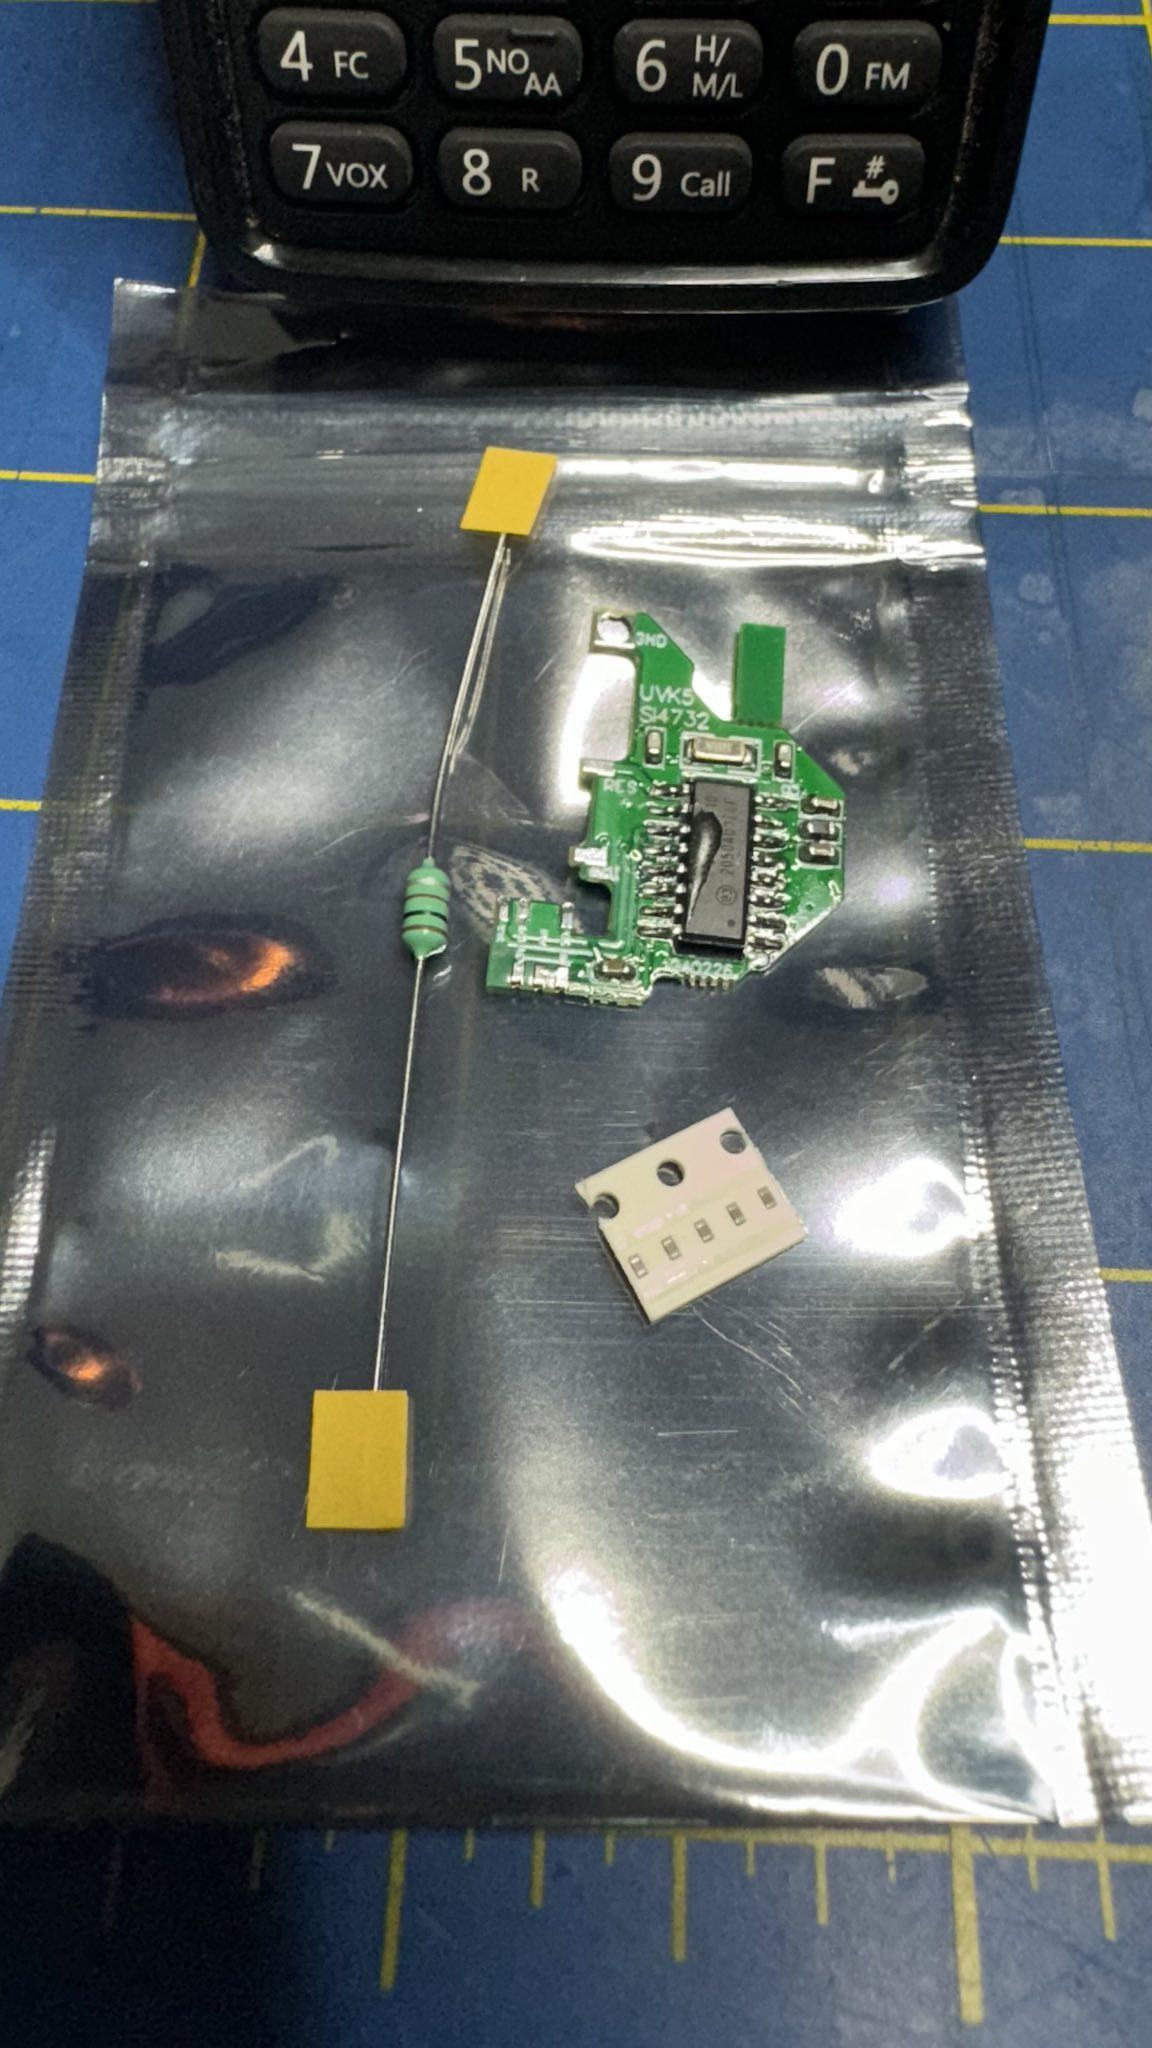
This is another picture for reference on how small the daughterboard is:

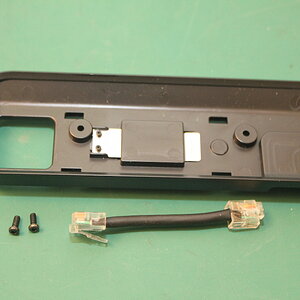
Installing requires disassembly of the radio and removal of the main board, which is pretty simple. This is the main board before modification:

And here is the main board after the daughterboard has been installed. Note the added resistor toward the bottom right of the image. The new board is just above the keypad, labeled UVK5 S14732".

After reassembly, you need to install new firmware that will take advantage of the board. The download is here: http://www.hamskey.com/2024/03/introduction-to-uv-k5-hf-fullband.html. Here is a pic of the radio receiving on 11M, channel 38 LSB:

And finally, a video clip of the radio receiving broadcast FM:
One thing to know is that there is some tiny SMD work involved with installing the kit, but it shouldn't be too difficult with the correct soldering tip. If you don't already own the Quansheng UV-5r, they're about $35 from ebay; less if you want to order direct from China:
https://www.ebay.com/itm/1345355609...pid=5336136228&customid=&toolid=10001&mkevt=1
Or if preferred, the radio can be purchased on Amazon:
https://amzn.to/4ap6FvA
Enjoy!
Here's a photo of the entire kit, available on ebay for about $10. The base of the radio in the picture gives you an idea of the size of the components:
Here's a link to the item on ebay:
For Quansheng uv-k5/k6 radio modification module 2024 NEW | eBay
Applicable models:For Quansheng uv-k5/k6. include:1set modification module. All pictures are for illustration purpose only and Colours may vary slightly.
www.ebay.com
This is another picture for reference on how small the daughterboard is:
Installing requires disassembly of the radio and removal of the main board, which is pretty simple. This is the main board before modification:
And here is the main board after the daughterboard has been installed. Note the added resistor toward the bottom right of the image. The new board is just above the keypad, labeled UVK5 S14732".
After reassembly, you need to install new firmware that will take advantage of the board. The download is here: http://www.hamskey.com/2024/03/introduction-to-uv-k5-hf-fullband.html. Here is a pic of the radio receiving on 11M, channel 38 LSB:
And finally, a video clip of the radio receiving broadcast FM:
One thing to know is that there is some tiny SMD work involved with installing the kit, but it shouldn't be too difficult with the correct soldering tip. If you don't already own the Quansheng UV-5r, they're about $35 from ebay; less if you want to order direct from China:
https://www.ebay.com/itm/1345355609...pid=5336136228&customid=&toolid=10001&mkevt=1
Or if preferred, the radio can be purchased on Amazon:
https://amzn.to/4ap6FvA
Enjoy!
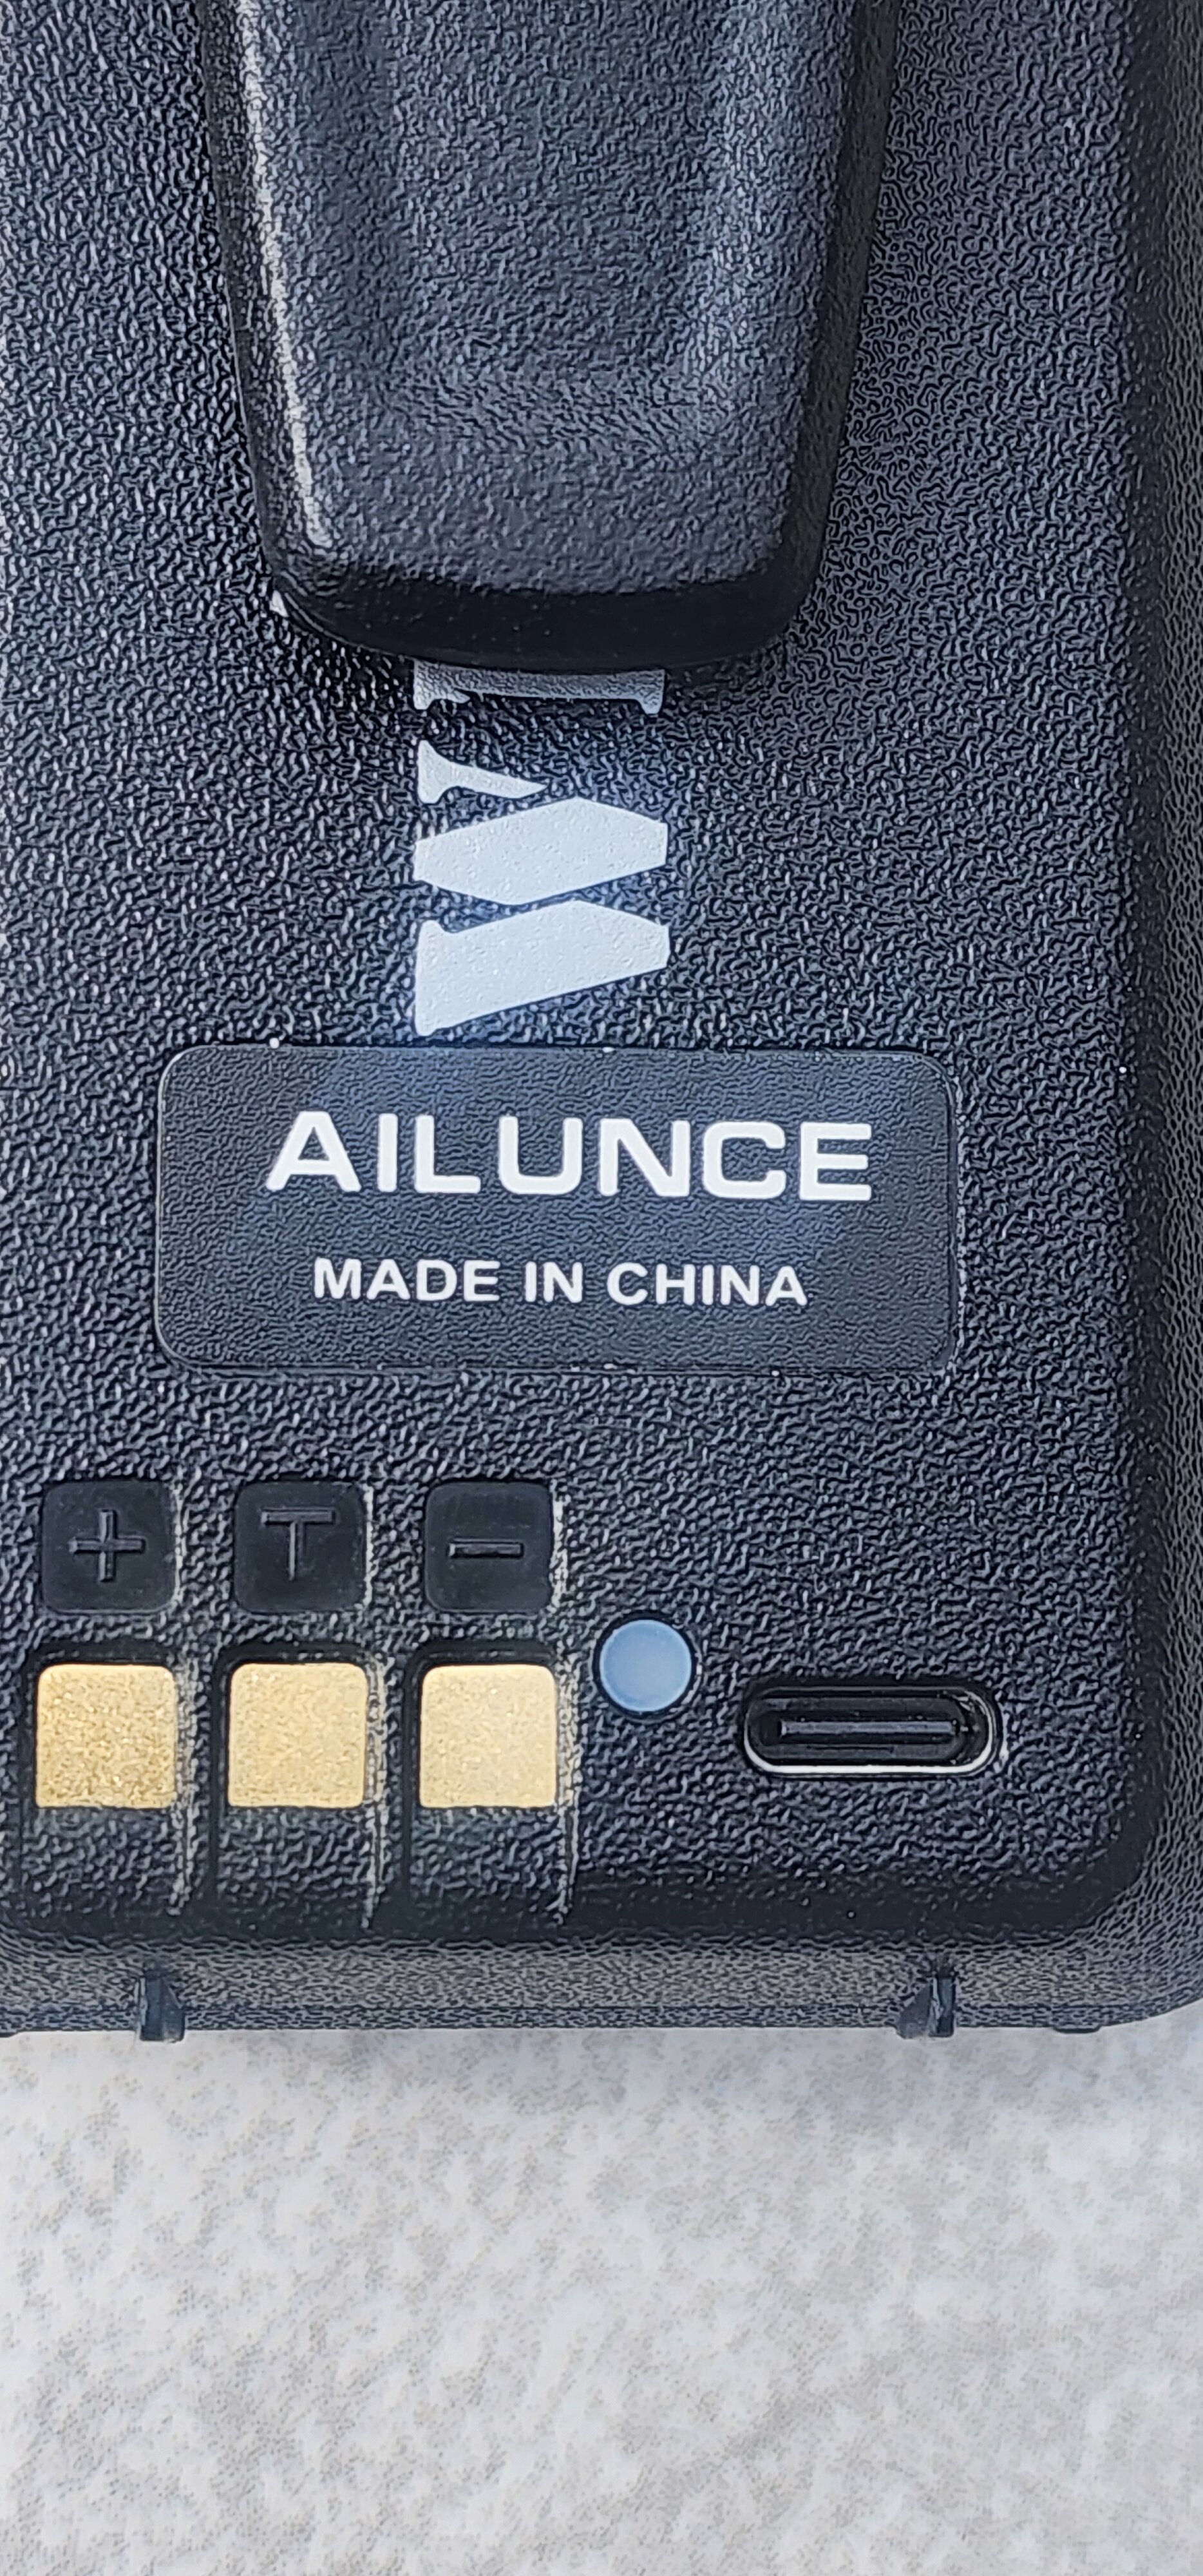
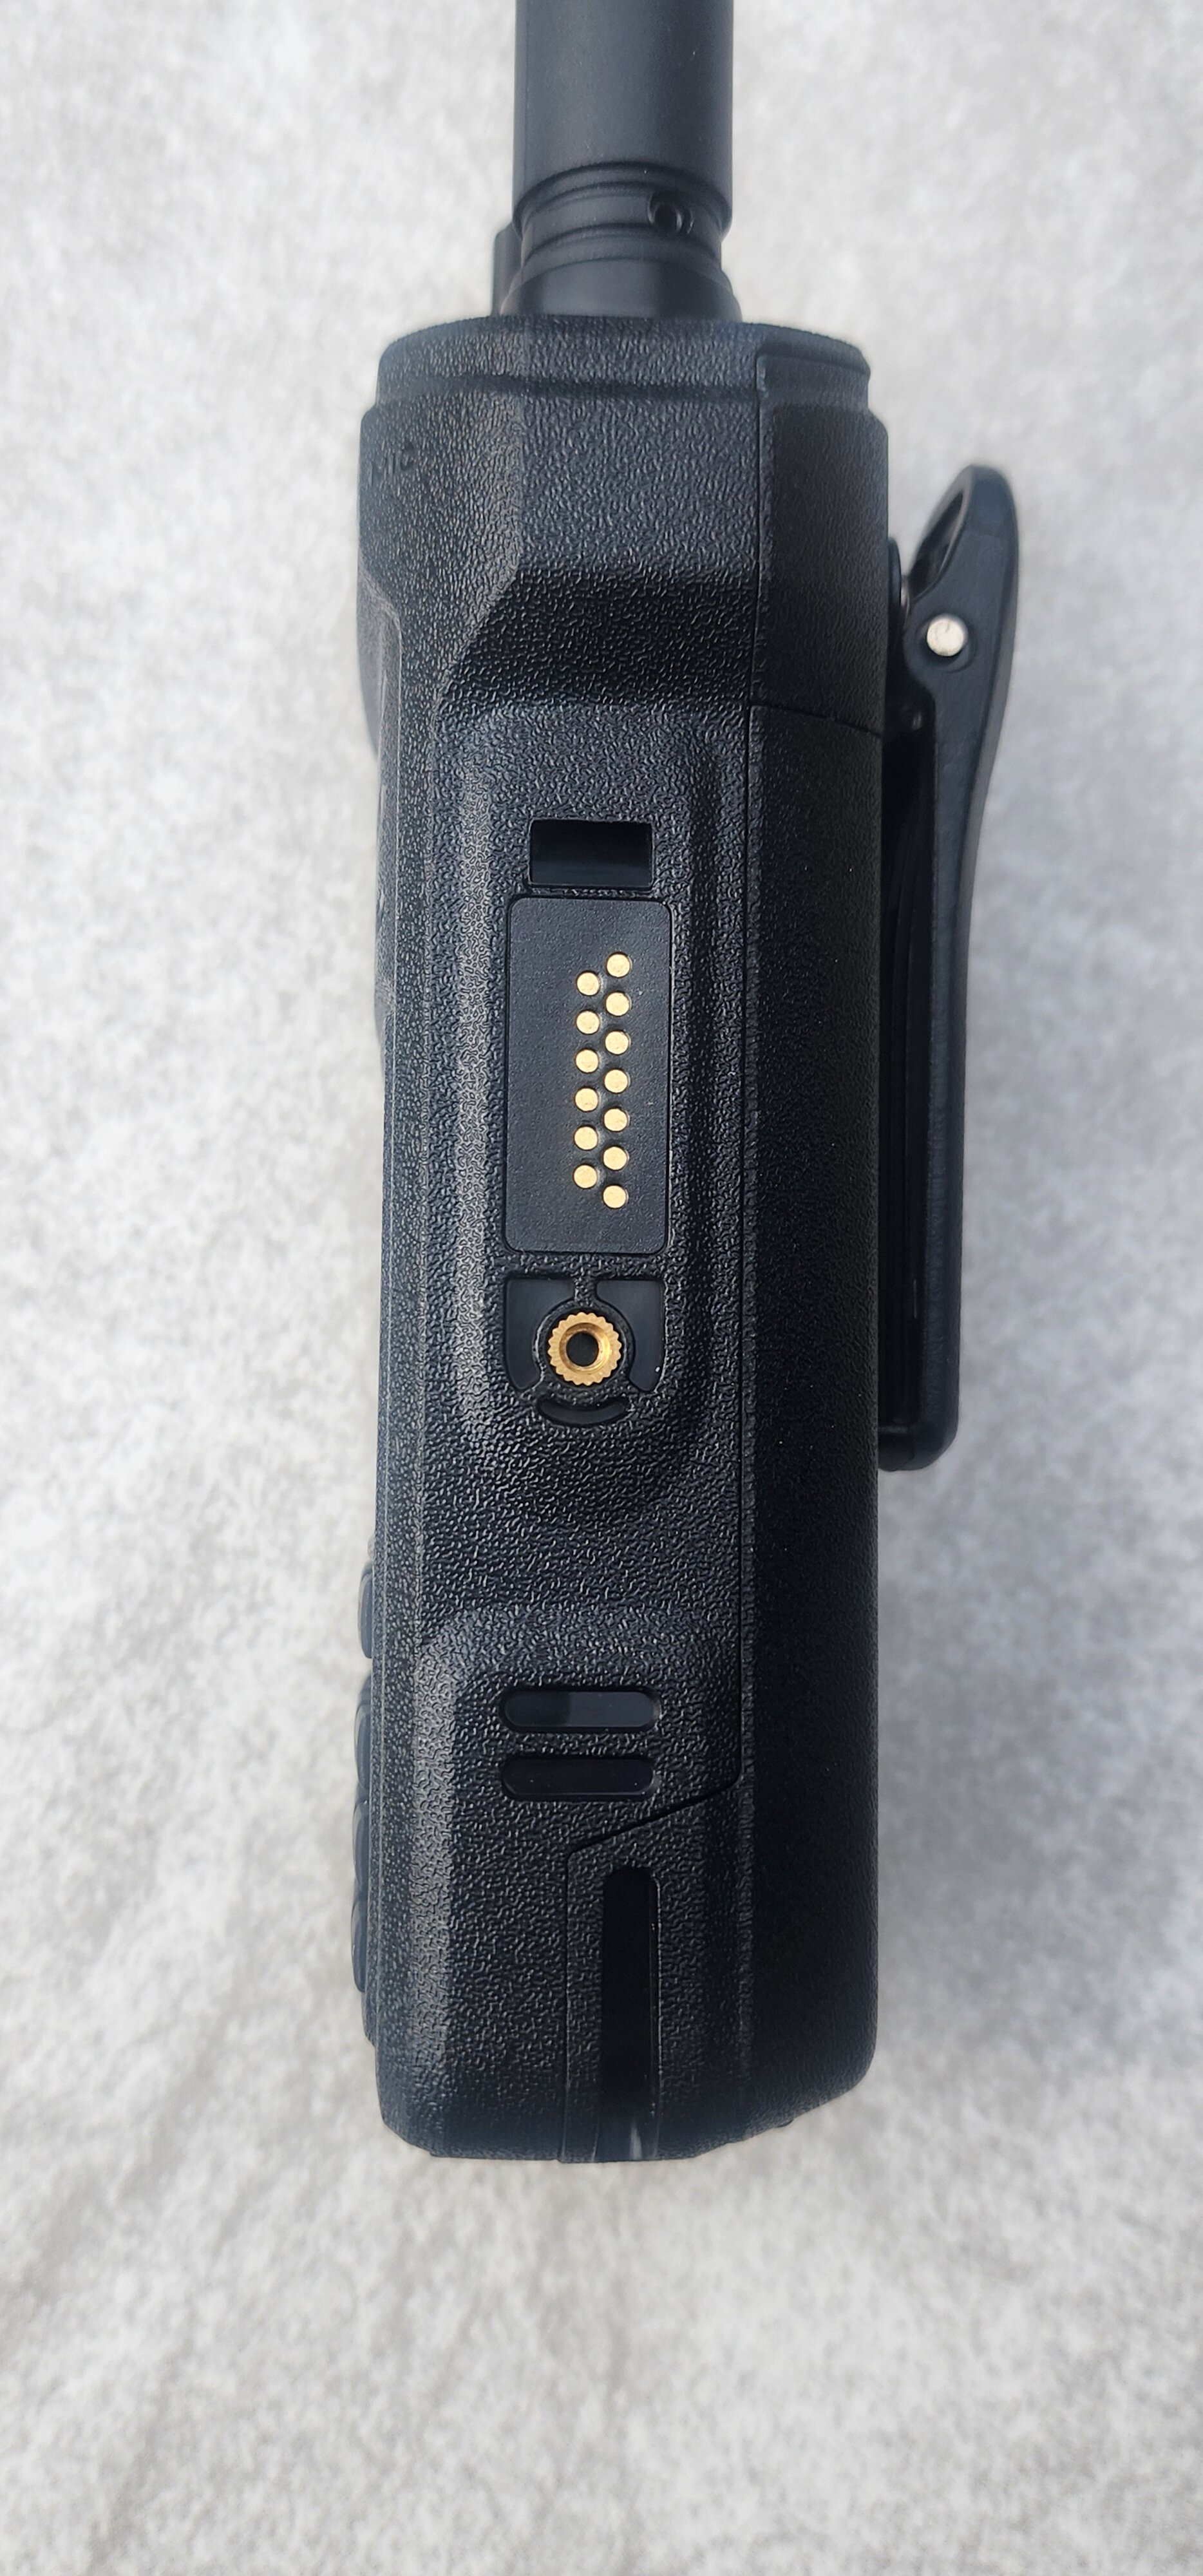
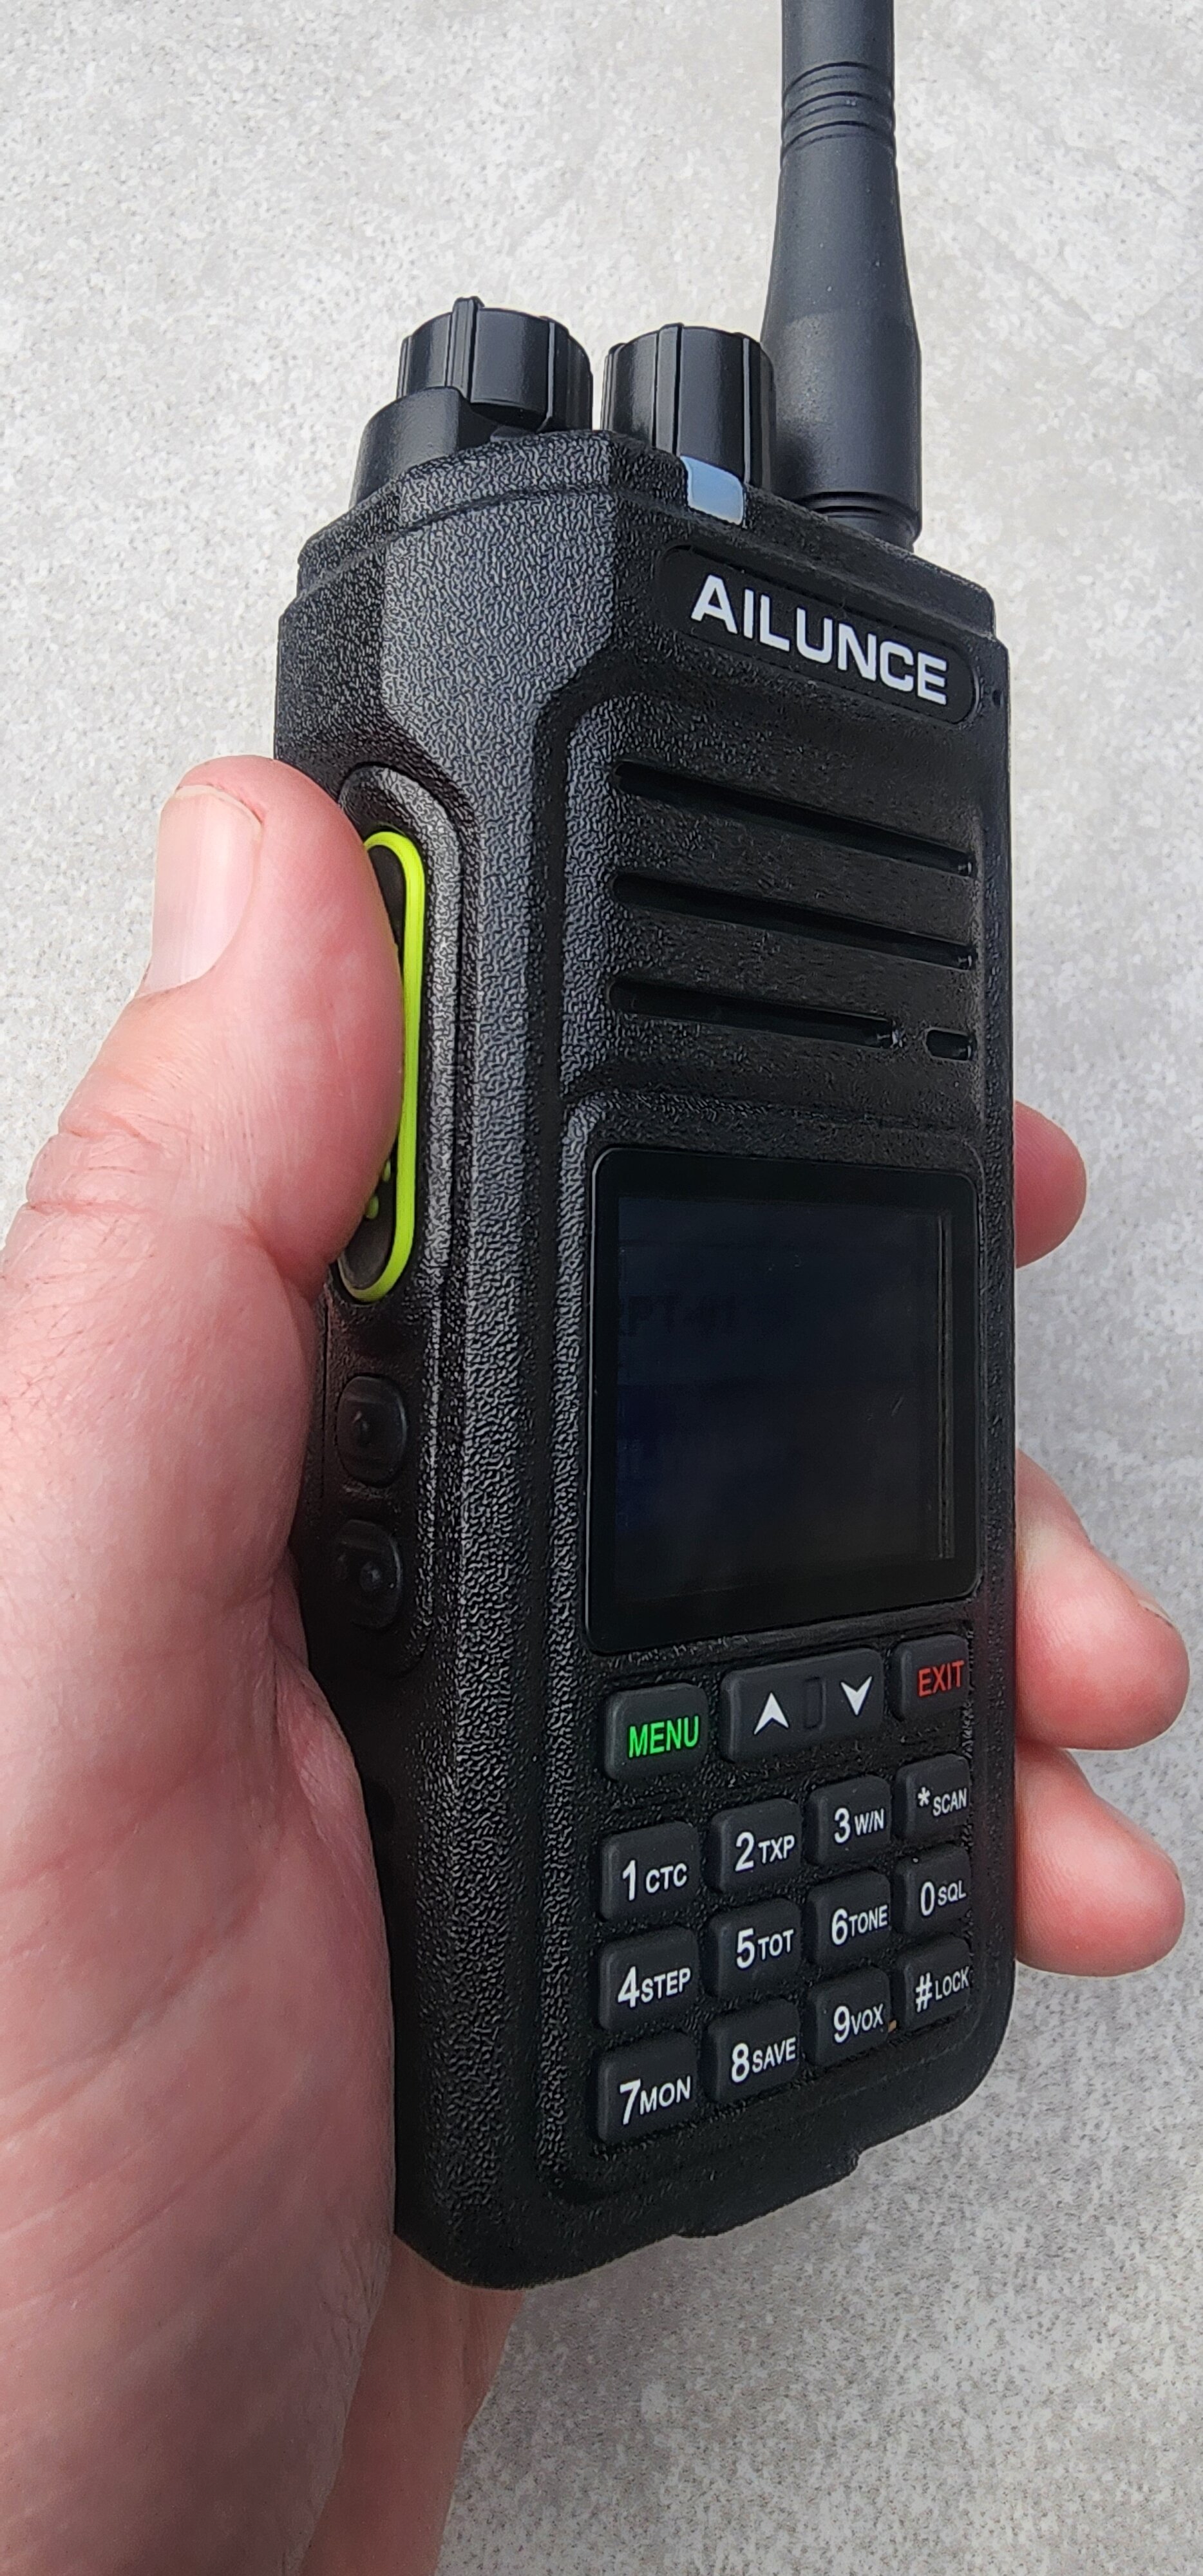
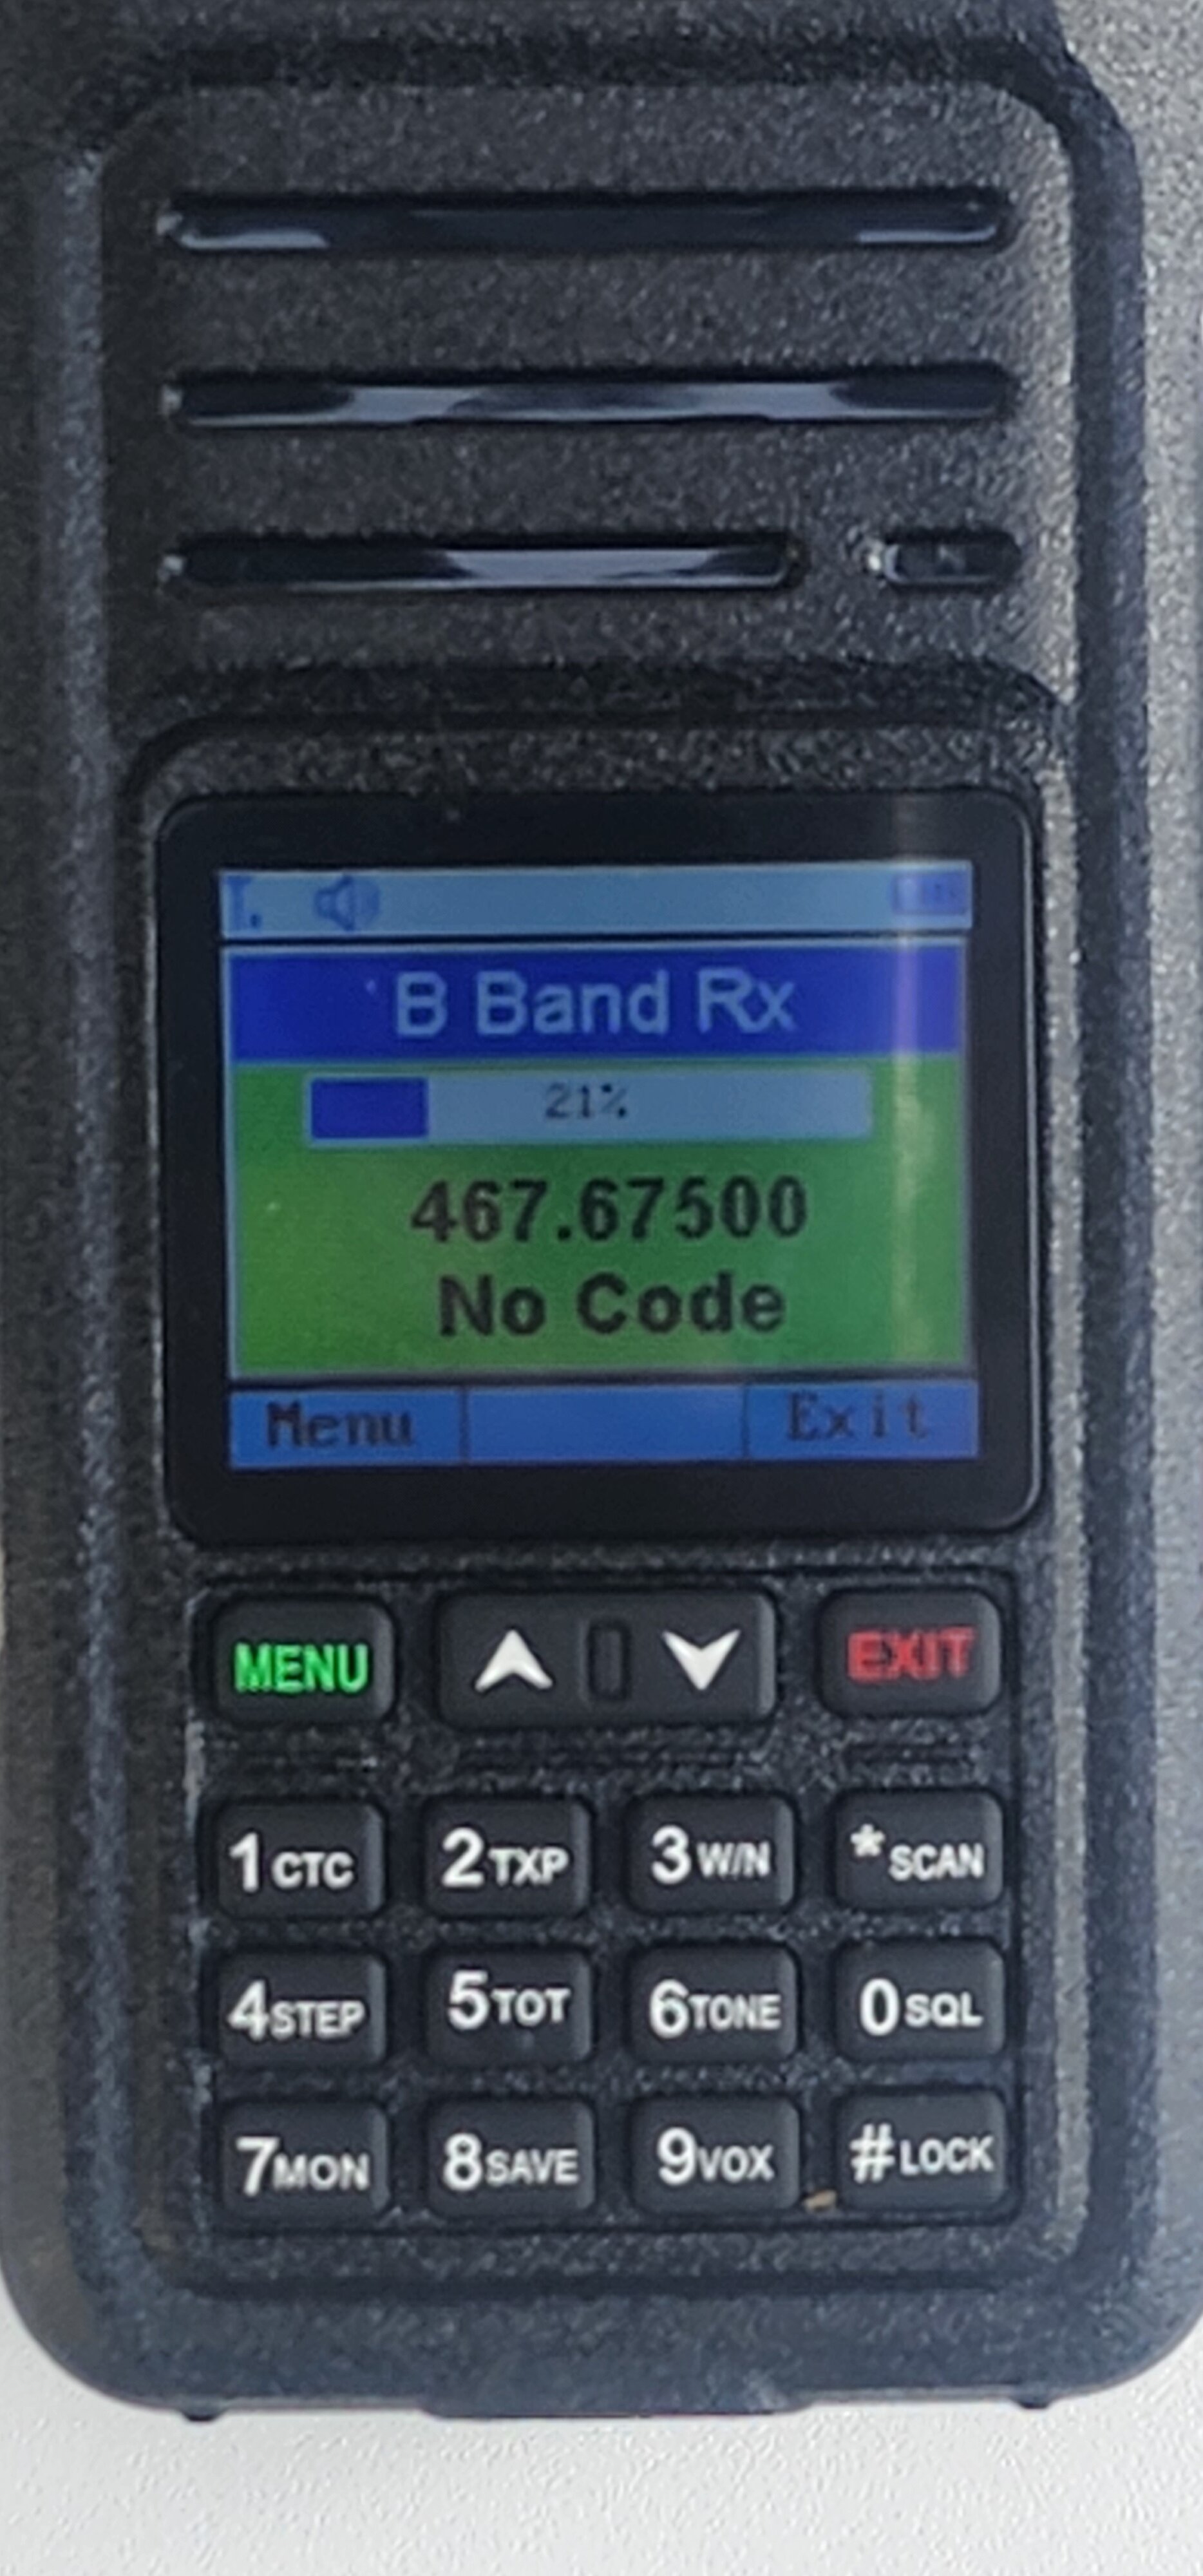
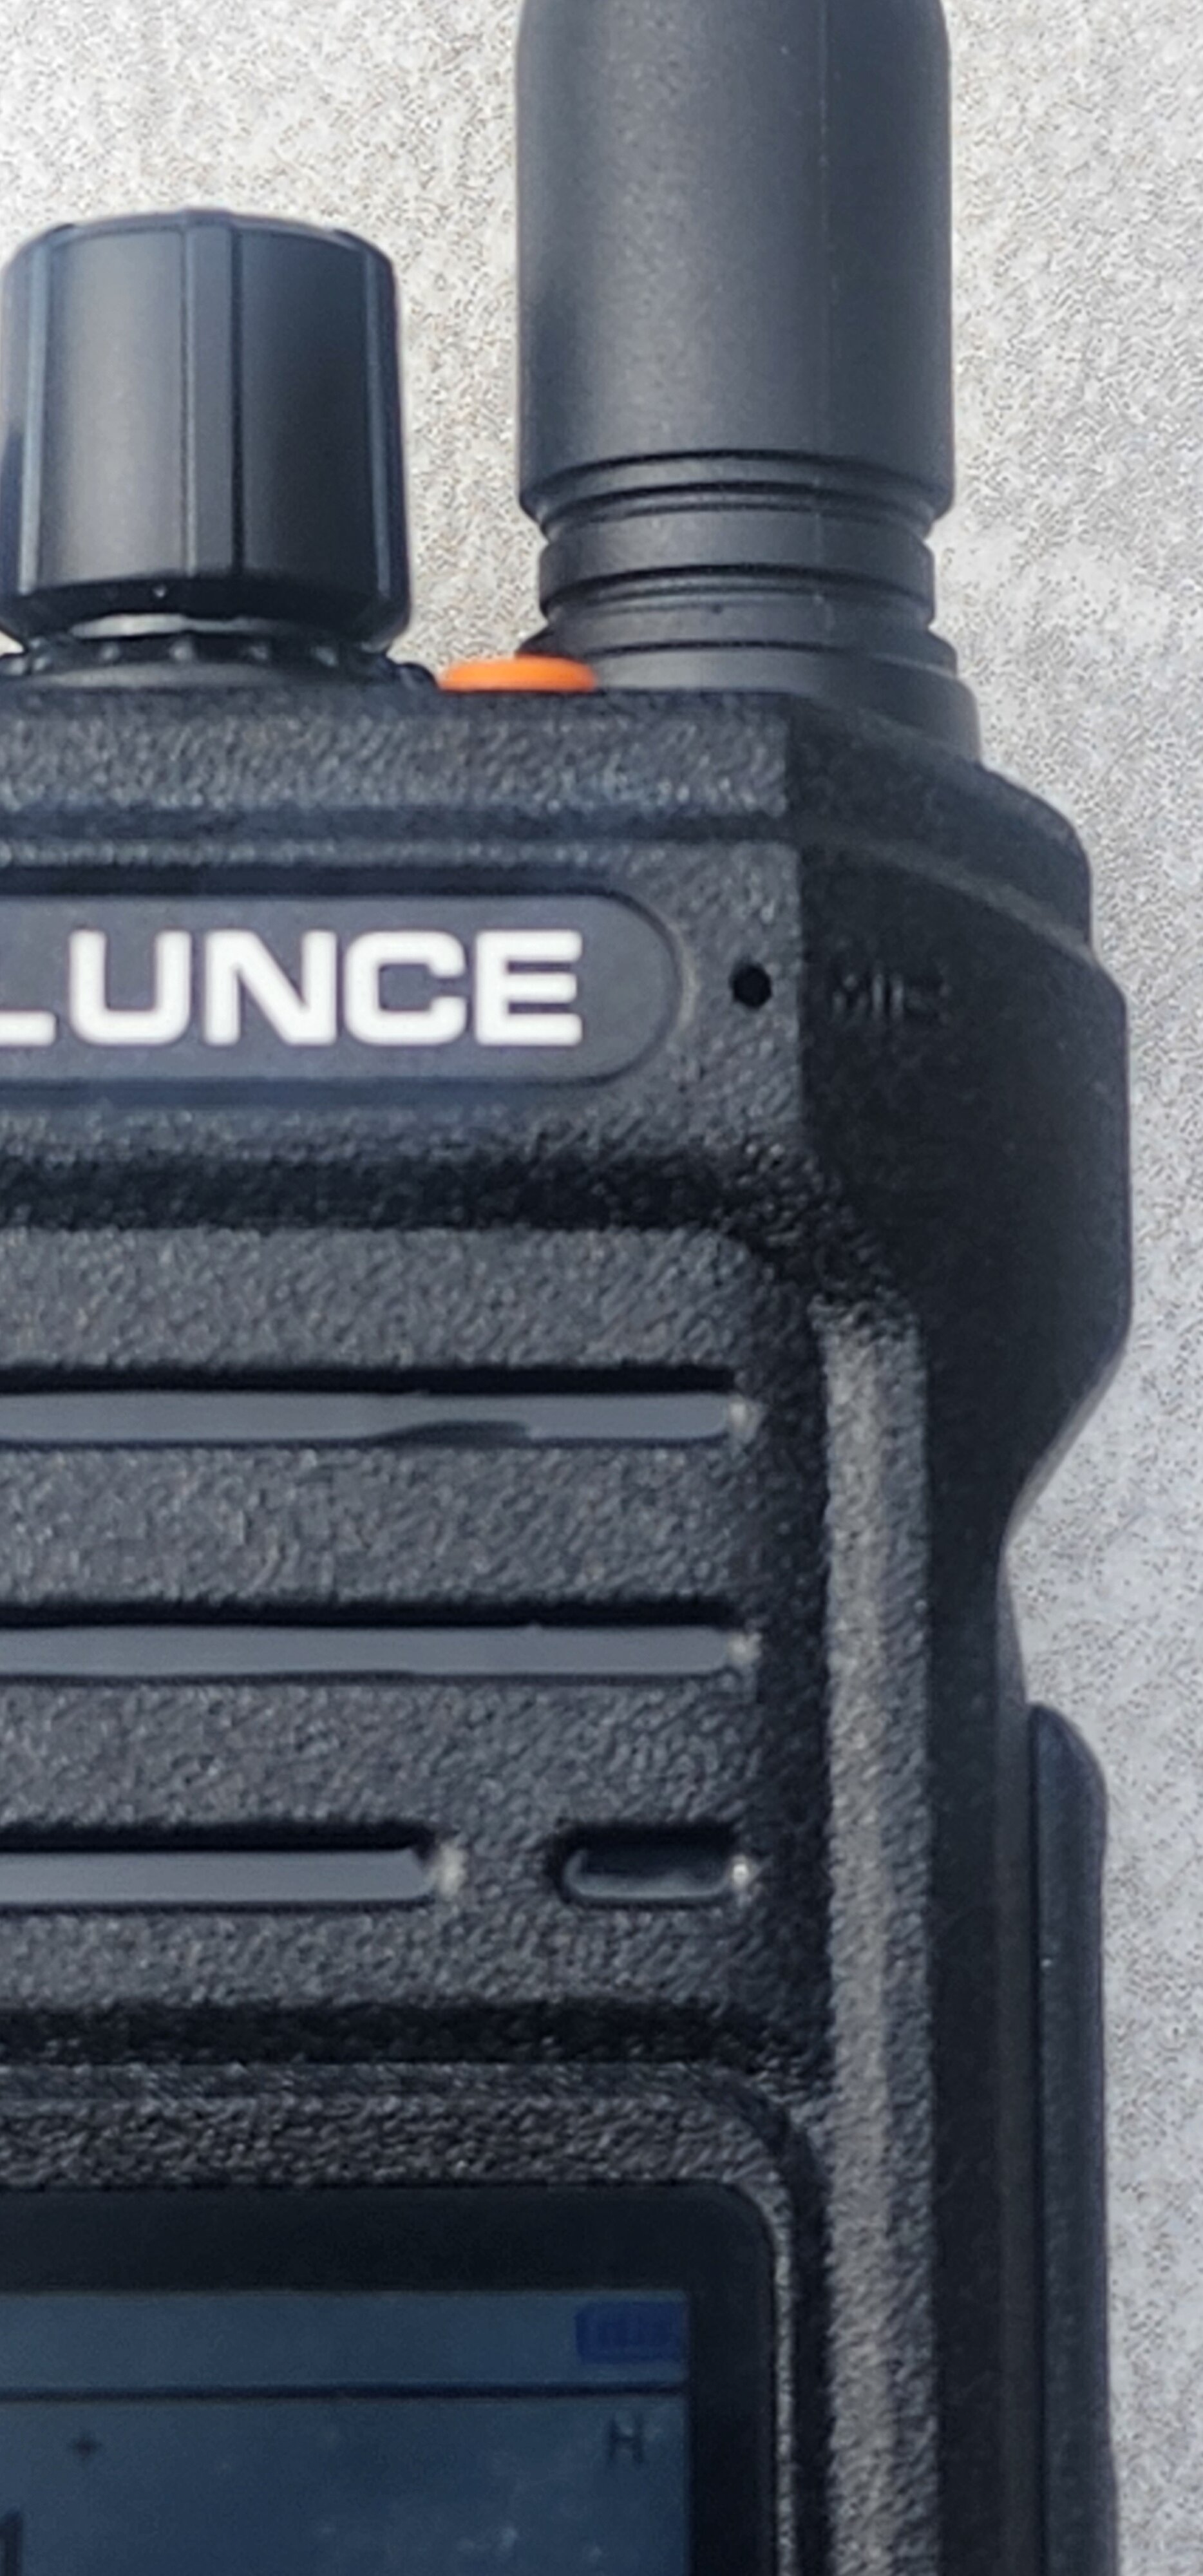
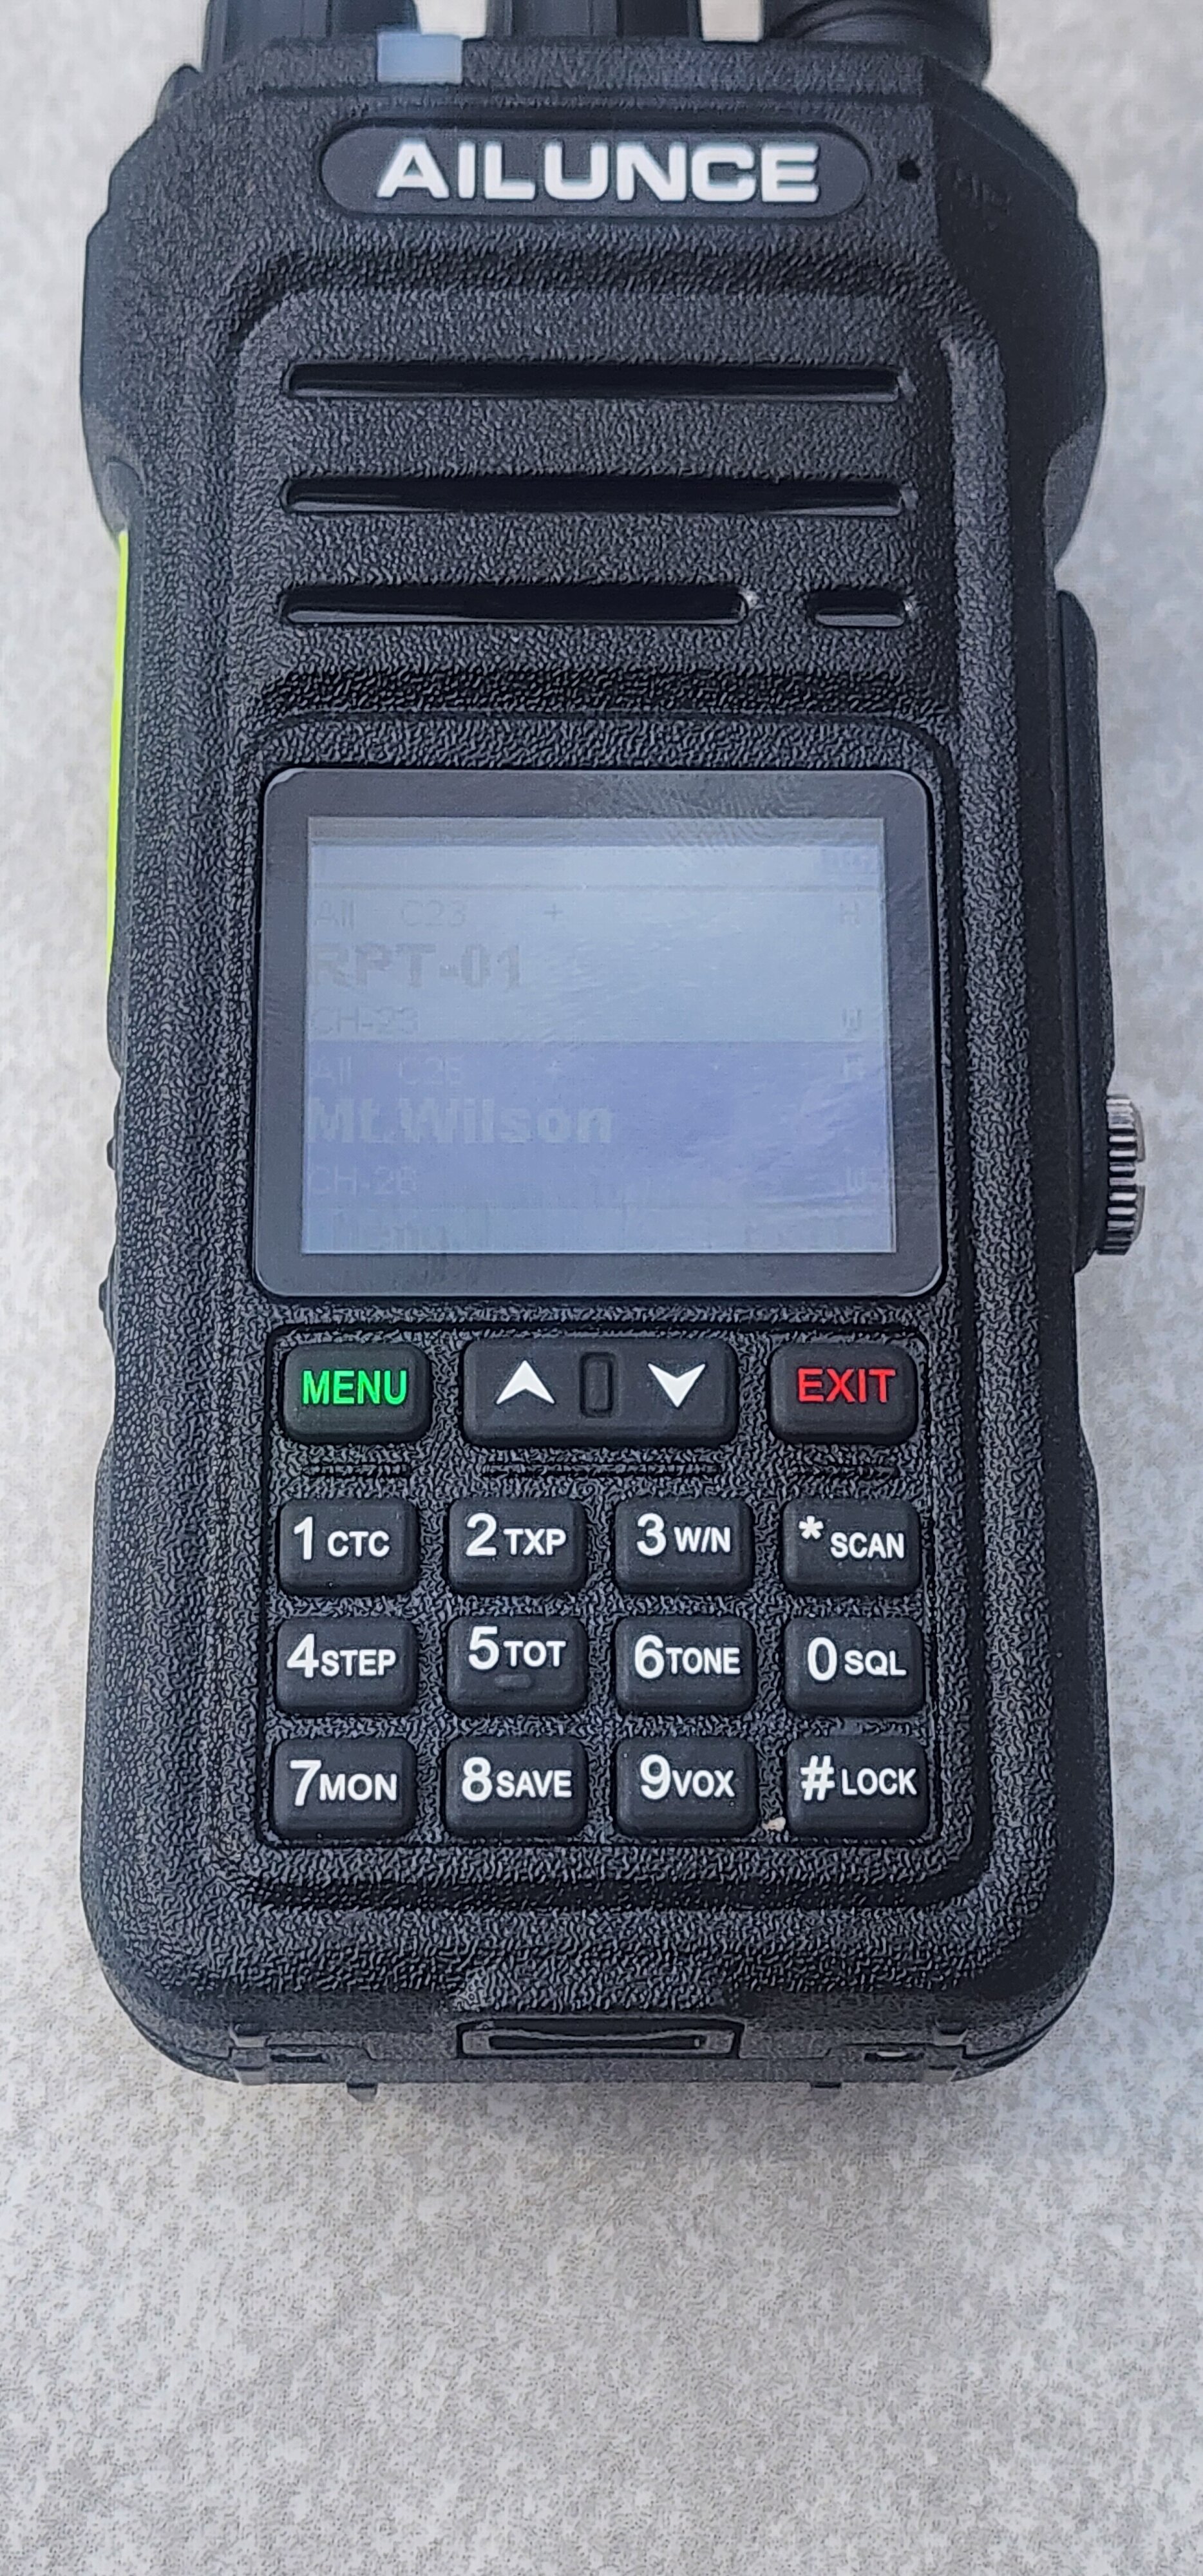
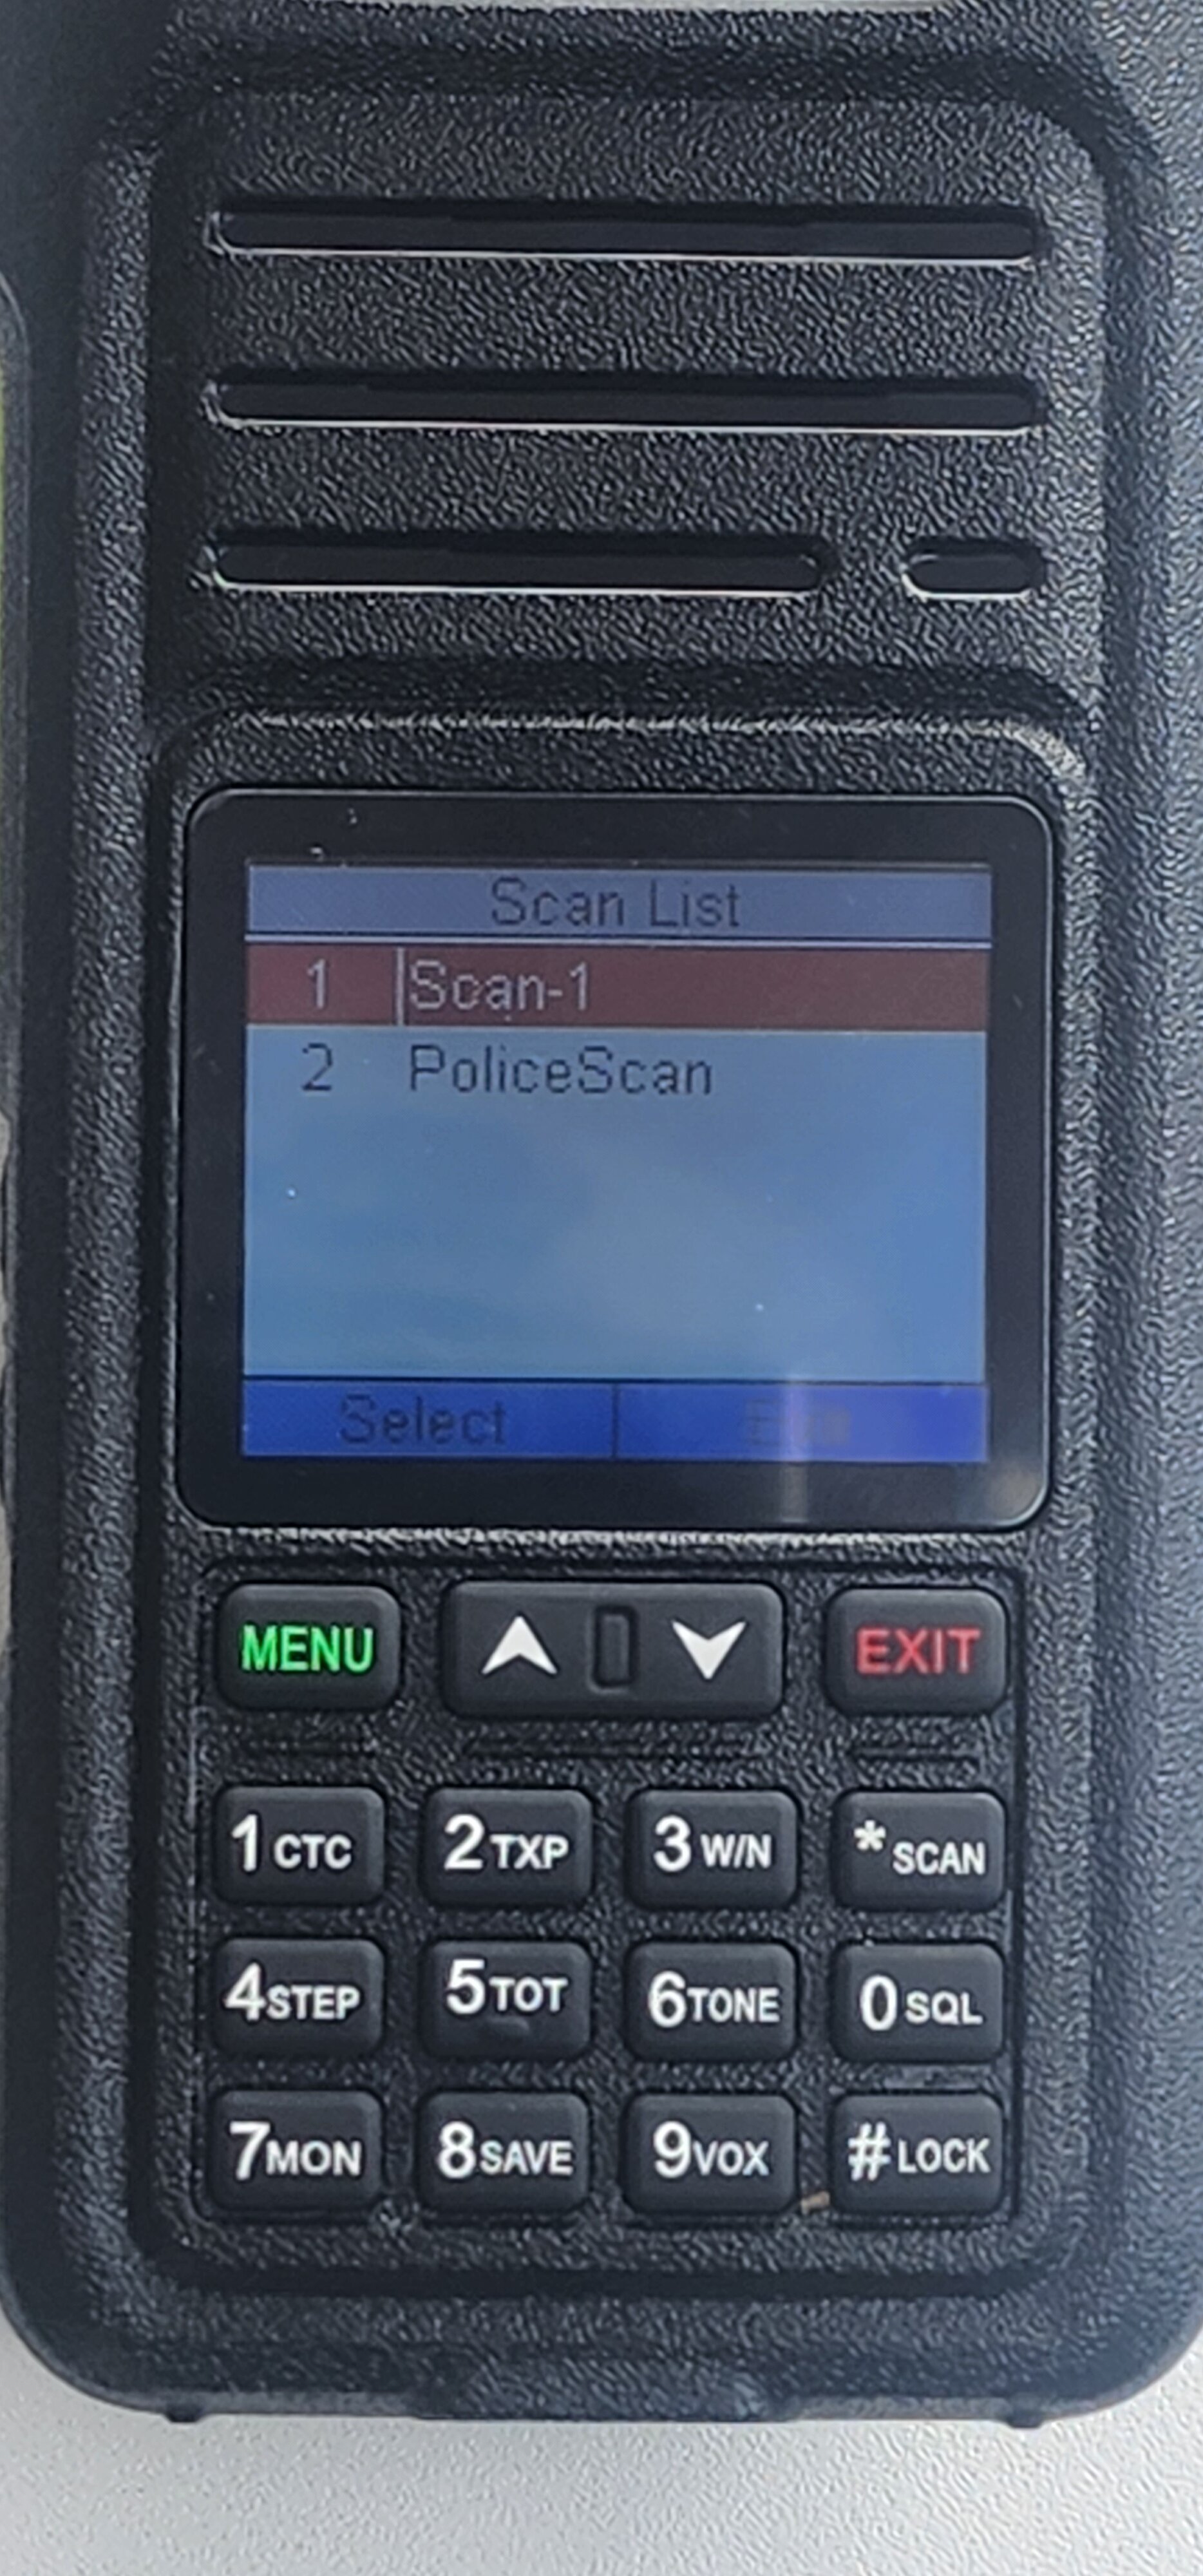
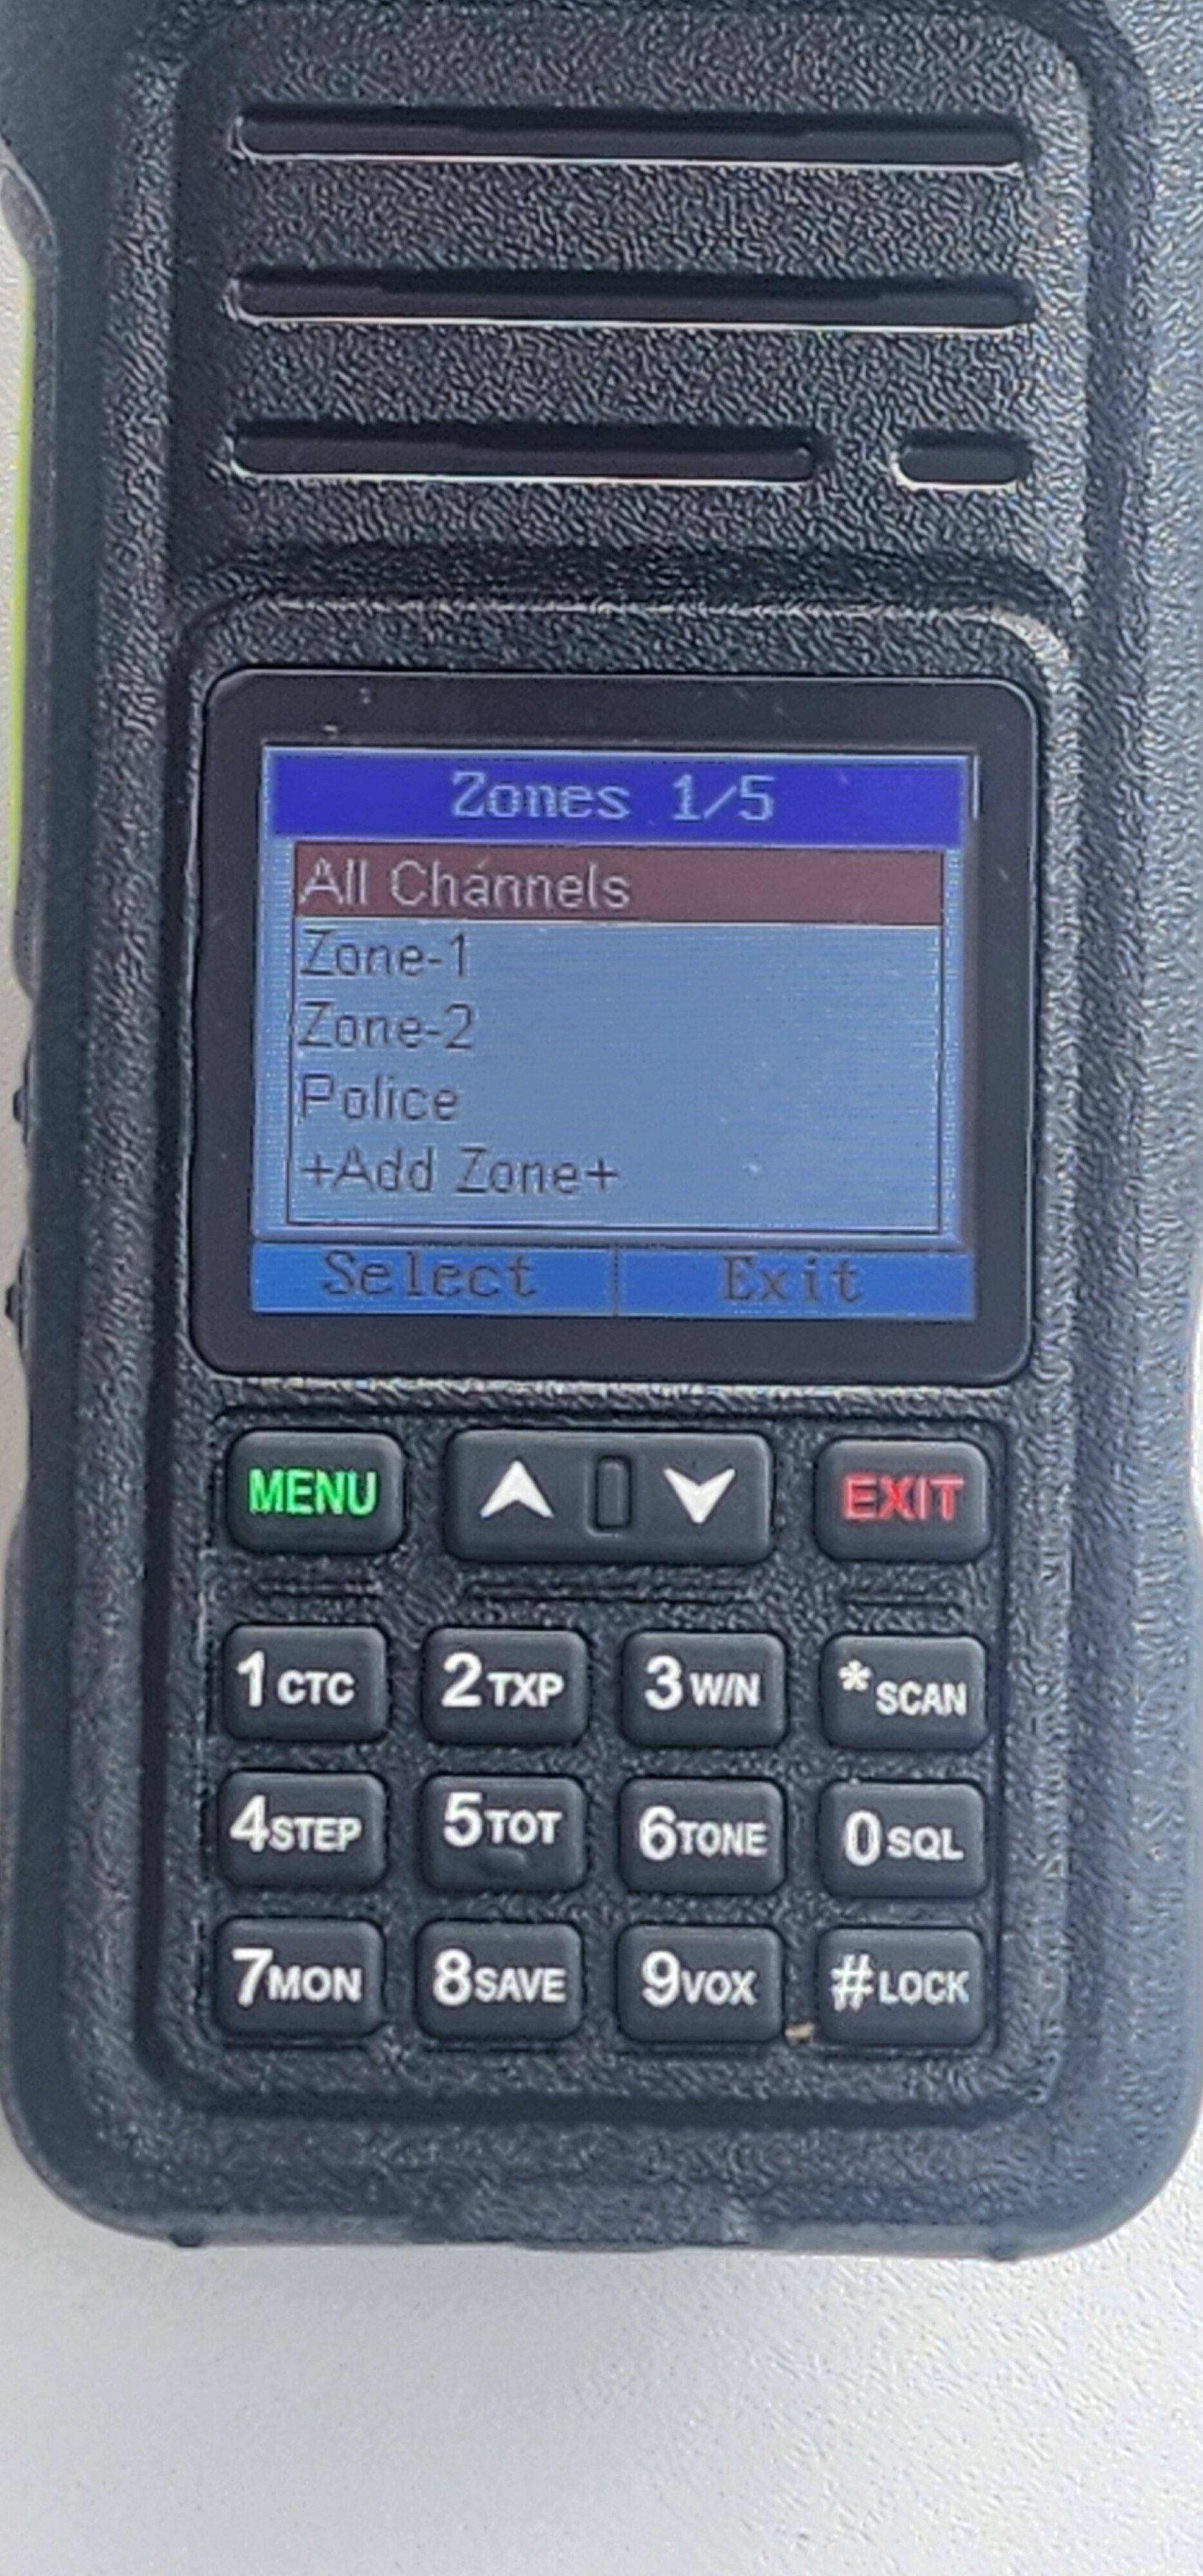
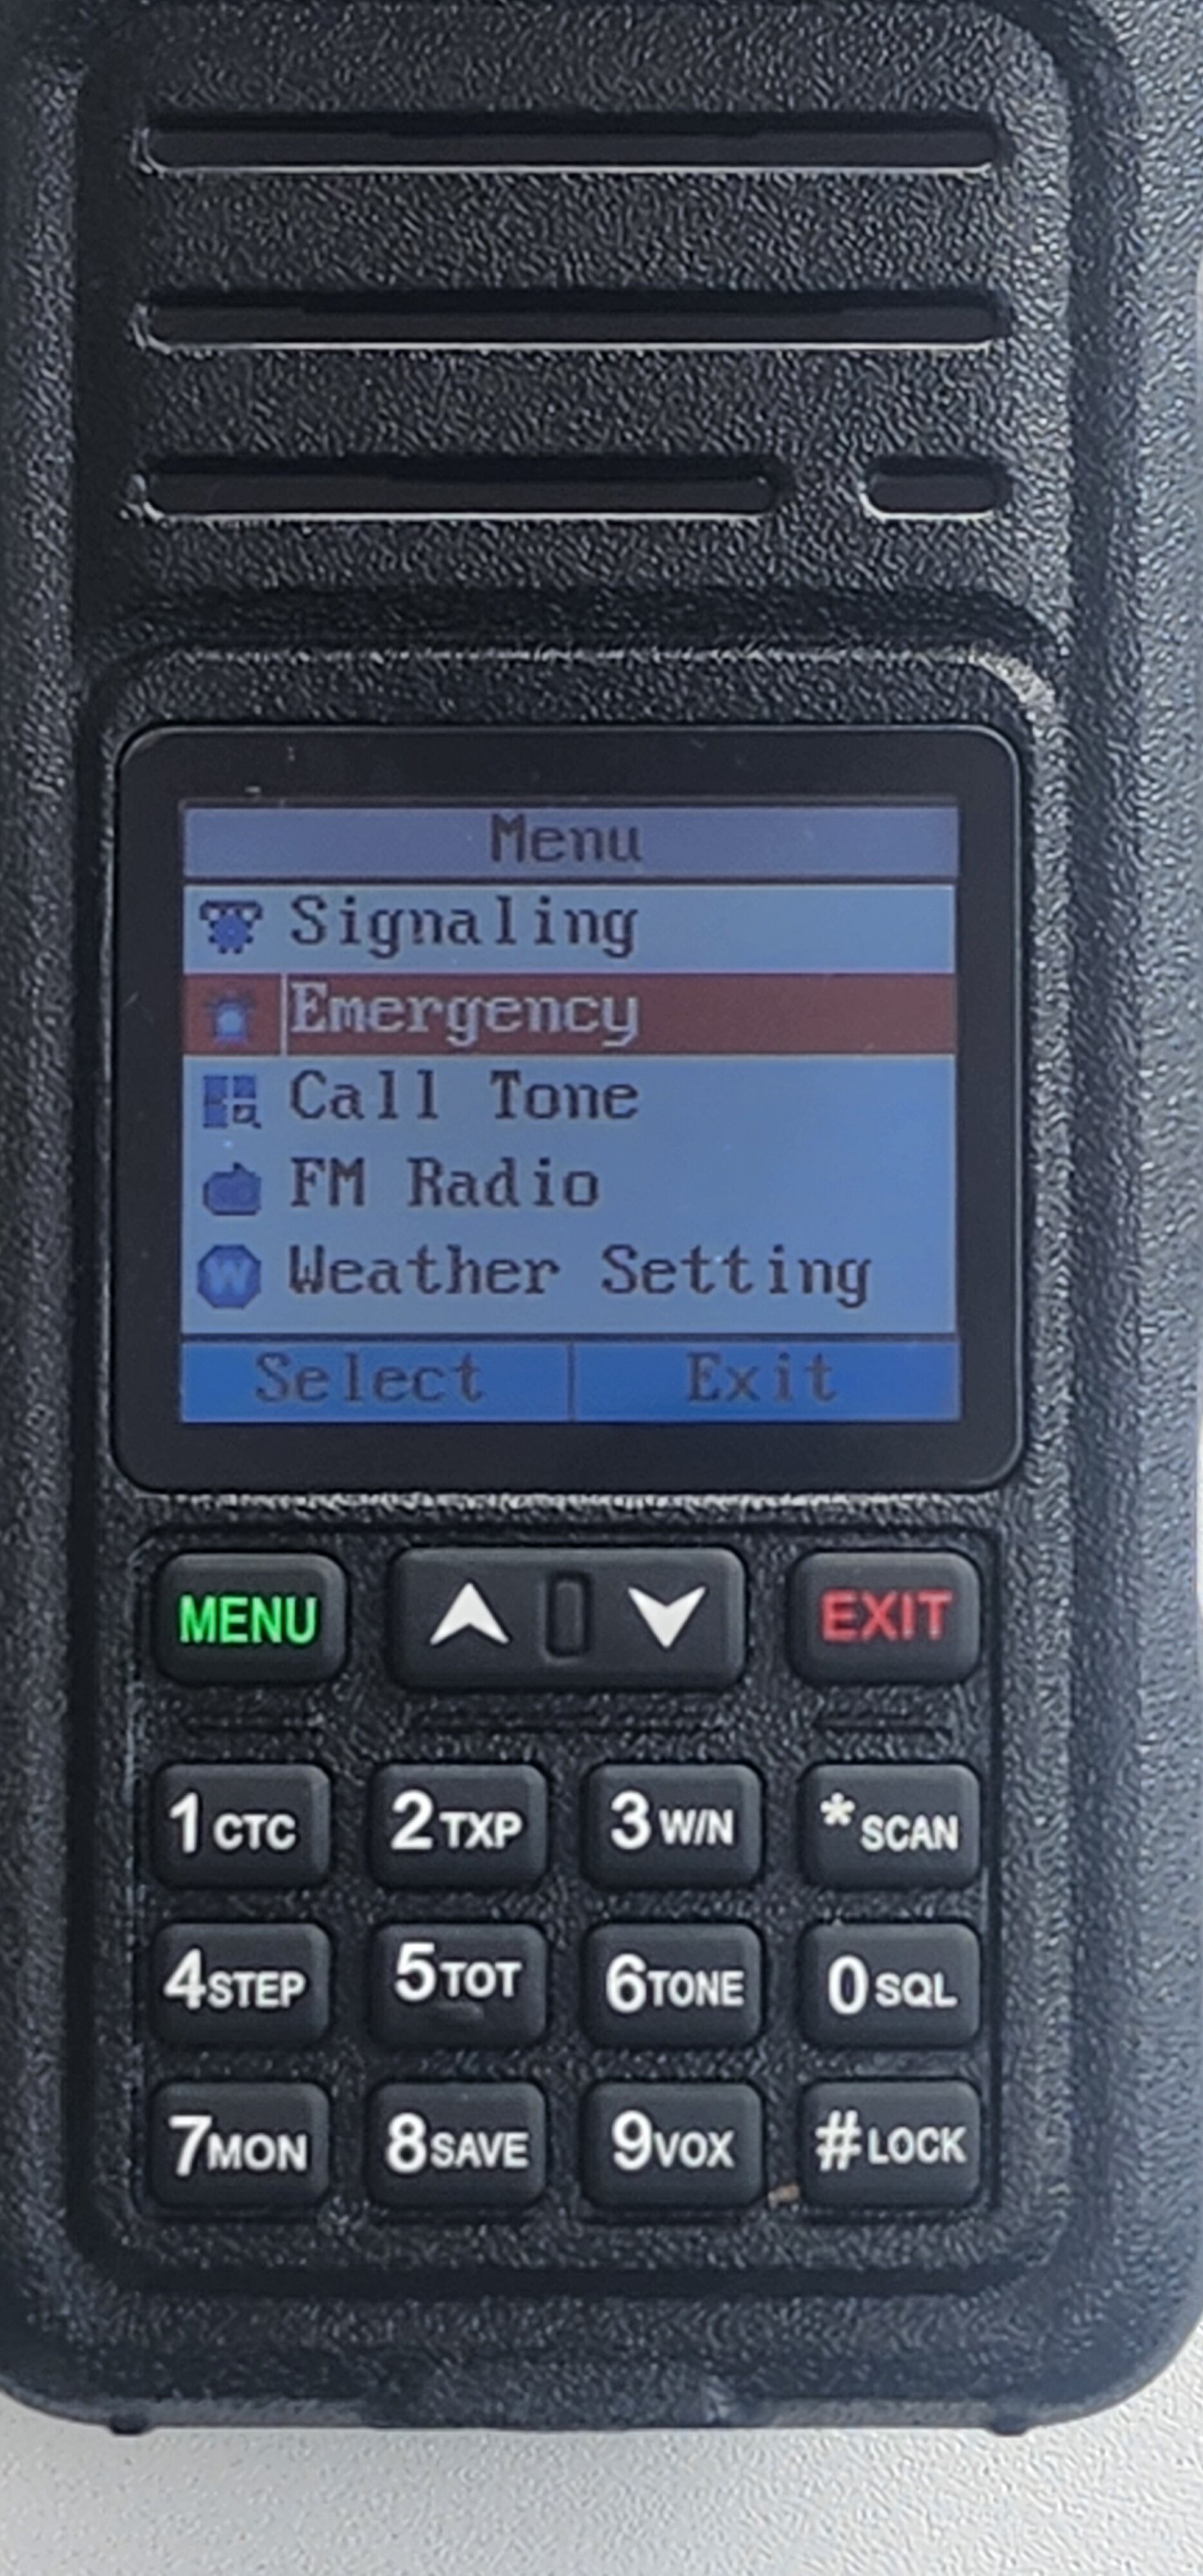
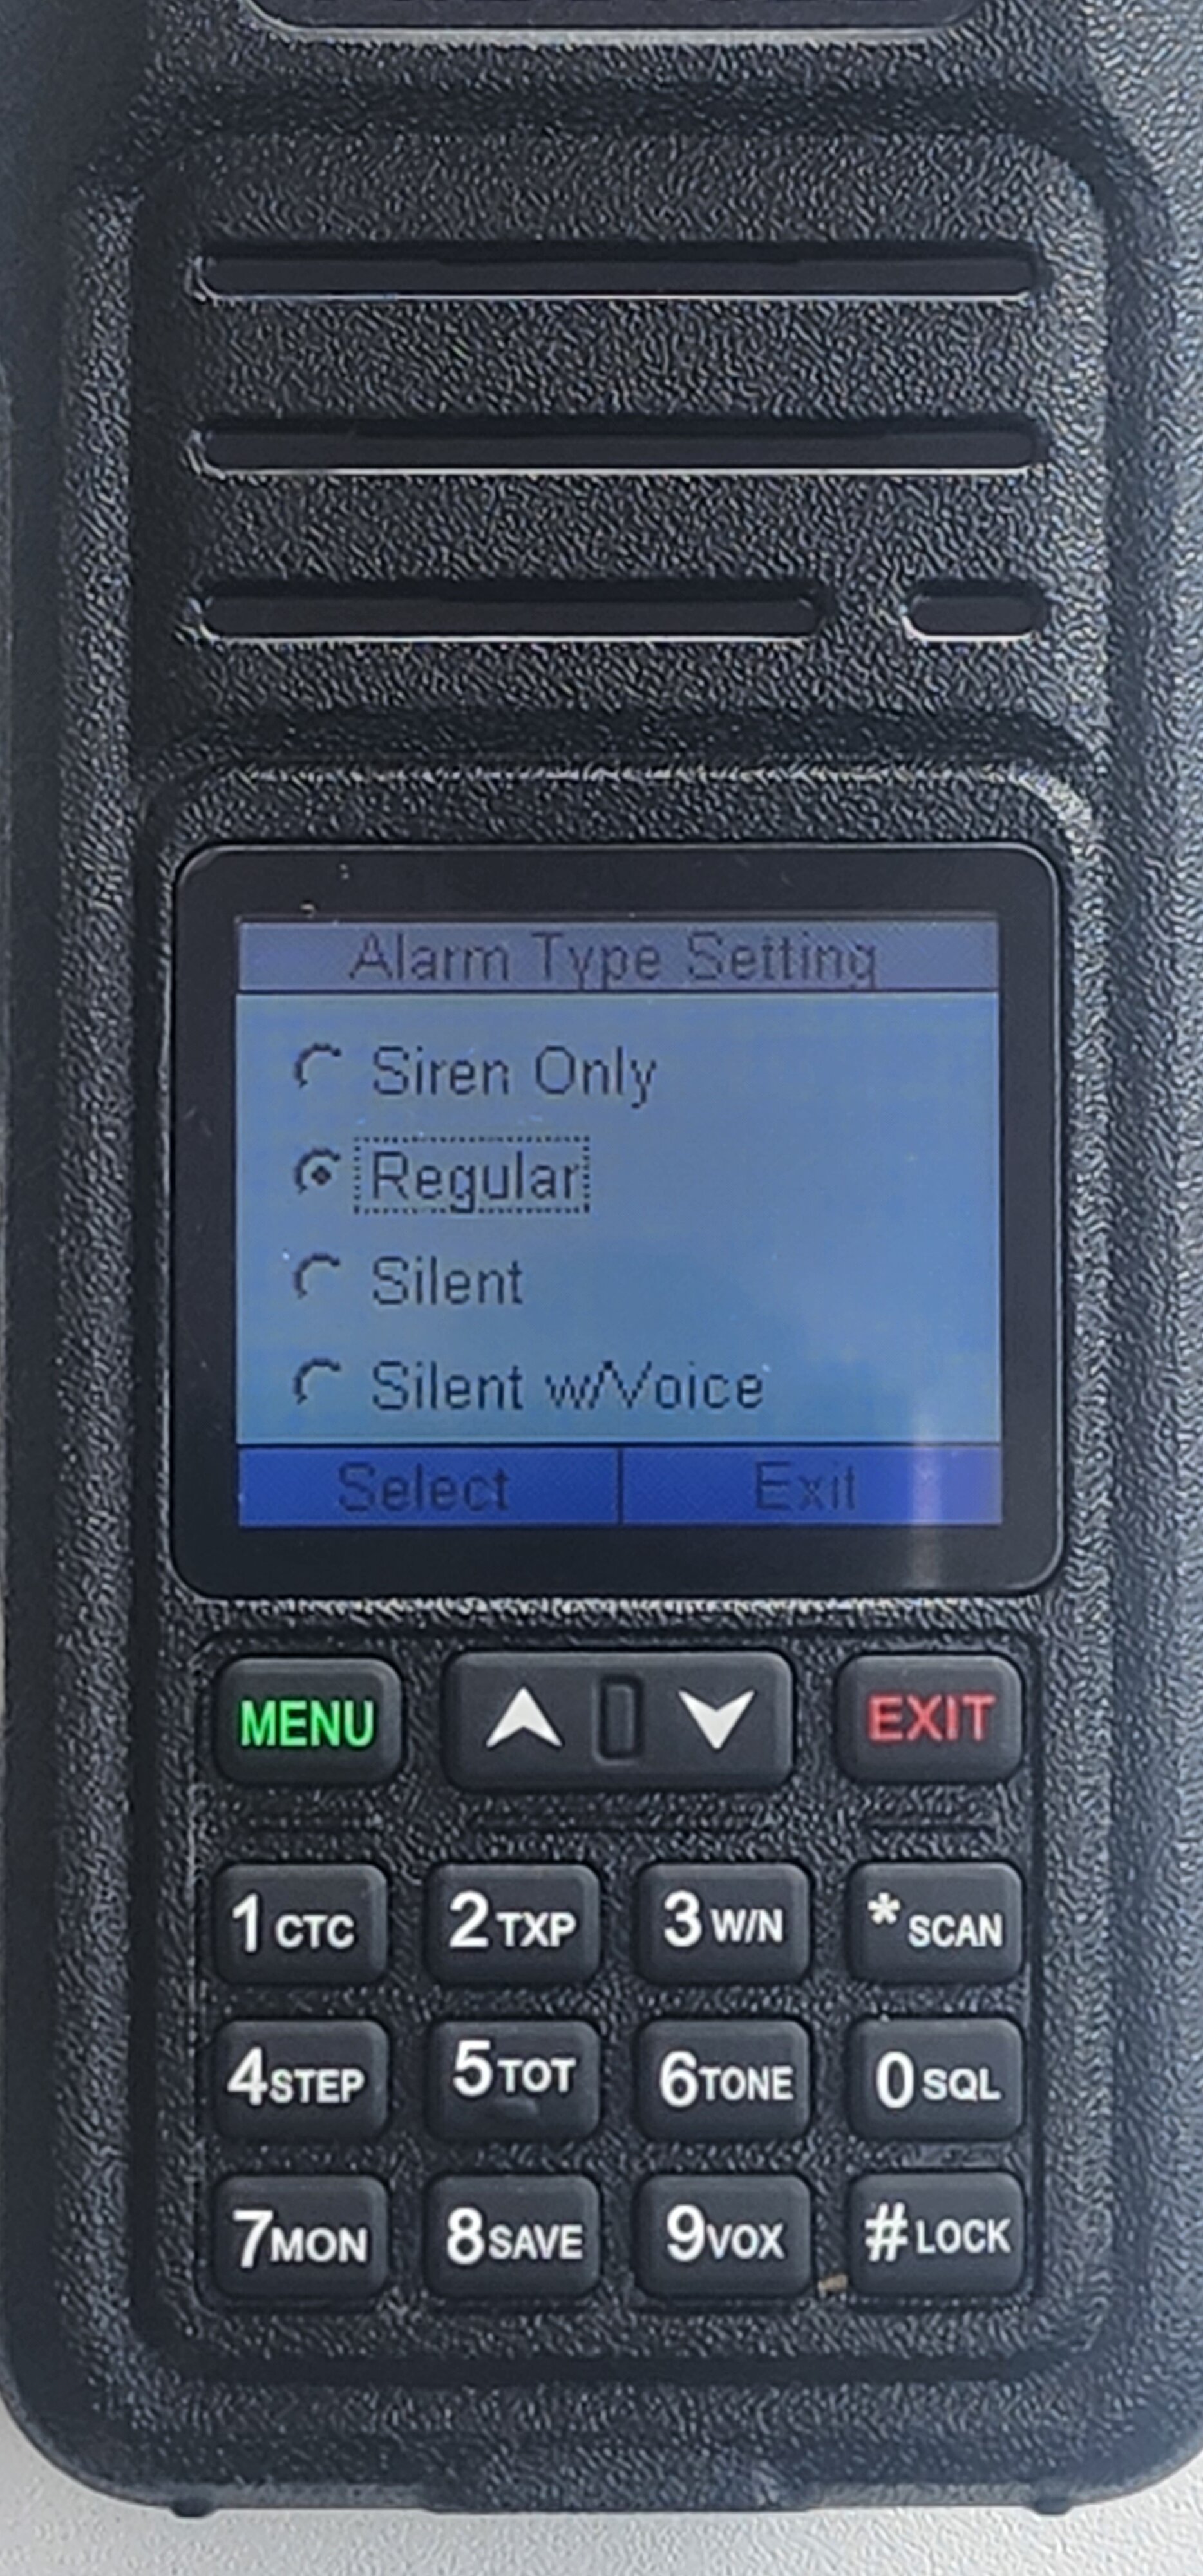


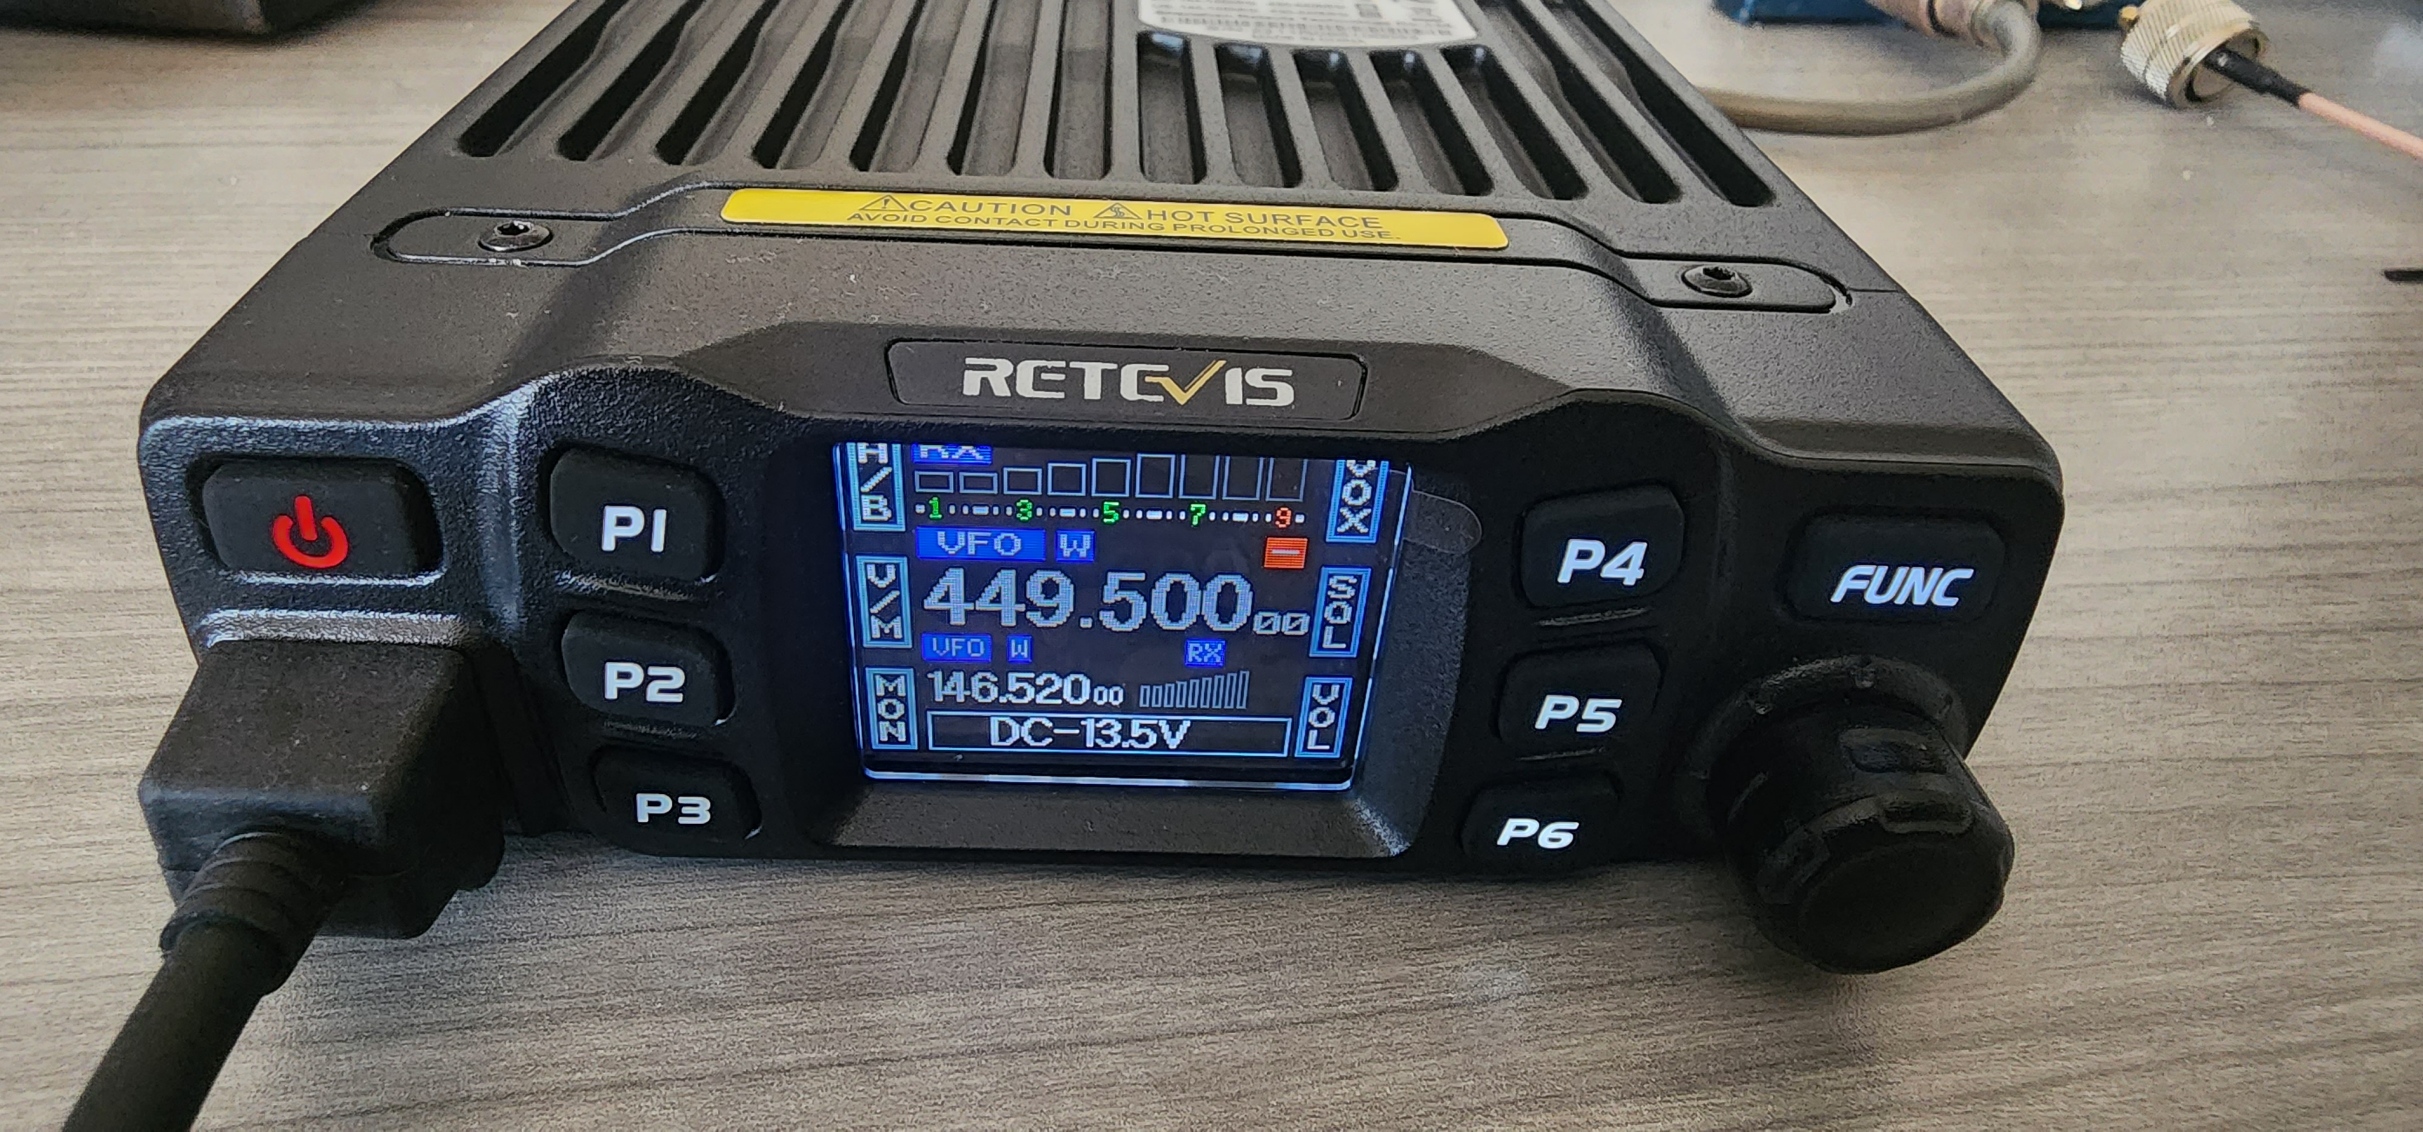
") It is certainly rugged and at a price point that is hard to beat. The programming cable and software provided worked flawlessly on my Windows 11 machine and CHIRP programming should be supported soon. The starting price of this 10 watt radio is currently $63 on Amazon; affiliate links are provided below if you're interested in purchasing.
It is certainly rugged and at a price point that is hard to beat. The programming cable and software provided worked flawlessly on my Windows 11 machine and CHIRP programming should be supported soon. The starting price of this 10 watt radio is currently $63 on Amazon; affiliate links are provided below if you're interested in purchasing.