• You can now help support WorldwideDX when you shop on Amazon at no additional cost to you! Simply follow this Shop on Amazon link first and a portion of any purchase is sent to WorldwideDX to help with site costs.

Dave Made Amp...Jersey or Joe made?

70cst

Well-Known Member
Dec 4, 2009
622
183
53
72
DaveMadeFrontM420SEModel.jpg


DaveMadeRear.jpg


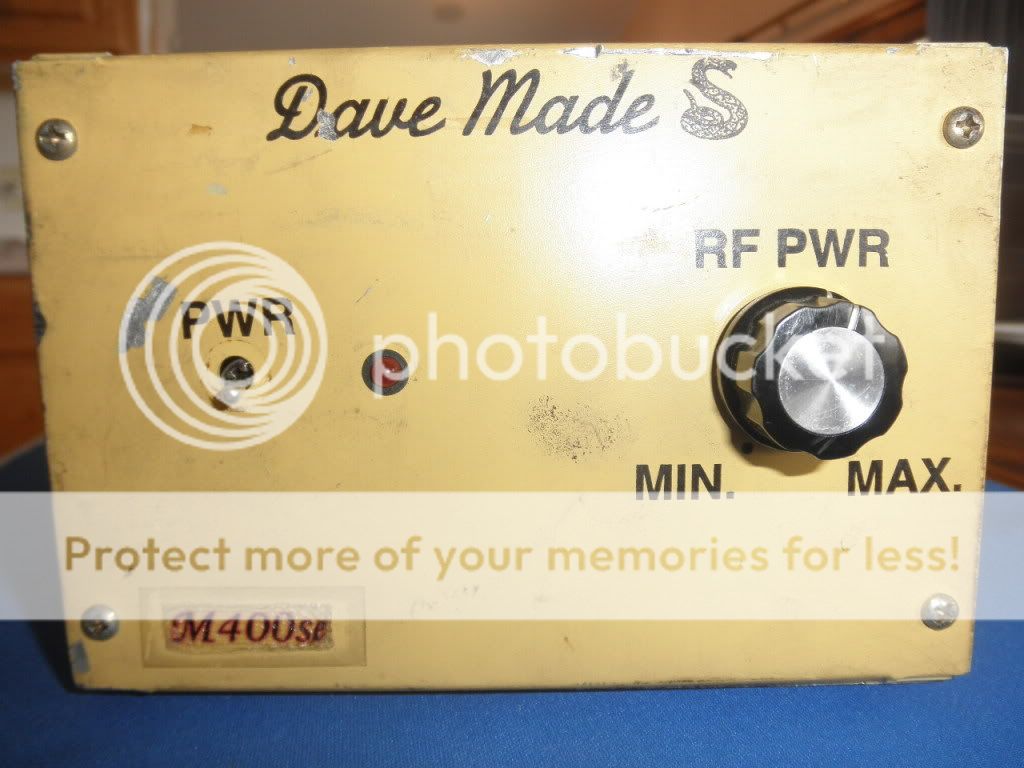
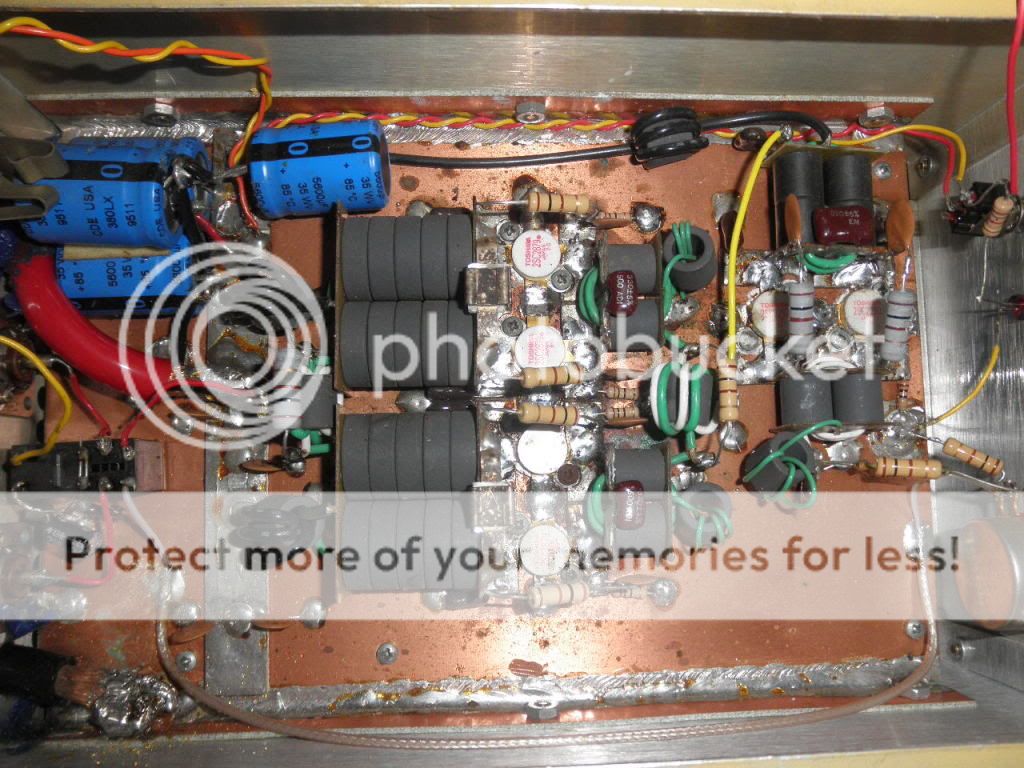
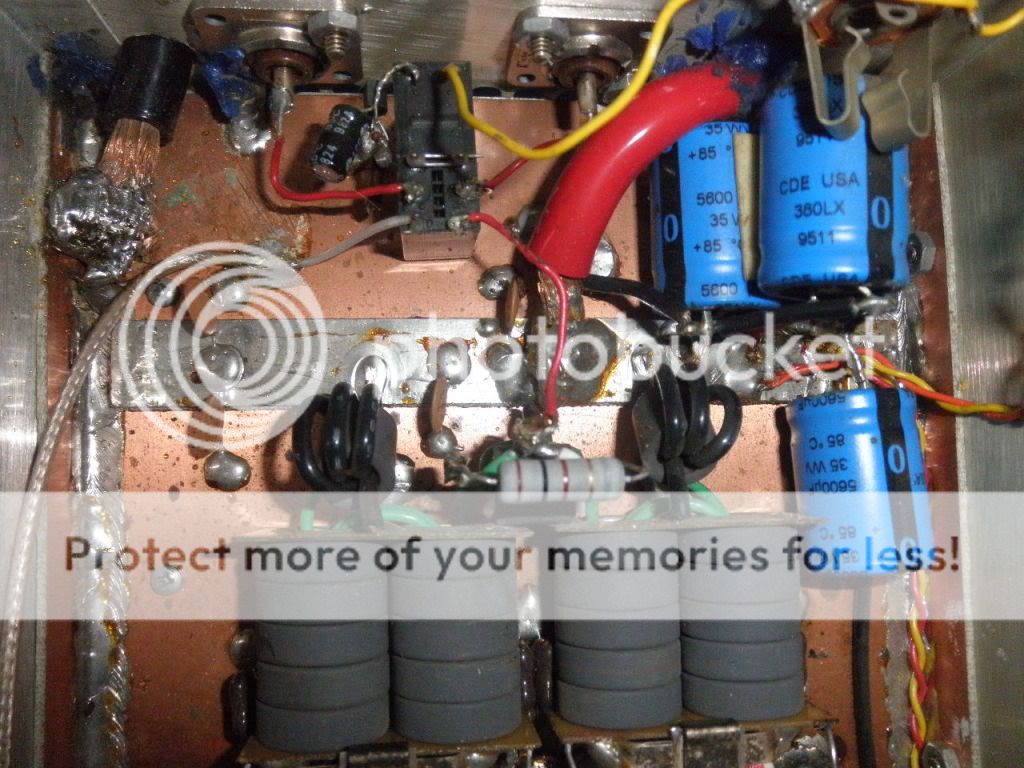
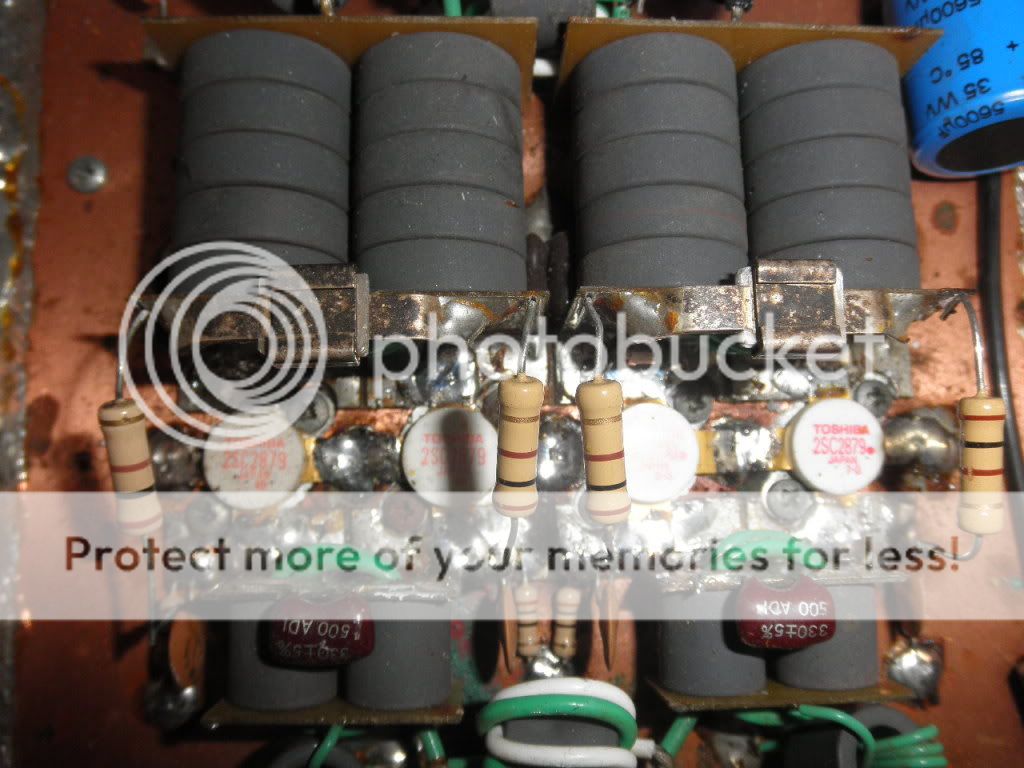
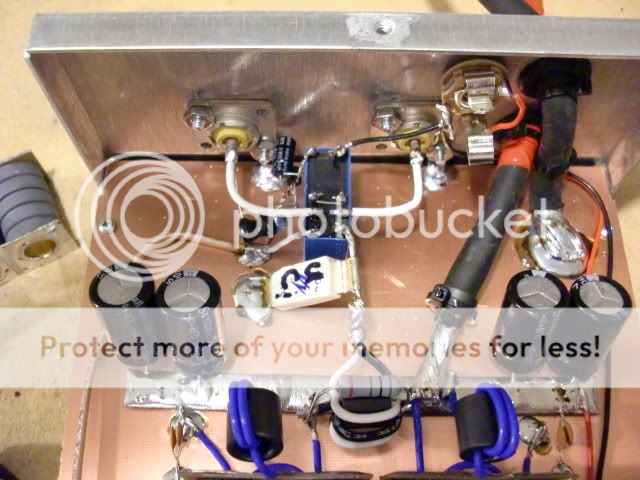
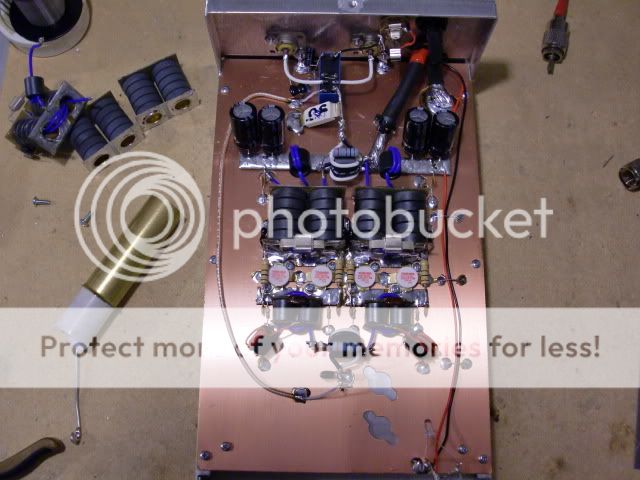
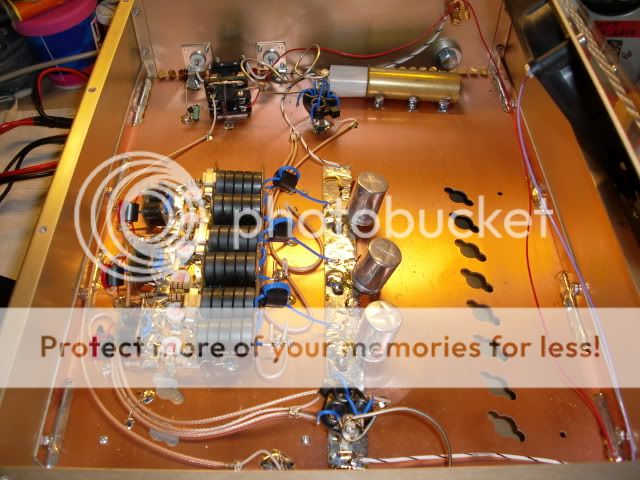
I recently purchased this Dave Made (Model M420SE) 2x4 amp. The seller said this was a Jersey made amp and not a Joe made amp. He and his brother purchased identical amps back in the 80's. I have no reason to doubt him but I will post pics to verify as to where this amp was made, I will have pics later this week as it is being shipped today. Initially it was thought that there were no Jersey Dave Made 2x4 amps but it has been said that special edition 2x4 Jersey amps were indeed built. Stay tuned for this mystery to be solved.

I mostly visit two forums so I thought the traffic flow here might have a different crowd so I thought I would post here also.
 
Last edited:

It looks identical to the M400SE I purchased which was built by Joe 6 years ago in South Carolina I believe.

Those cables pictured there were added after the amp was purchased, I can assure you of that as both builders used #10 awg.

But I did have an SSB delay added to mine pre-shipping.

0011nu.jpg
 
It has been confirmed by those who know much more than I (which is most of you) that this is indeed a Jersey Dave Made 2x4 Amp. It has two 2290's driving four 2879's. Lige is good! (y)

DaveMadeCB018.jpg


DaveMadeCB011.jpg


DaveMadeCB005.jpg


DaveMadeCB009.jpg
 
It has been confirmed by those who know much more than I (which is most of you) that this is indeed a Jersey Dave Made 2x4 Amp. It has two 2290's driving four 2879's. Lige is good! (y)

DaveMadeCB009.jpg

Your's has a pill in the output stage that has been replaced, the one with the red dot on it, not to mention the feedback resistors on the drive stage having the originals replaced with smoke proofs and the 100 ohm on the output combiner as well.

On edit when the relay was replaced they neglected to install the diode across the coil there.

DaveMadeCB005.jpg


Did that amp not come with any output tuning caps or were they also removed?
 
Last edited:
This amp has been repaired but it will eventually be returned back to its original condition or as close to it as possible. My interest is...was this a Jersey Dave Made amp which it is.
 
Yeah that's probably a good idea, usually when someone adds those smokeless resistors to an amp they're trying to disguise another issue such as no output tuning which leads to the replacement transistors.lol
 
I dont see the 10-15pf silver mica cap (brown kidney bean looking thing) that supposed to be soldered to the input side of the so239. (coax connector on the "in" on back of the amp)

You need that to key up or else amp wont key. Its your keying circuit.

Also, as another poster stated, no output tuning. Missing the 150pf and the 1000pf stacked silver mica caps/semcos that go on the relay.

Red wire from the combiner to the relay needs to be bigger (16awg) looks like it is 18 to 20 awg.

If you need help, pm me. I build these as a hobby. I will try and find pics of my recent build.

Edit:

Here is one of my recent builds. Take notice that big white cap near the relay. The white cap is a aftermarket cap which is your tuning circuit. Your amp is missing this. Also, to the left of the white cap see the brown kidney bean looking part that connects to the coax connector? Your amp also needs that.
k2.jpg

k1.jpg


PS (70cst) I do like how they soldered the entire copper board on both sides for better grounding. The stock dave (look at mackmobile43's pic) only solders three areas top/middle/bottom. I believe a continuous solder bead is better. i notice most old daves delevop hairline cracks in the solder joints when this "three area" solder technique is used. Its way more sturdy when a continuous bead is used. Example below:

Here is a stock Dave Made 6 pill with 4 strips of solder on both sides of the copper board:
6pill.jpg


Here is the same 6 pill taken completely apart with entire sides of both sides of the copper board soldered. (im converting the 6 pill into a 16 pill) Also, see the upgraded power strip?
6pill2.jpg


Keep that jersey amp!
 
Last edited:
  • Like
Reactions: 1 person
Thanks all... your info is appreciated. Any idea on what the amp draw would be?
 
pumphouse said:
PS (70cst) I do like how they soldered the entire copper board on both sides for better grounding. The stock dave (look at mackmobile43's pic) only solders three areas top/middle/bottom. I believe a continuous solder bead is better. i notice most old daves delevop hairline cracks in the solder joints when this "three area" solder technique is used. Its way more sturdy when a continuous bead is used. Example below:

What you don't see in the picture I posted of my amp is the strap from the board to the cabinet at the rear with a 3/8'' stud that can be bonded to the body or chassis of the vehicle or in a base setup to a ground rod.

0021uj.jpg
 
What you don't see in the picture I posted of my amp is the strap from the board to the cabinet at the rear with a 3/8'' stud that can be bonded to the body or chassis of the vehicle or in a base setup to a ground rod.

0021uj.jpg

you could have gotten the same effect just drilling chassis and putting the bolt there without the braid, the chassis is already grounded to the board. At the ground lugs on the S0 connectors and where it bolts to chassis on sides.
 
PS (70cst) I do like how they soldered the entire copper board on both sides for better grounding. The stock dave (look at mackmobile43's pic) only solders three areas top/middle/bottom. I believe a continuous solder bead is better. i notice most old daves delevop hairline cracks in the solder joints when this "three area" solder technique is used. Its way more sturdy when a continuous bead is used. Example below:

Here is a stock Dave Made 6 pill with 4 strips of solder on both sides of the copper board:
6pill.jpg


Here is the same 6 pill taken completely apart with entire sides of both sides of the copper board soldered. (im converting the 6 pill into a 16 pill) Also, see the upgraded power strip?
6pill2.jpg


Keep that jersey amp!


You say you upgraded the power strip was the old one having a problem handling the current? Soldering the side in 3 places or the whole way has no effect on the performance of the amp. The boards arent seperated the sides have been scored and bent over so there is still a connection the whole way, soldering the sides just keeps it from breaking if the amp is moved around and bounced around. If the sides did somehow break from abuse the amp still gets it's ground from the dc ground wire.
 
you could have gotten the same effect just drilling chassis and putting the bolt there without the braid, the chassis is already grounded to the board. At the ground lugs on the S0 connectors and where it bolts to chassis on sides.

But then you would have not had the satisfaction of telling me how you would have done it now EH?

Should I de-solder the negative power lead from the circuit board and connect it directly that grounding lug I installed on the cabinet>? Don't bother answering that I think I know your answer.:pop:
 
You say you upgraded the power strip was the old one having a problem handling the current? Soldering the side in 3 places or the whole way has no effect on the performance of the amp. The boards arent seperated the sides have been scored and bent over so there is still a connection the whole way, soldering the sides just keeps it from breaking if the amp is moved around and bounced around. If the sides did somehow break from abuse the amp still gets it's ground from the dc ground wire.

LOOKIE!!!!!!!!!!!!!!!!!!!!!!!!!!!!!!!!!!!!!!!!!!!!!!!!!!!!!!!!!!!!!!

6pill21SOLDER.jpg
 

dxChat
Help Users
  • No one is chatting at the moment.