I found out in 2011 that Elecraft was working on a small, ultra portable HF/2m SDR rig and my interest was immediately piqued for quite a few reasons. First, as an owner of the K3, I was confident that any new transceiver that Elecraft put out would have terrific specifications. Secondly, I like putting together kits, and Elecraft always makes their products available in kit form. I already had the Yaesu FT-897D as my portable rig, but the thought of something 1/10th the size was very appealing. Given Elecraft's reputation for customer support and their unique approach to software defined radios, I decided to promptly sell the Yaesu FT-897D and pre-ordered a KX3 kit within minutes of receiving the pre-order announcement.
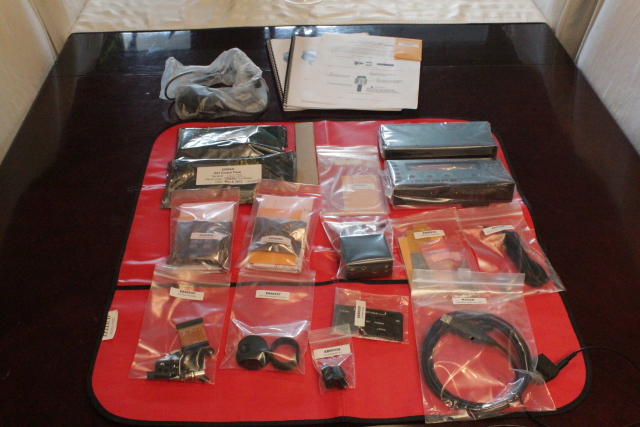
After several months, I received my kit and hastily took all of the components out of the box and laid them out:
Keep in mind that the KX3 is available in either assembled or kit form. I was one of the very first customers to receive the KX3 in kit form. You can follow along with my build process which includes detailed photos in this article. The entire build process only took a few hours and is no more difficult than assembling a basic PC. I really think that anyone that can use basic hand tools can have a lot of fun assembling the kit, although if that's not for you then for an extra $100, Elecraft will provide you with an assembled rig.
Here is the cost breakdown of my initial order (rounded to whole dollars):
Item
|
Price
KX3 Kit|$900
MH3 Microphone|$60
KXFL3 dual-Passband Roofing Filter|$130
KXAT3 Internal, 20-W Automatic Antenna Tuner|$170
KXBC3 Internal NiMH Charger with Real-Time Clock|$60
I later picked up the KXPD3 Precision Iambic Keyer Paddle which has a price tag of $130.
Physical Attributes
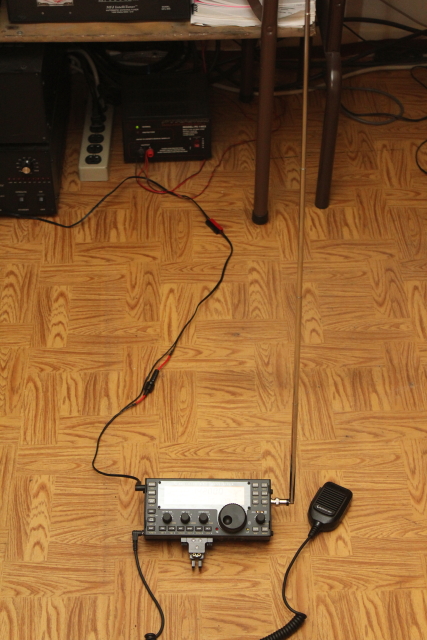
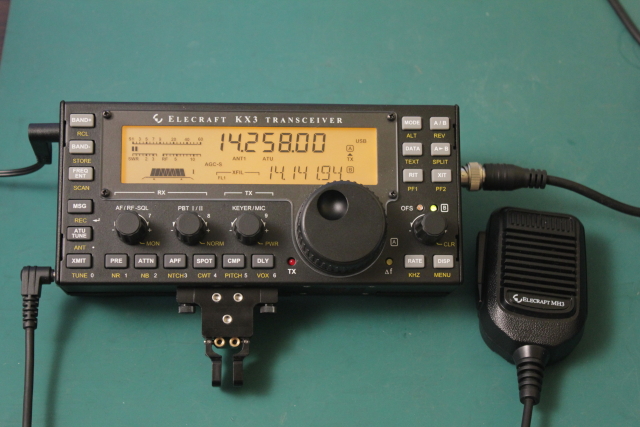
Here is a picture of the fully assembled radio with the paddle, microphone, power, and antenna attached:
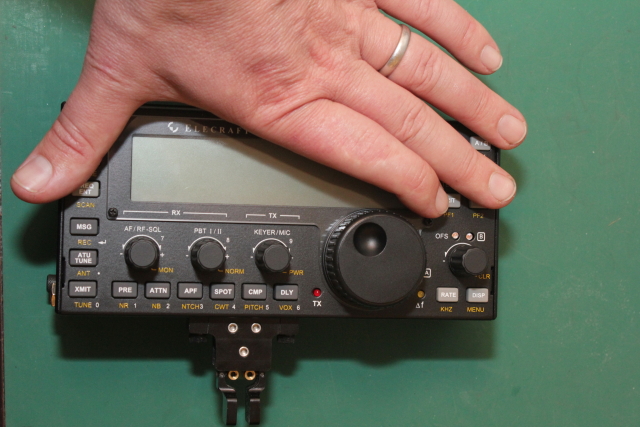
The dimension of the KX3 are 3.4" high x 7.4" wide x 1.7" deep. It weighs about 18 ounces without batteries and options. To give some perspective on how small this rig actually is, I took this picture:
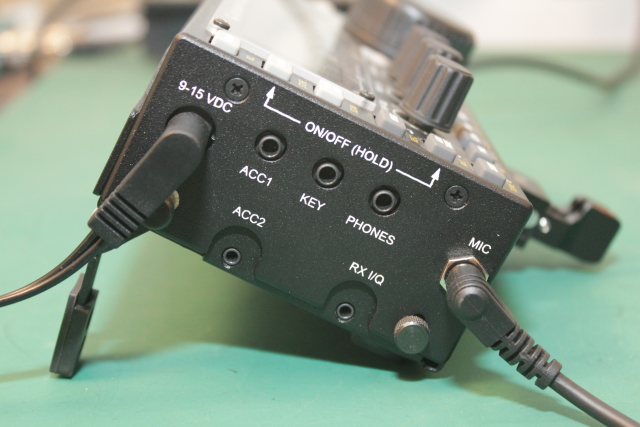
The left side contains all of the interface ports (more on these in a later update):
The right side contains the BNC HF antenna jack and the location of the future 2 meter SMA antenna jack:

The thumb screws on either side are how you open the rig to install the batteries:
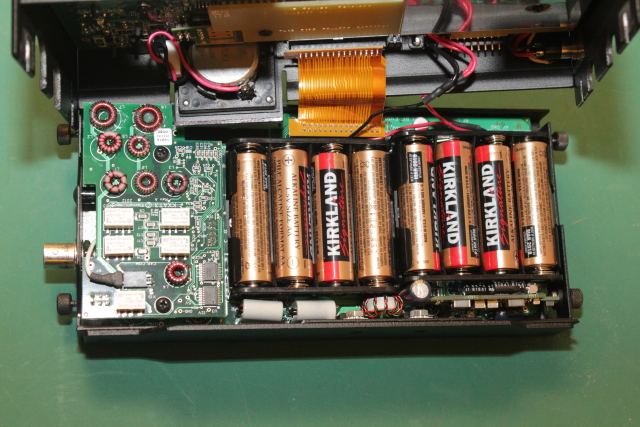
Note that you do not need to install batteries if you have an external power source. It is also safe to install the batteries while the rig is powered by external DC. In this picture, the optional battery charger is not installed because it is not currently being shipped. When it does ship, I will be trying various other types of batteries and reporting back on the lifespan and performance using this power configuration.
The optional paddle installs on the radio face using the thumb screws:
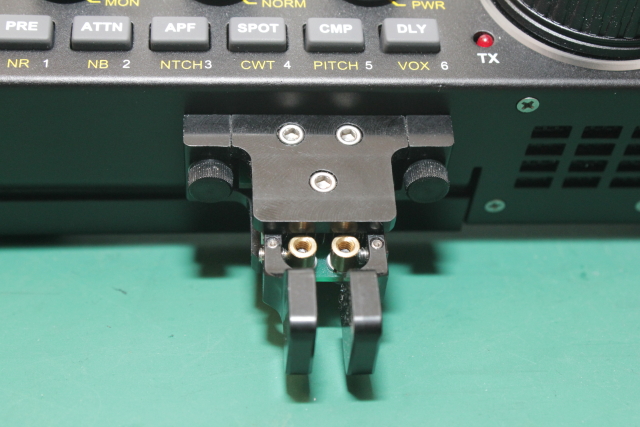
This paddle is really an ingenious design, well built, and is adjustable via the small allan screws in the top and sides.
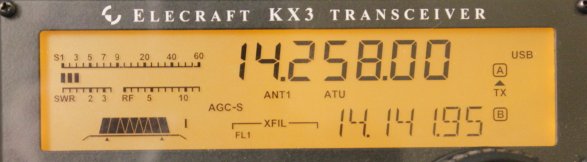
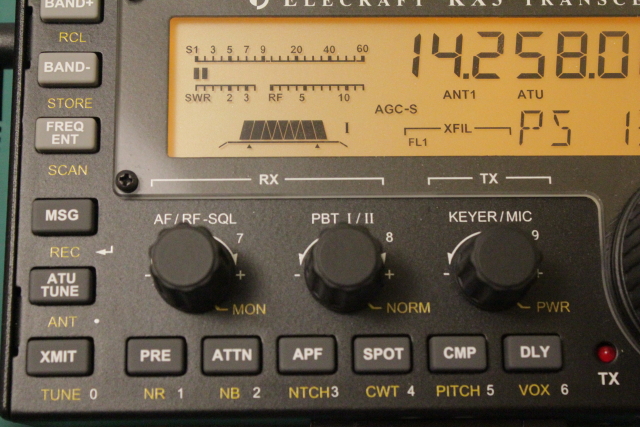
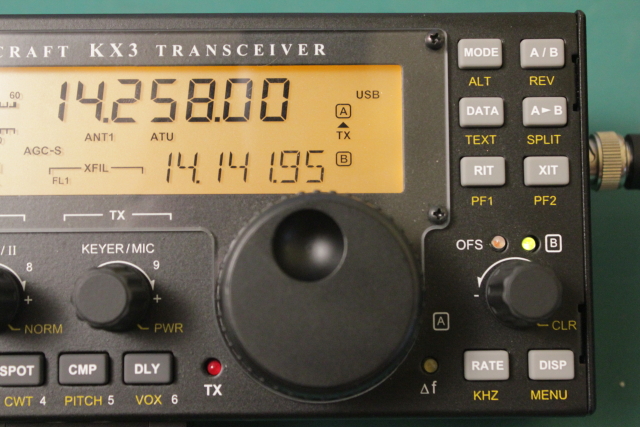
In the next update, I'll cover the basics of the operational controls and discuss some of the more detailed specifications of this completely software defined radio.
After several months, I received my kit and hastily took all of the components out of the box and laid them out:
Keep in mind that the KX3 is available in either assembled or kit form. I was one of the very first customers to receive the KX3 in kit form. You can follow along with my build process which includes detailed photos in this article. The entire build process only took a few hours and is no more difficult than assembling a basic PC. I really think that anyone that can use basic hand tools can have a lot of fun assembling the kit, although if that's not for you then for an extra $100, Elecraft will provide you with an assembled rig.
Here is the cost breakdown of my initial order (rounded to whole dollars):
KX3 Kit|$900
MH3 Microphone|$60
KXFL3 dual-Passband Roofing Filter|$130
KXAT3 Internal, 20-W Automatic Antenna Tuner|$170
KXBC3 Internal NiMH Charger with Real-Time Clock|$60
Total|1320
Physical Attributes
Here is a picture of the fully assembled radio with the paddle, microphone, power, and antenna attached:
The dimension of the KX3 are 3.4" high x 7.4" wide x 1.7" deep. It weighs about 18 ounces without batteries and options. To give some perspective on how small this rig actually is, I took this picture:
The left side contains all of the interface ports (more on these in a later update):
The right side contains the BNC HF antenna jack and the location of the future 2 meter SMA antenna jack:
The thumb screws on either side are how you open the rig to install the batteries:
Note that you do not need to install batteries if you have an external power source. It is also safe to install the batteries while the rig is powered by external DC. In this picture, the optional battery charger is not installed because it is not currently being shipped. When it does ship, I will be trying various other types of batteries and reporting back on the lifespan and performance using this power configuration.
The optional paddle installs on the radio face using the thumb screws:
This paddle is really an ingenious design, well built, and is adjustable via the small allan screws in the top and sides.
In the next update, I'll cover the basics of the operational controls and discuss some of the more detailed specifications of this completely software defined radio.