
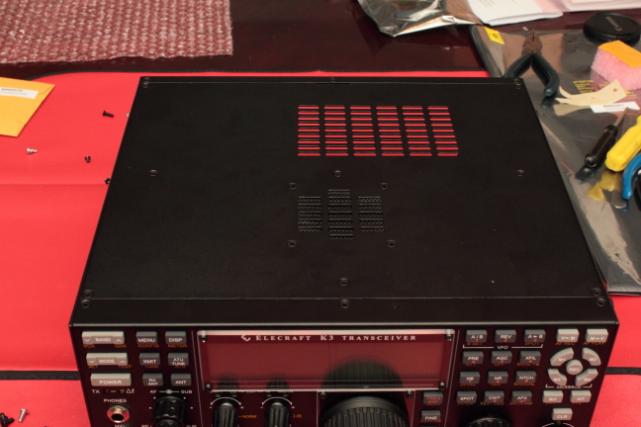
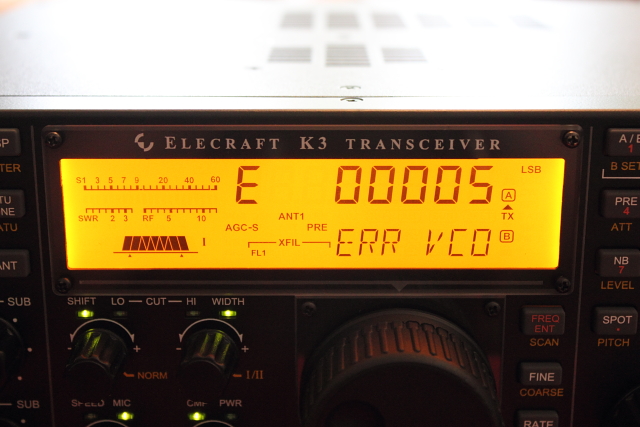
Before moving any further, you need to do a smoke test  . Put the Anderson Power Pole connector on the supplied power cord and plug it in. You turn the rig on to see if it powers up and check for smoke. If successful, nothing terribly exciting happens except the screen displays like this:

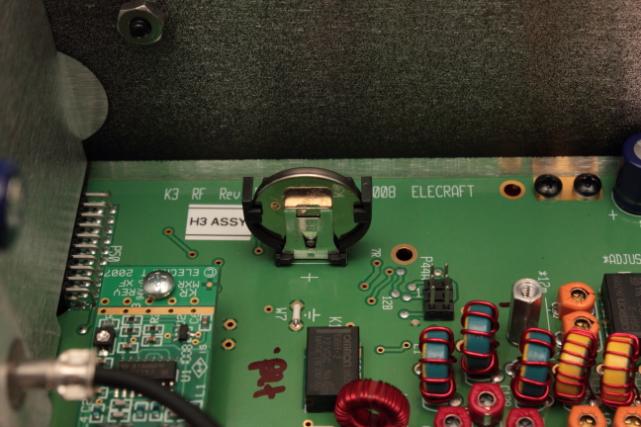
The next part of the build is to install the Reference Oscillator Board. Here is a pic of what it looks like:

You have to carefully install the TCXO on the board and use a zip tie to keep it from falling out. The manual says that it does matter which side the zip tie lock is on so you have to read carefully. I ordered the optional 1ppm (+/- 0.5 ppm) TCXO which has a little plastic insulator that goes between the TCXO and the socket. Here is a pic with the TCXO installed.

Next you must trim any of the posts on the back side of the board that may be sticking out too far. On my board, there was only one or two that needed to be trimmed.

Next you mount the oscillator board onto the main RF deck and secure it to the display shield. There is a specific way you are supposed to use the supplied lock washers when you do this (which is a little tricky) so make sure and read the instructions carefully.

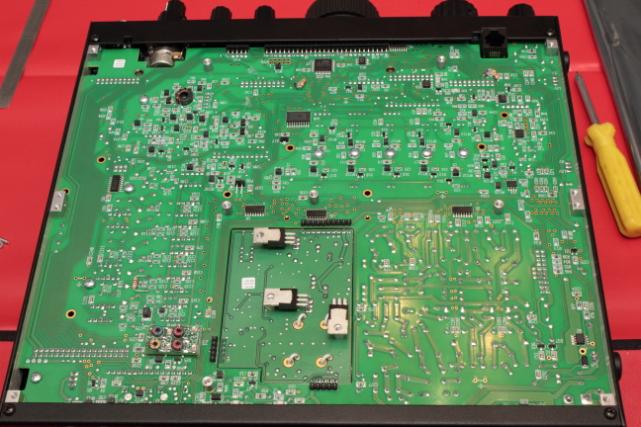
Now we move on to the Synthesizer board. Here is what the front of the board looks like:

And here's the back:

You have to trim the leads on the back of this board also and be careful not to accidentally get a little tiny diode or resistor by mistake.
The synthesizer gets plugged in right next to the oscillator board and once again you need to pay attention to the instructions regarding the screw and lock washer details.

Now you plug in the supplied coax cables. Although these already have crimped on connector that make it really easy, you still have to be careful. You also need to check the tips for burs and lead length. I had one connector that had a little bur on it that had to be taken care of before it would install properly.
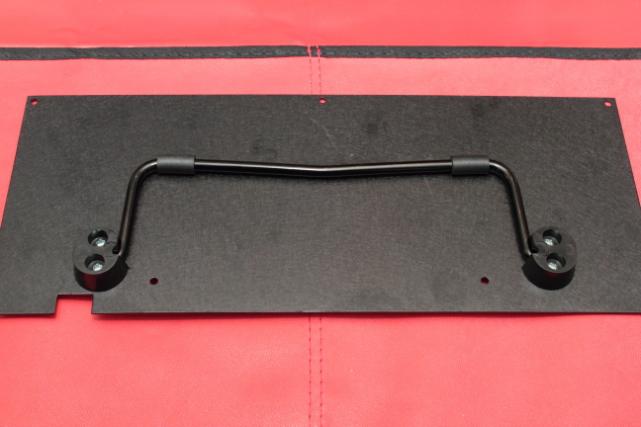
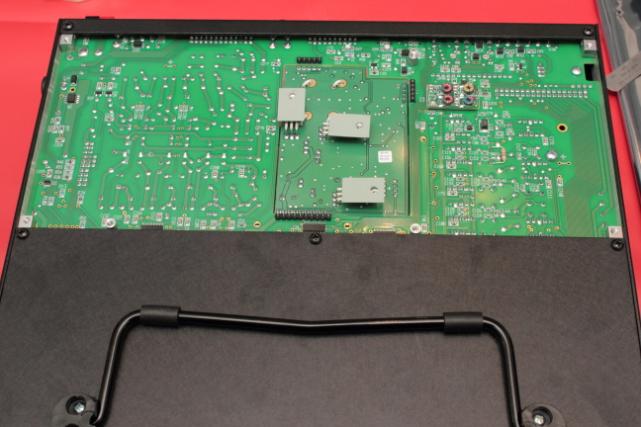
Moving on to the top cover, you install the stiffener bracket.

Assembling the speaker onto the cover involves trimming the speaker mat, attaching the speaker using the supplied nuts and washers, and placing the cover over the rear magnet.

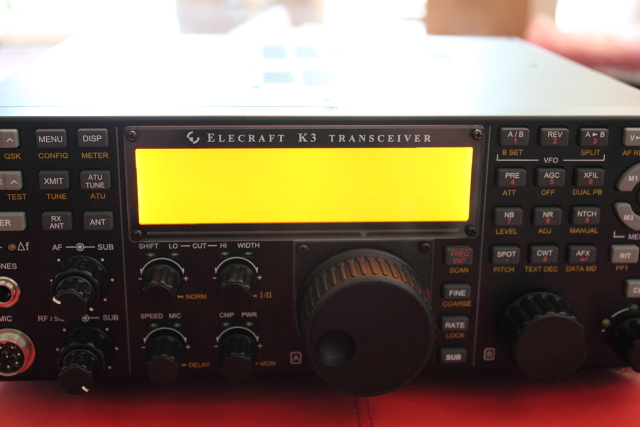
As you can see, the rig is coming right along.
. Put the Anderson Power Pole connector on the supplied power cord and plug it in. You turn the rig on to see if it powers up and check for smoke. If successful, nothing terribly exciting happens except the screen displays like this:
The next part of the build is to install the Reference Oscillator Board. Here is a pic of what it looks like:
You have to carefully install the TCXO on the board and use a zip tie to keep it from falling out. The manual says that it does matter which side the zip tie lock is on so you have to read carefully. I ordered the optional 1ppm (+/- 0.5 ppm) TCXO which has a little plastic insulator that goes between the TCXO and the socket. Here is a pic with the TCXO installed.
Next you must trim any of the posts on the back side of the board that may be sticking out too far. On my board, there was only one or two that needed to be trimmed.
Next you mount the oscillator board onto the main RF deck and secure it to the display shield. There is a specific way you are supposed to use the supplied lock washers when you do this (which is a little tricky) so make sure and read the instructions carefully.
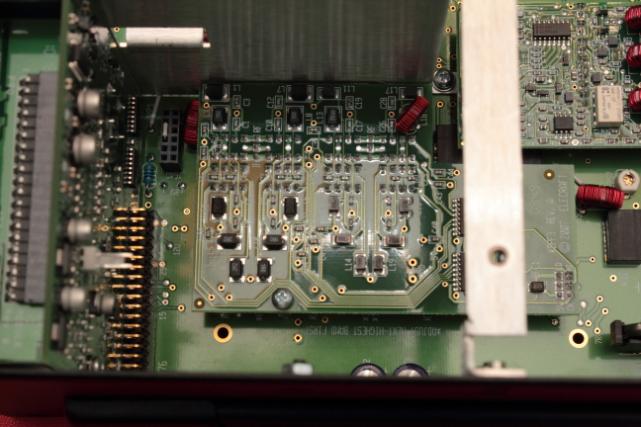
Now we move on to the Synthesizer board. Here is what the front of the board looks like:
And here's the back:
You have to trim the leads on the back of this board also and be careful not to accidentally get a little tiny diode or resistor by mistake.
The synthesizer gets plugged in right next to the oscillator board and once again you need to pay attention to the instructions regarding the screw and lock washer details.
Now you plug in the supplied coax cables. Although these already have crimped on connector that make it really easy, you still have to be careful. You also need to check the tips for burs and lead length. I had one connector that had a little bur on it that had to be taken care of before it would install properly.
Moving on to the top cover, you install the stiffener bracket.
Assembling the speaker onto the cover involves trimming the speaker mat, attaching the speaker using the supplied nuts and washers, and placing the cover over the rear magnet.
As you can see, the rig is coming right along.


")
