• You can now help support WorldwideDX when you shop on Amazon at no additional cost to you! Simply follow this Shop on Amazon link first and a portion of any purchase is sent to WorldwideDX to help with site costs.

Pride DX300 basket case. No, maybe more like body-bag case.

nomadradio

Analog Retentive
Apr 3, 2005
6,935
11,061
698
Louisville, KY
www.nomadradio.com
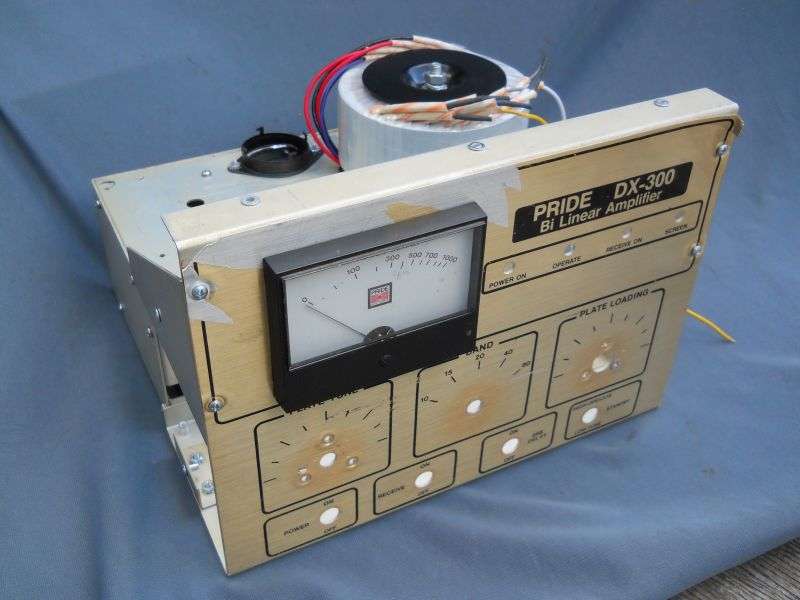
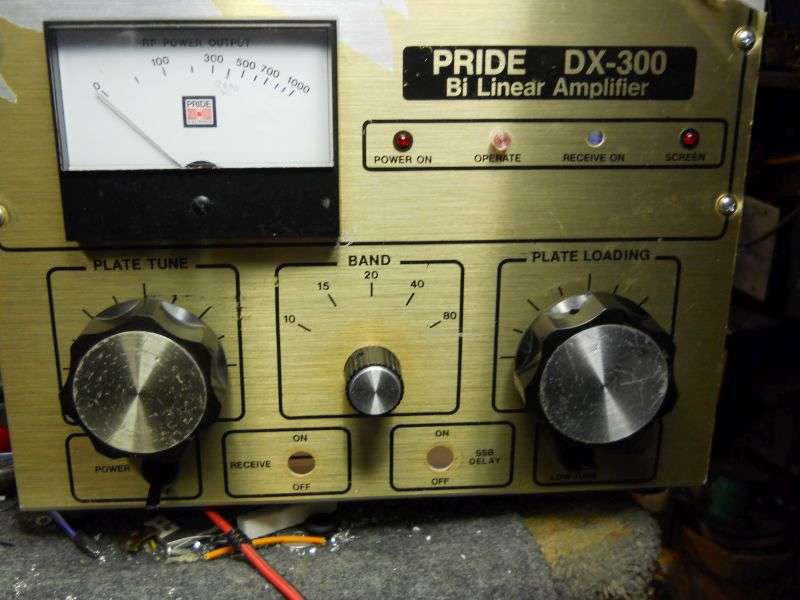
You've heard the term "basket case", disassembled parts in a basket. I'd call this one a "body bag" case. A customer gave me the thing. Thank you "R".

Honest.

fnNVDb.jpg


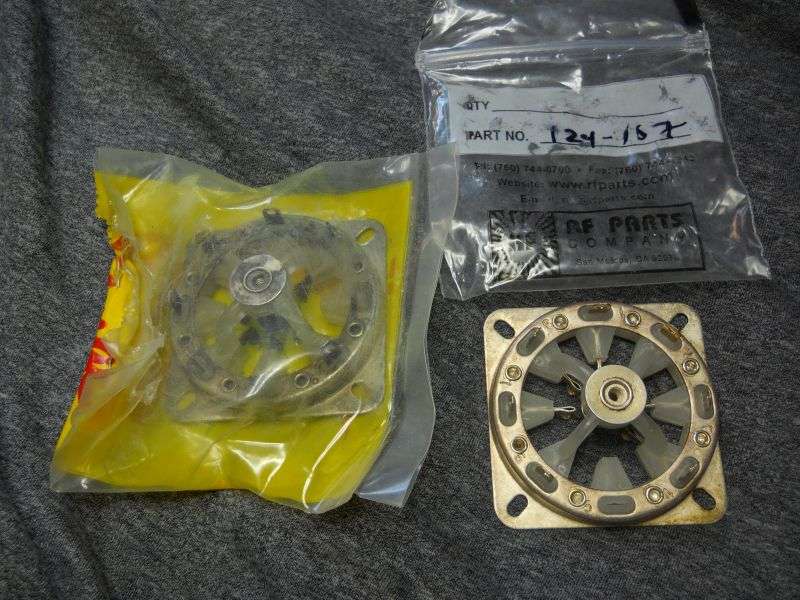
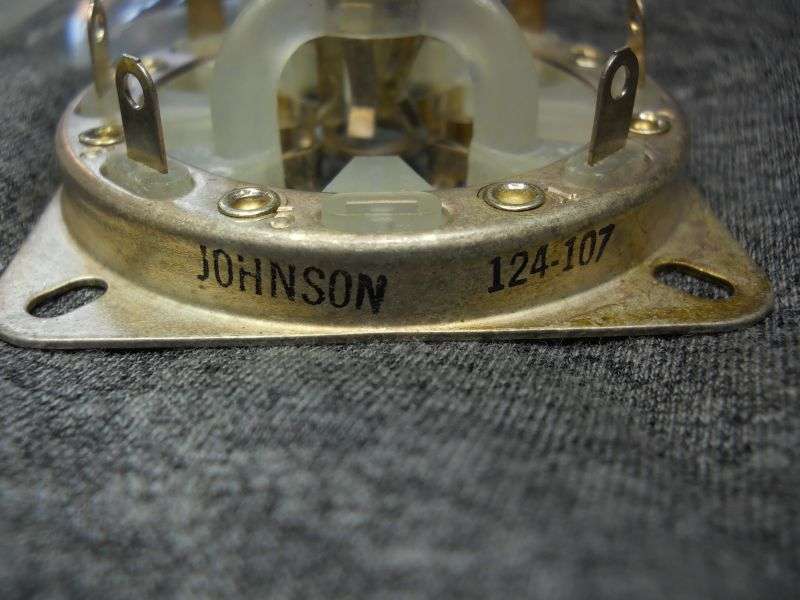
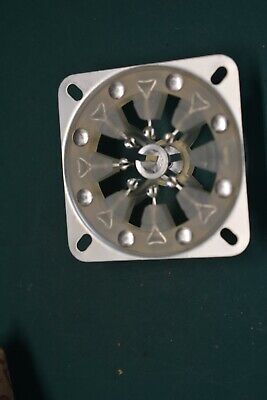
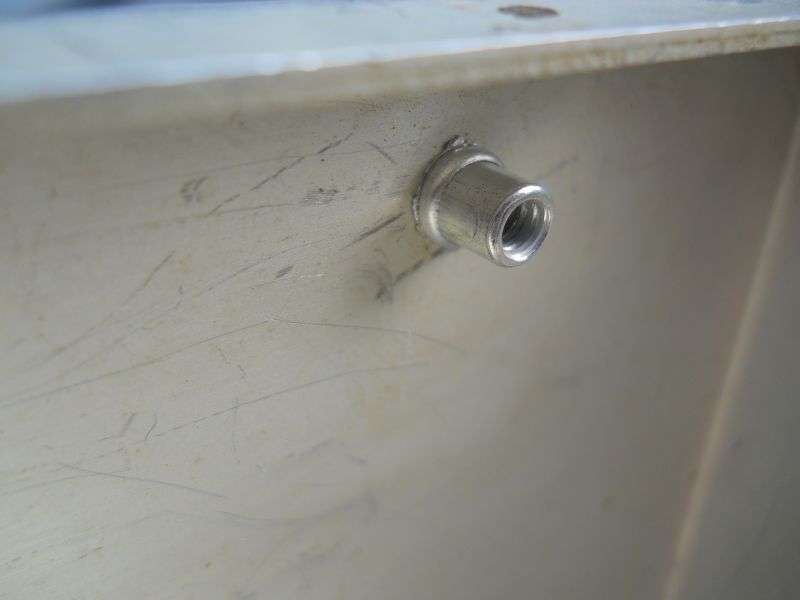
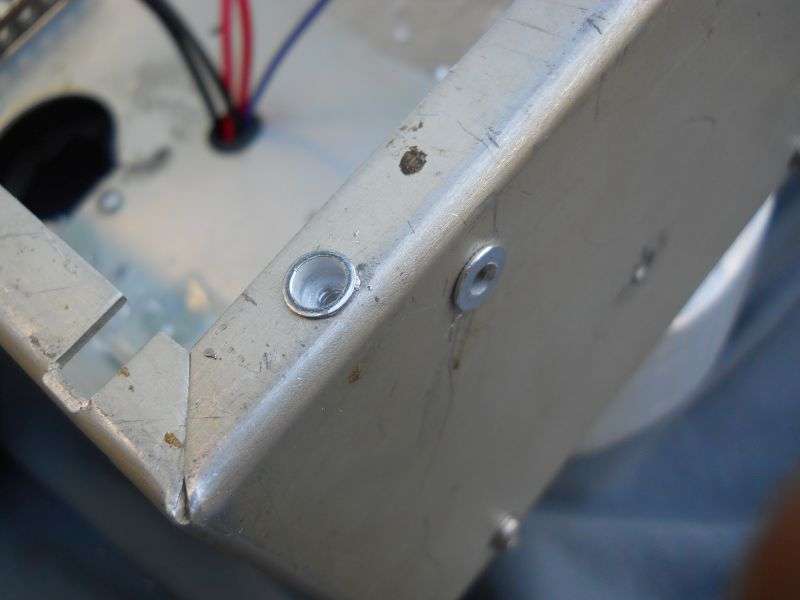
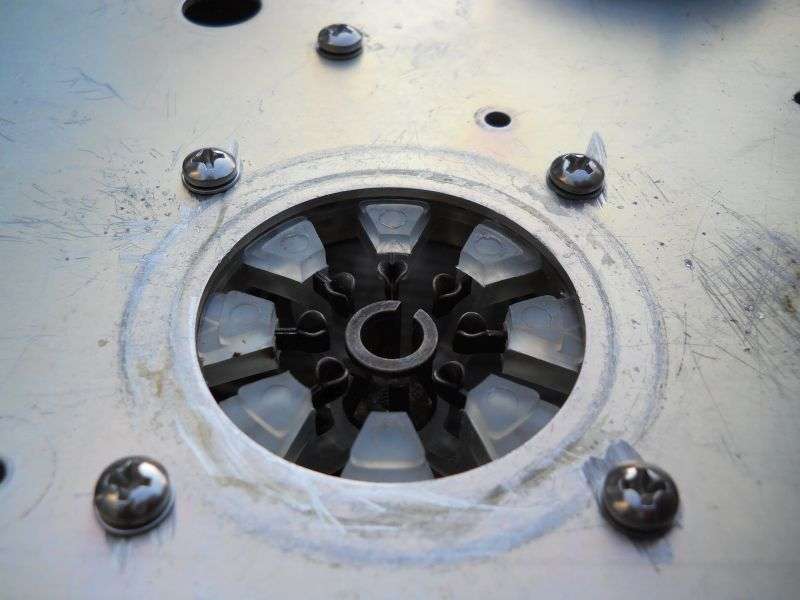
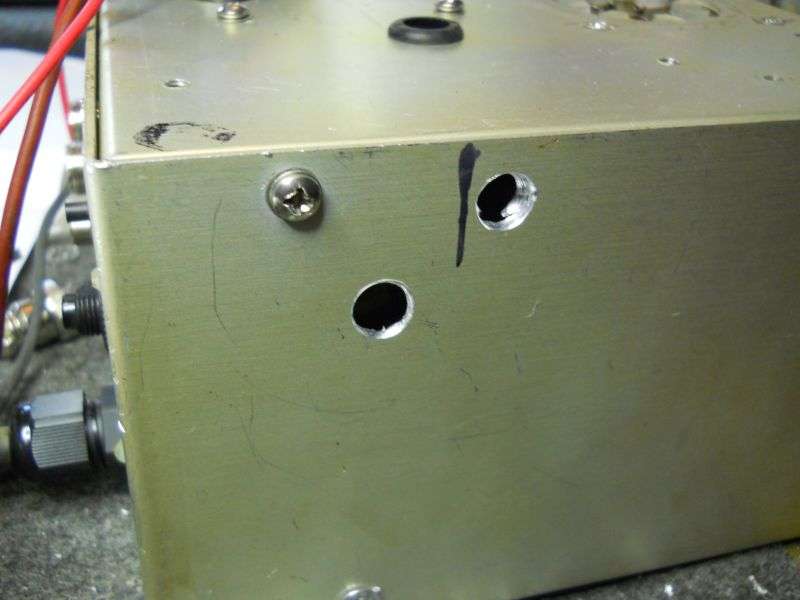
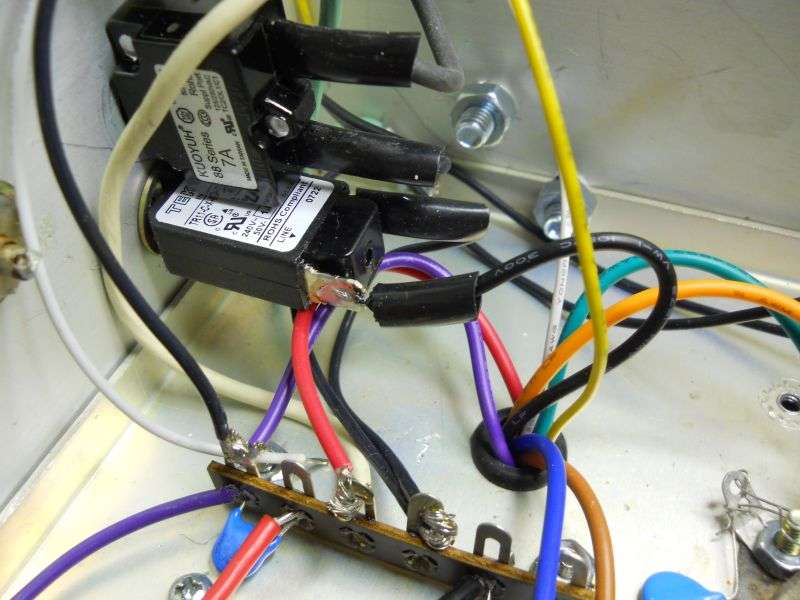
Turns out someone had attempted to make it a two-tube amplifier. Must not have turned out too well. It got disassembled about as far as it can be. Plugging the hole where the second socket goes won't be that tough. I have all the parts that are missing but one. A tube socket that fits this chassis is on the way from RF Parts Inc. Had that exact socket in stock for over twenty years. Oddly enough, I used it for a repair job a few months back. And yes, it will have only one tube when I'm done with it.

It did come with the cabinet top. Just wouldn't fit in the first pic.

8CHzIc.jpg


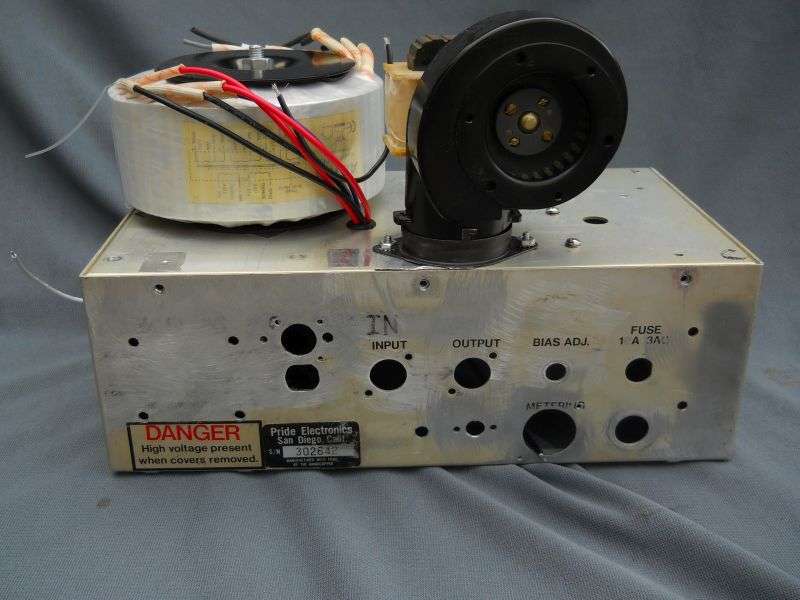
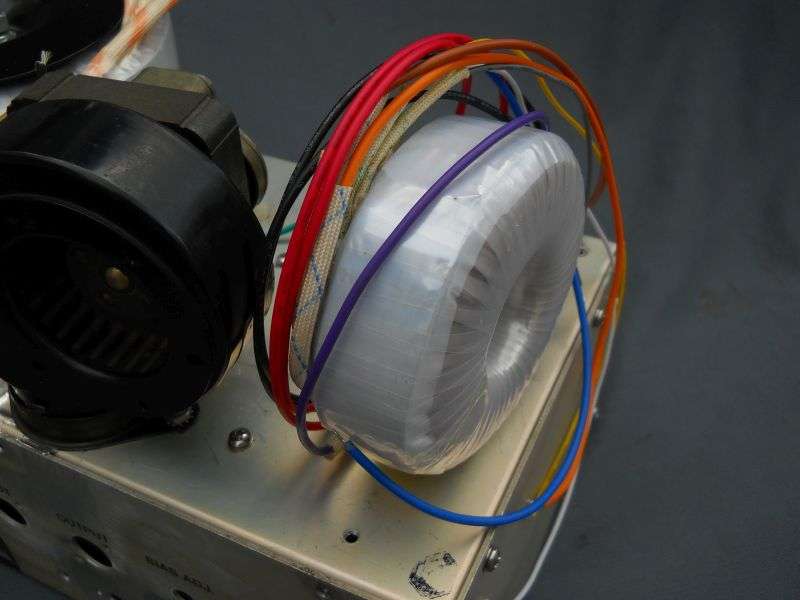
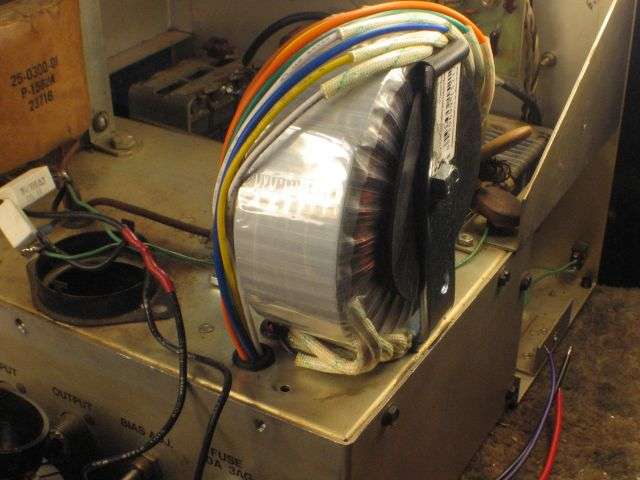
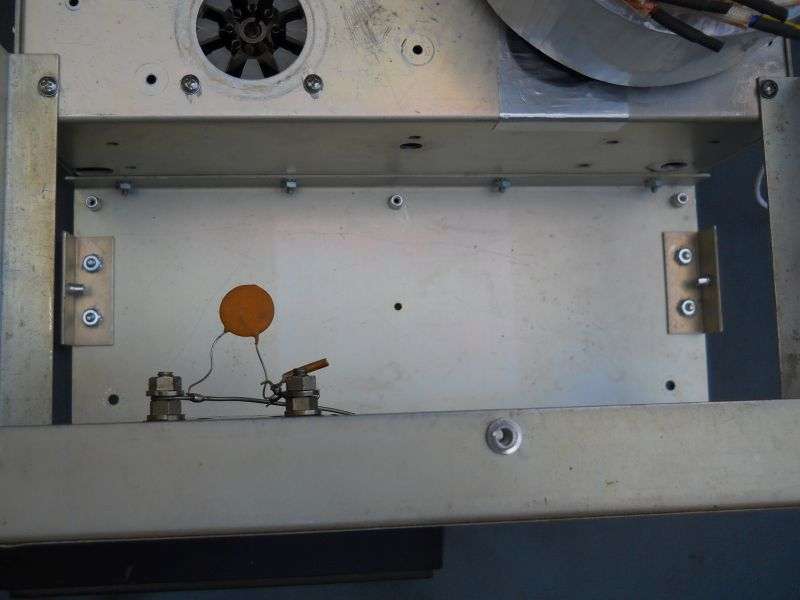
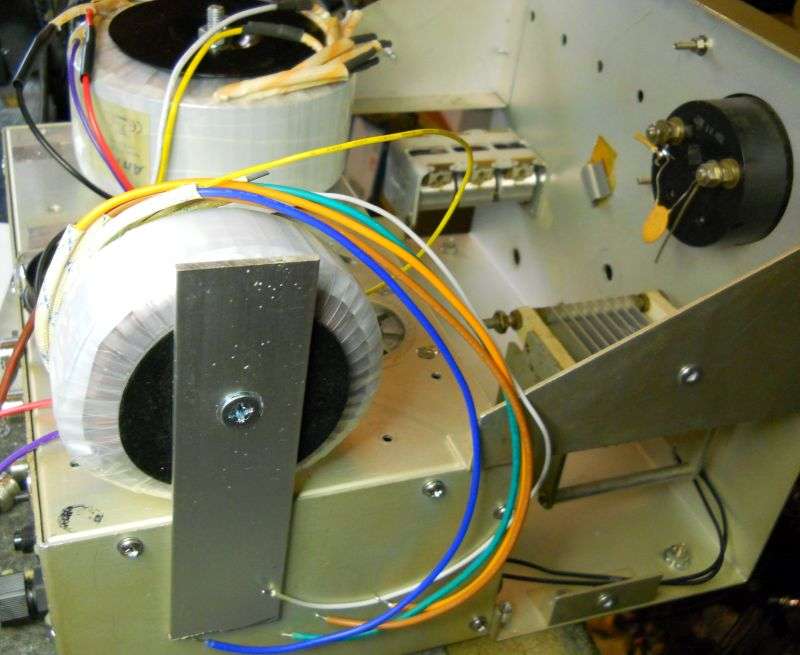
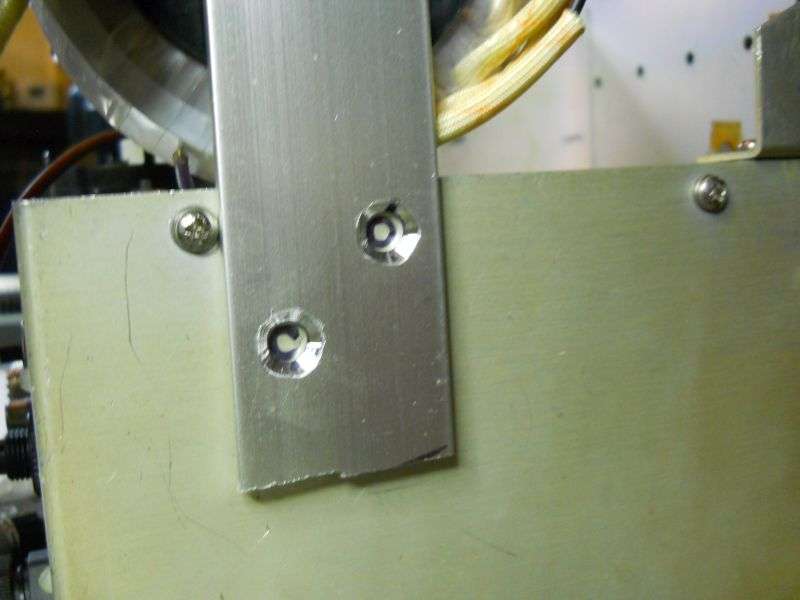
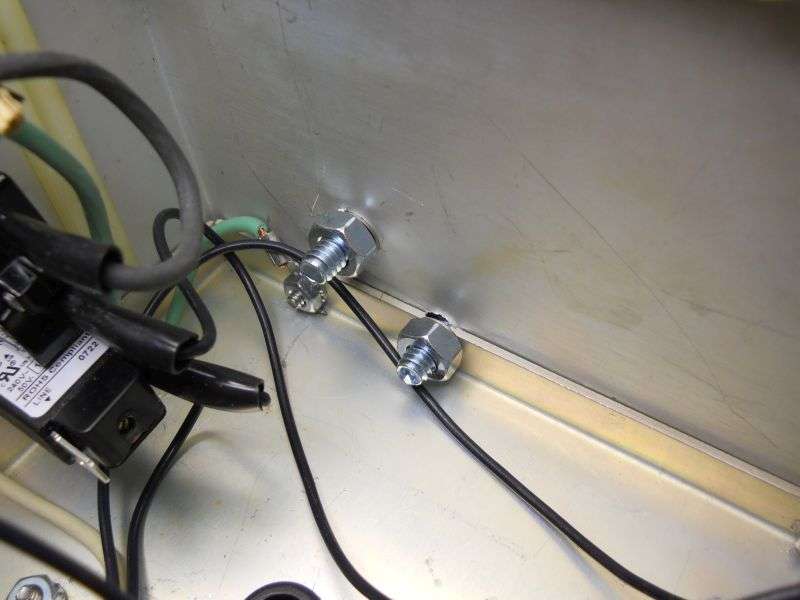
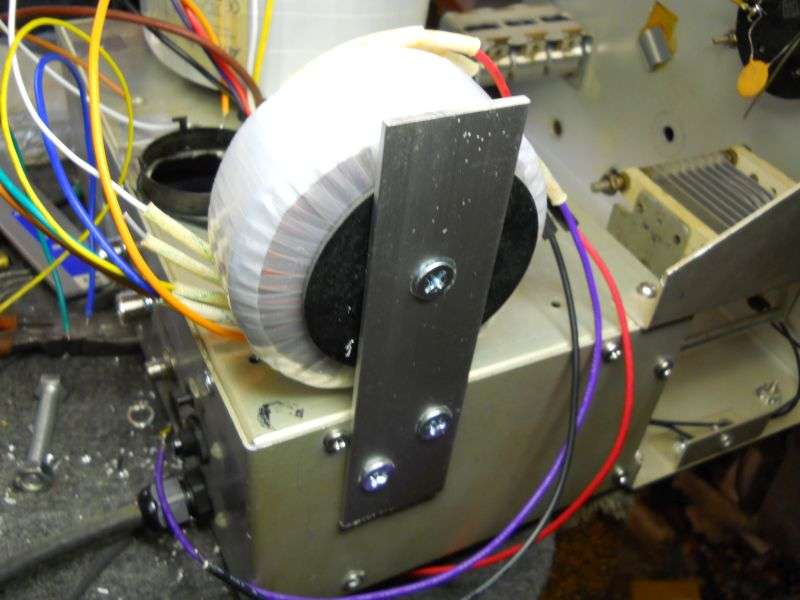
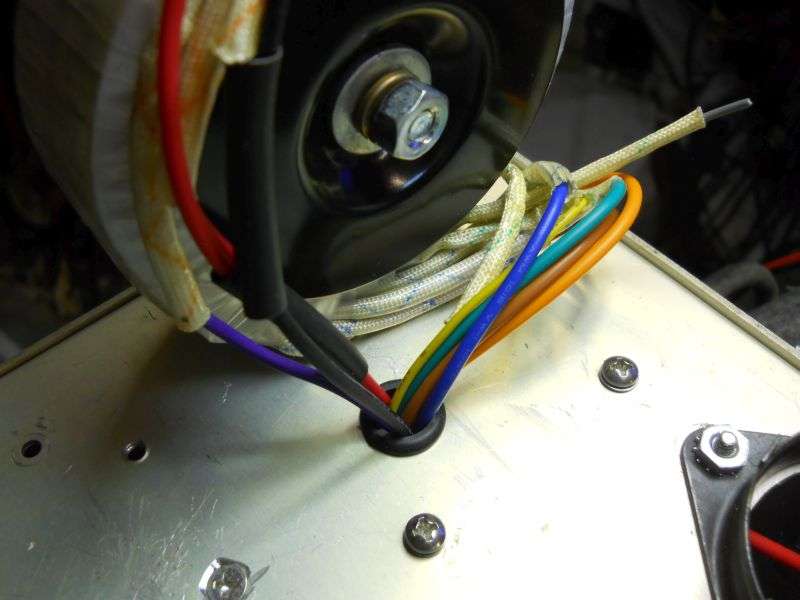
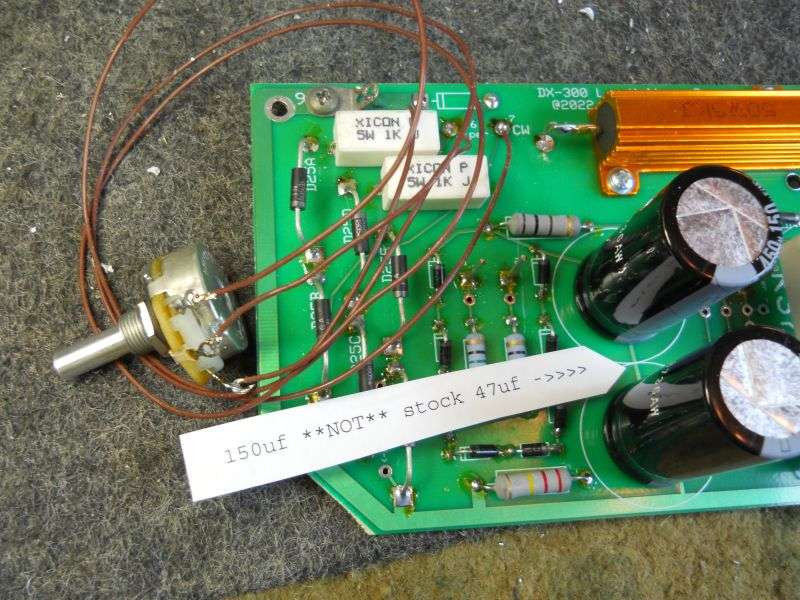
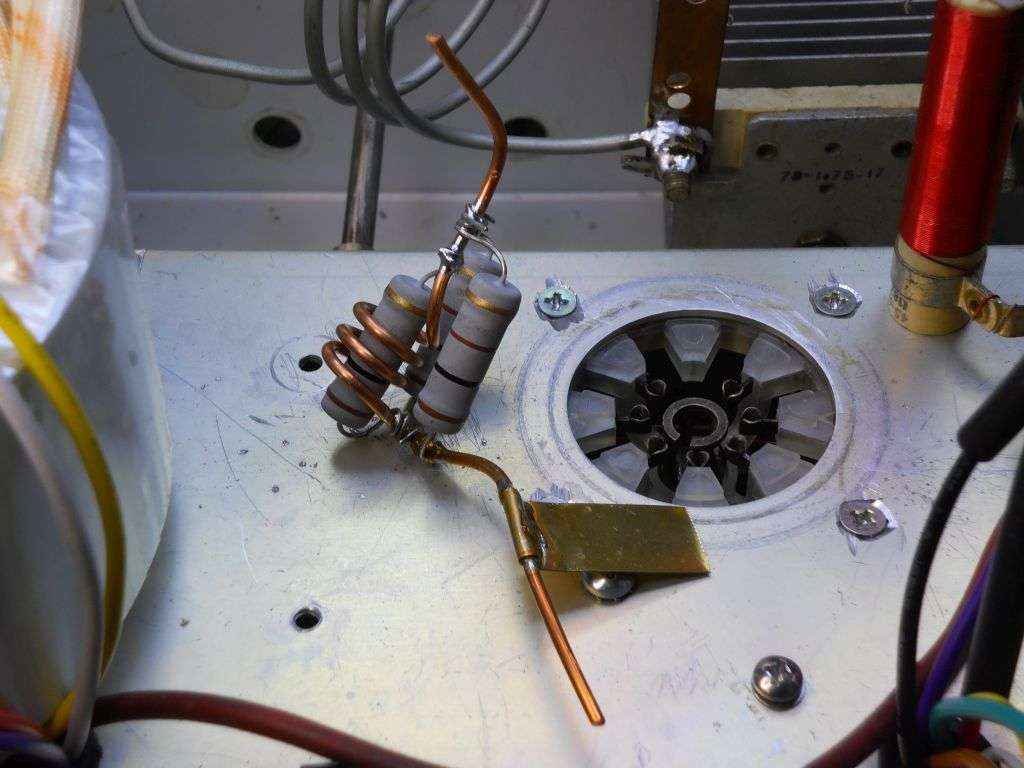
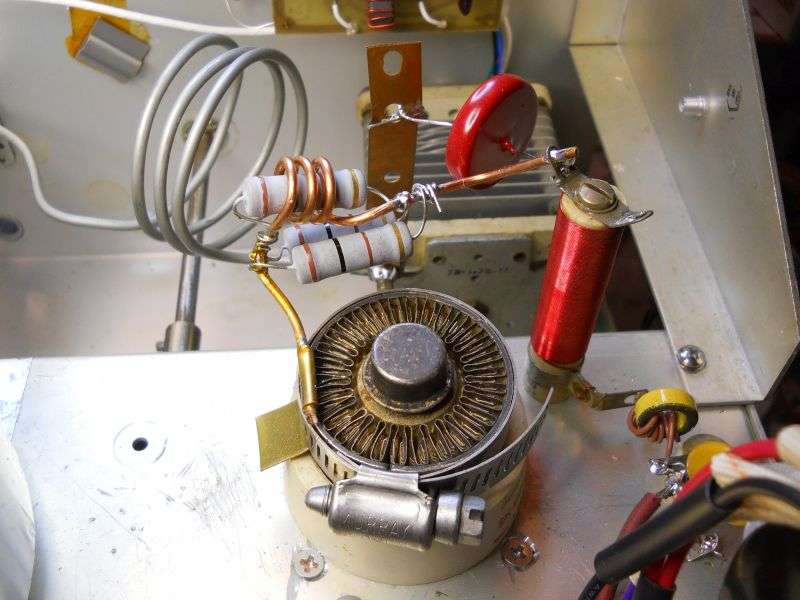
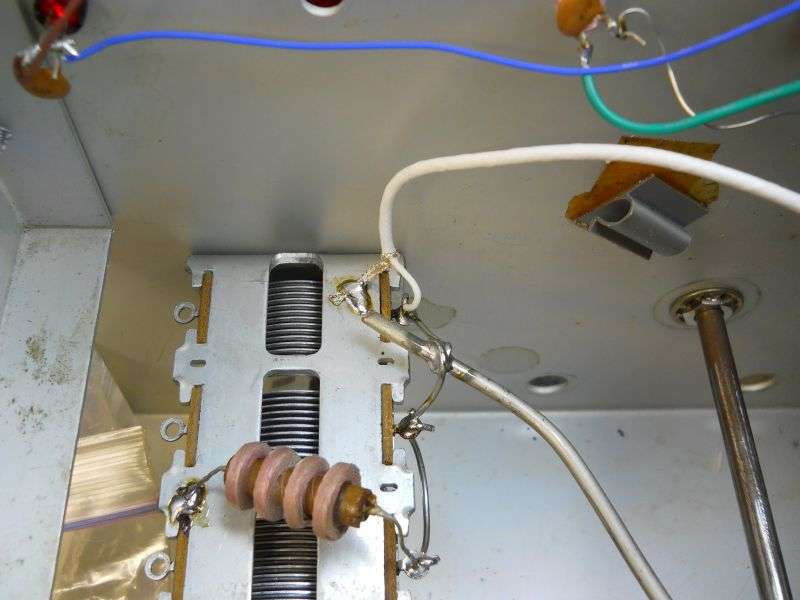
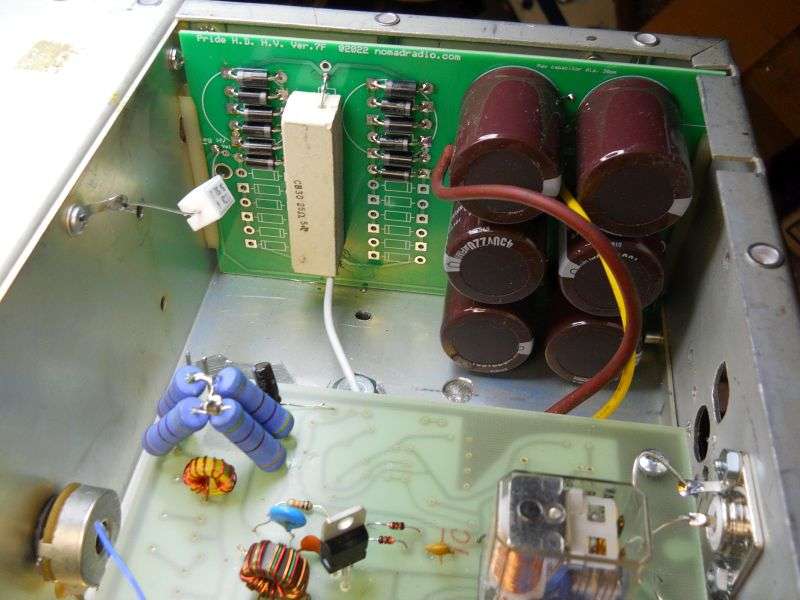
Normally this kind of project could end up on a back burner for years. But I need decent detailed pictures of my HV-transformer substitute hookup. Don't want to try selling it without sufficiently-detailed instructions. It's a substitute, not the original type HV transformer. More than a few things get altered to install it. But getting those pics is an incentive that might goose this project to completion before the Greenland glaciers melt.

Maybe.

We'll see.

73
 

My luck improved today, package arrived from RF Parts Inc.

Got two, one for stock and one for the rebuild.

eXq77a.jpg


And if you ever find yourself in this spot, here's the correct type number. There are plenty of sockets for this tube that you would have to adapt. This is the one the chassis is punched to accept directly.

mpjScq.jpg


More to come.

73
 
Only boring stuff to do so far. The rear panel looks more like a swiss cheese. Every hole had something in it once upon a time. Only some of them are original.


KwRmZq.jpg


This small(er) toroid transformer will supply filament, bias and relay power. Can't lay it flat, not enough room on the deck. Standing it up where it will barely fit requires a bracket.

jplnq8.jpg


Did it this way a few years ago. Not sure I like this bracket.


dx300lvantekinplacesm.jpg


I won't be putting it back together with self-tapping sheet-metal screws like it was built with. Where I can back up a machine nut, a machine screw will do. Blind fasteners, like the cover screws need a machine thread in the form of an insert.


6WfIpc.jpg


These aluminum "rivet nuts" get planted with a tool that resembles a pop-rivet gun, but with a threaded mandrel to engage the insert.


W8mBqO.jpg


This is what it looks like inside, once installed.


waMv0H.jpg


There are two types in a previous pic. The conventional insert has a ring around the hole, raises a bump in the panel surface. The package that says "near flush" is what I'm using for the bottom cover. It has to seal in the pressurized air from the blower, so this should improve the fit.


eUJmmg.jpg


Found one boo-boo I need to fix so far.


KbJUzJ.jpg


The wear ring around the socket marks the outline of the ceramic chimney. It fits over the tube to direct airflow through the tube's fins. But it won't quite sit flat on these screw heads. Gonna need to countersink these four holes and use flat head screws.

Oops.


Now if I could only track down the guy who sold us the printed vinyl face decal for the last rebuild we sold off. The face on this one is rough.


So far, so good.

73
 
Progress continues. It's the weekend, after all.

Starting to look kinda real, at least.

6USNLz.jpg


Got to spend a little time over the weekend piecing Lazarus back together.

This is a mod I haven't seen before.

u5ASD1.jpg


Probably won't have that mod when I'm done with it.

No more self-stripping screws, either.

f1L10R.jpg


Progress will probably slow for a bit. Weekend is over, gotta get back to the customer backlog.

73
 
I finally got a day to pick up where I left off with the body-bag case Pride DX300. The missing low-voltage transformer gets replaced with a toroid type from Antek.

http://www.antekinc.com

Yaxfdl.jpg


The simplest mount for it is a flat aluminum bar. Measure once, cut twice. I should have made the holes that bolt it to the chassis a bit lower down.

B1S02y.jpg


Maybe the boo-boo isn't obvious yet.

V1W2LO.jpg


Here you can see where I drilled through two layers of metal. Generally not advised, but I got away with it this time. If I ever package this setup as a DIY kit, those holes will need to be drilled lower than you see here.

2AEQyB.jpg


Just the same, it mounted just fine. The thickness of the bracket won't interfere with the top cover. There's a 1/8-inch gap in the original construction between the rear half of the cover's side panels and the chassis.

Pgj07r.jpg


I should pack a rubber grommet for the chassis hole where the wires all go. The gray wire cut off short isn't used, and should get a shrink bootie on it.

WMGlFQ.jpg


Of course the little transformer gets its own circuit breaker. No fuses in this amp when I get done with it. The new owner of this one won't have a way to substitute a "no-blow" fuse for the right one.

4PC618.jpg


There is one more detail beyond getting it bolted down and the wires hooked up. This transformer's high-voltage secondary only puts out half the original transfomer voltage. This works out okay, since the bridge rectifier circuit instantly becomes a full-wave voltage doubler if we hook it up that way. Just one problem The ripple frequency from the original bridge circuit is 120 Hz. This hookup generates rectifier ripple at 60 Hz. This means the filter caps have to hold a charge for twice as long as the factory transformer made necessary. The fix is to upgrade the bias and screen-voltage filter caps from 47 uf to 150 uf. This smooths out the ripple sufficiently to prevent an annoying hum modulated on your AM carrier.

KuwBH7.jpg


Looks like I'll have to make it a package of this transformer and the modified low-voltage board to match it. Assuming of course that I actually get it organized to sell. At least this is a baby step in that direction.

73
 
Last edited:
IT'S ALIYEEEEV!

Okay, enough of the frankengag references. Played hooky today. Shoulda been wrapping up a Browning Mark 3 and a Palomar 300A for customers. Instead, I got this thing patched together enough to finally see some wattage out of it.

Finally got the top side wired up. I don't use the "hairpin" shaped parasitic-suppression choke the factory did for this model. I use a fairly conventional small coil with 15 Watts' worth of resistors in parallel with it.

N4PyAI.jpg


There are folks who will tell you not to use a stainless clamp for this kind of tube. Stainless alloy is not the best choice for high RF currents. The half-inch wide brass "flag" on the end of the choke is what completes the circuit, plastered against the tube's anode ring under the stainless hose clamp.

U8AMU4.jpg


Had to buy a new Load control. Fortunately RF Parts still had this one. The solder lugs on this part can become tough to solder in an old amplifier. They get oxidized. Advantage of a new part is that it accepts solder with no fuss.

g6w7tw.jpg


The full-wave voltage doubler circuit needed to use the toroidal HV transformer has half the diodes of the stock setup, and filter caps three times the capacitance value.

W1x5rc.jpg


The amplifier is far from complete. Fired it up on Low side only. Haven't installed the switch that selects high side. Plan is to use a 25-Watt potentiometer to select how "high" is High side. Variable swing and carrier, both.

Couldn't resist putting two funky Siltronix VFO knobs on it. Thought about naming it the "Big Betty" edition. But not for long.

IZHF5x.jpg


Gotta pester the fella out west who sold me a vinyl face decal for a Pride last year. This one's just rough enough to hurt the resale price.

When a brand-new astronomical telescope is first aimed at the night sky they call the image saved from it "first light". I guess that made this "First Watts" today. With any luck the guy who says he wants it will have the money when it's buttoned up to find a new home.

73
 

dxChat
Help Users
  • No one is chatting at the moment.
  • dxBot:
    Tucker442 has left the room.
  • @ BJ radionut:
    LIVE 10:00 AM EST :cool:
  • @ Charles Edwards:
    I'm looking for factory settings 1 through 59 for a AT 5555 n2 or AT500 M2 I only wrote down half the values feel like a idiot I need help will be appreciated