
I bought this radio many years before I even had my ham ticket. Spent a lot of time with a friend Doug Beckwith. He is the one that got me started in ham radio. I spent every field day with him doing satellite communications. At the time he ran a KLM Multi 2700 rig for the Russian birds. He also used a Kenwood TS-520 as an oscillator using a Ten Tec 2510 transverter for other Oscar stuff.
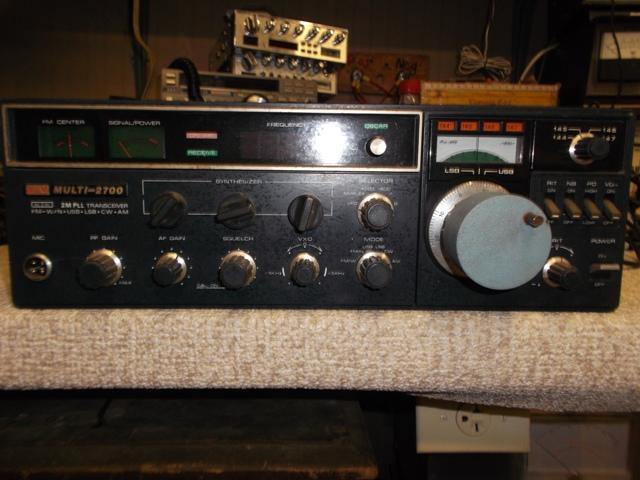
This is the origianl KLM I bought from Doug. This rig has ben packed away for a long time. And somewhere amoung all this stuff here is the original blown board...but where?
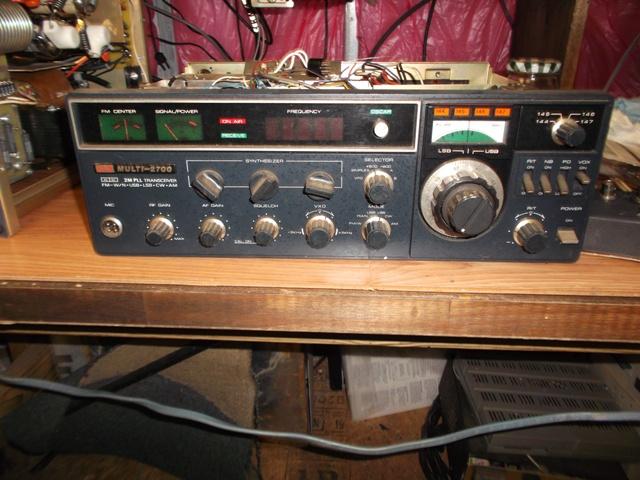
This is the donor I bought out of Texas.
This was a fun little rig to use on the old sputnik birds. We had a blast. Later own Doug bought a Yaesu FT-726 and sold me the KLM. I spent many evenings catching the birds going over and wanting my ham ticket even more. One August day in the late 80’s I had left to go eat and a storm came up. Lightning hit the tower and took out about everything in the old airstream camper I had my shop and radios set up in.
The power supply board had a hole blown in it about the size of a 50 cent piece. I was very sad.
Forward 6 years later I talked with a tech in Texas that sold me another non-working KLM 2700 rig for 75 bucks. He even had all the manuals with it. I bought the unit and used the rig as a donor to repair mine. Later the phase lock loop circuit went out and just never got around to fixing it.
Now today with a bit more time on my hands I find myself repairing old rigs. But now I want to restore both of the KLM units. The original one has a weighted knob that was custom made by Doug. He also added a preamp circuit to the back of the unit. The donor rig came with the optional built in preamp but is now missing the power supply board.
Only thing to do now is go old school and make one from scratch….
First thing was to remove power supply board from the rig. Then make a copy of it. Dang, scanner is down. No problem.
What I would normally do is scan the back side of the board and save image, open in paint and make necessary adjustments to the image, then print it out on the laser jet.

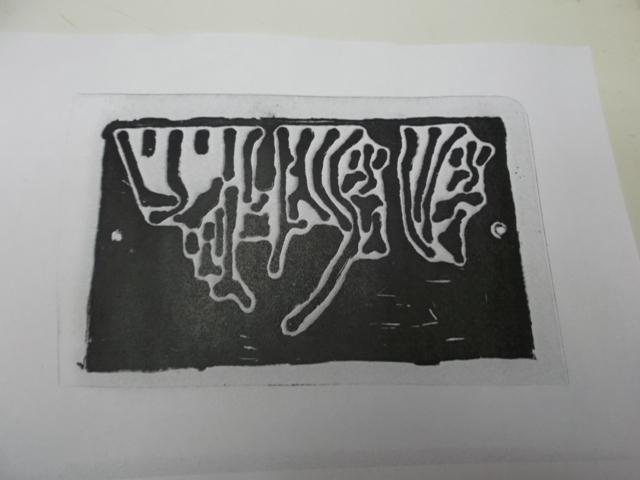
Really going old school. Took a clear piece of transparency, tape to back of board. Spent the next few hours tracing out the circuit onto the clear transfer with a fine permanent sharpie.
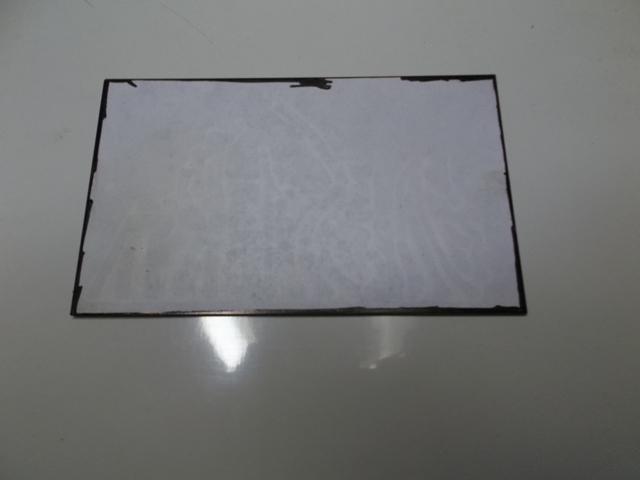
Took it to work the next day and put the transfer in the copier upside down and ran several copies while making adjustments. Took copies home and ironed them onto a blank circuit board. The first couple of tries fail.
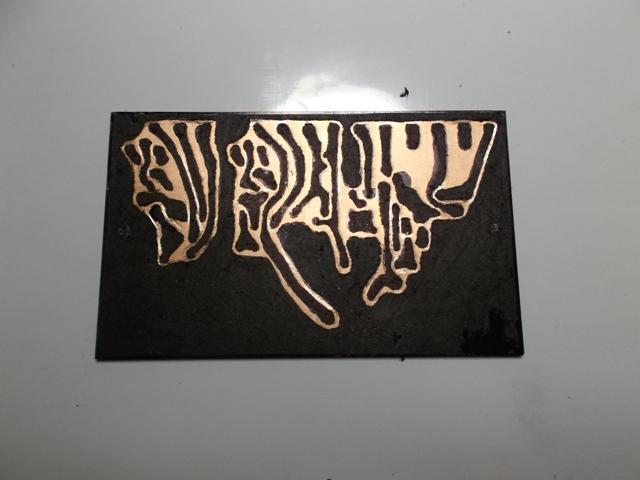
Why? I was thinking. The copy machine at work is a very expensive piece of equipment. And the thermal bonding of toner to paper is quite good. So good it does not want to come off when ironed onto the board. Next day at work I reprinted the image, loaded that back in the copier and reprint over top of it. This was dome 5 times. Now I was able to transfer the image to the board. After the board cooled I ran it under cool water until all paper was removed. Using a marker I touched up any trace that did not look right.
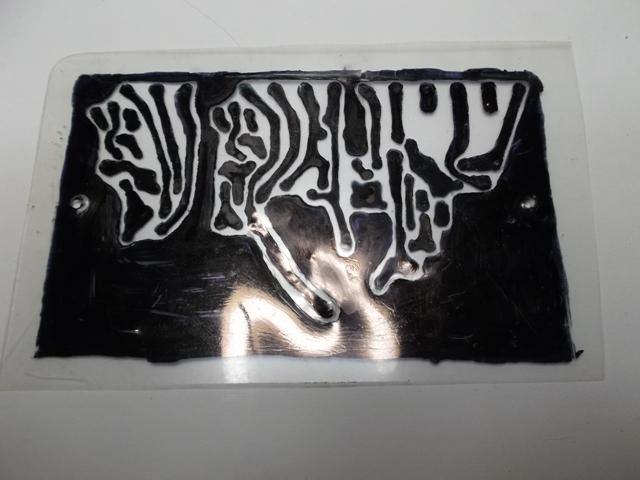
The paper transfer.
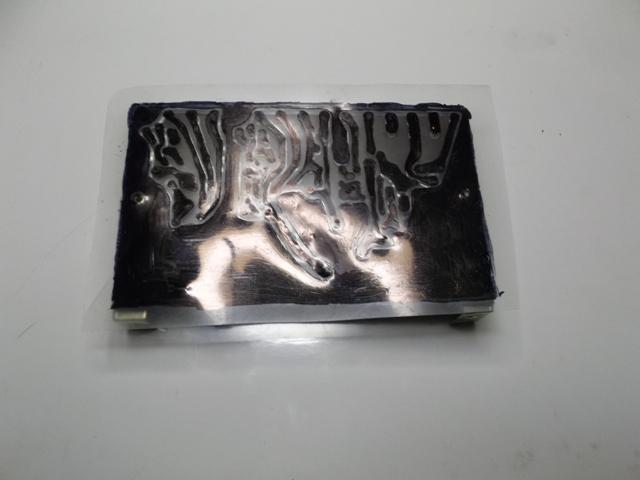
Transfer ironed on
Next into the soak bath to remove paper, touch up
Doing this the old school way brought back many memories. Some I rather had forgetting about.
But the reward is well worth it.
Turned out pretty good for old school.
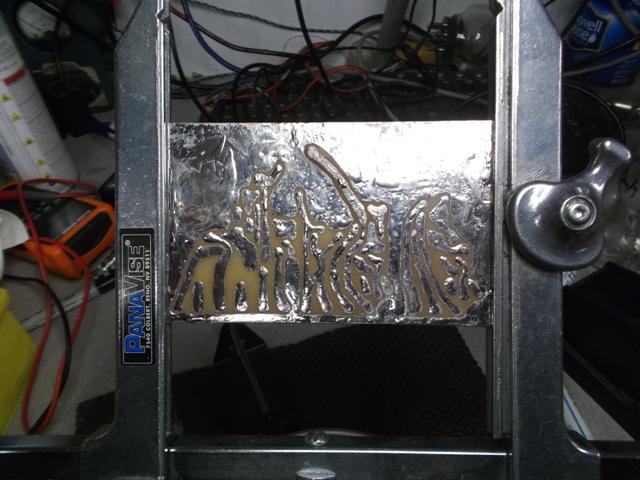
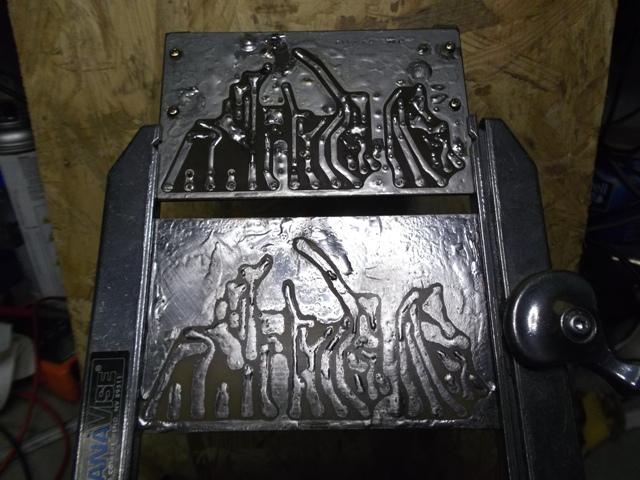
Board is now etched, covered in flux and dipped in molten solder.
This will give it more of that old 70's look.
Will clean the board up next then drill all the holes and start mounting components.
So, here is the board all cleaned and flux removed. The top is the original donor radio board.
Hope a can find some bits tomorrow. Have a few more places to check then I can get this thing populated with parts and reinstalled.
Component side of old and new.

Now to get all the holes drilled out, components installed, Then test board and look for ripple issues ect.
This is the origianl KLM I bought from Doug. This rig has ben packed away for a long time. And somewhere amoung all this stuff here is the original blown board...but where?
This is the donor I bought out of Texas.
This was a fun little rig to use on the old sputnik birds. We had a blast. Later own Doug bought a Yaesu FT-726 and sold me the KLM. I spent many evenings catching the birds going over and wanting my ham ticket even more. One August day in the late 80’s I had left to go eat and a storm came up. Lightning hit the tower and took out about everything in the old airstream camper I had my shop and radios set up in.
The power supply board had a hole blown in it about the size of a 50 cent piece. I was very sad.
Forward 6 years later I talked with a tech in Texas that sold me another non-working KLM 2700 rig for 75 bucks. He even had all the manuals with it. I bought the unit and used the rig as a donor to repair mine. Later the phase lock loop circuit went out and just never got around to fixing it.
Now today with a bit more time on my hands I find myself repairing old rigs. But now I want to restore both of the KLM units. The original one has a weighted knob that was custom made by Doug. He also added a preamp circuit to the back of the unit. The donor rig came with the optional built in preamp but is now missing the power supply board.
Only thing to do now is go old school and make one from scratch….
First thing was to remove power supply board from the rig. Then make a copy of it. Dang, scanner is down. No problem.
What I would normally do is scan the back side of the board and save image, open in paint and make necessary adjustments to the image, then print it out on the laser jet.
Really going old school. Took a clear piece of transparency, tape to back of board. Spent the next few hours tracing out the circuit onto the clear transfer with a fine permanent sharpie.
Took it to work the next day and put the transfer in the copier upside down and ran several copies while making adjustments. Took copies home and ironed them onto a blank circuit board. The first couple of tries fail.
Why? I was thinking. The copy machine at work is a very expensive piece of equipment. And the thermal bonding of toner to paper is quite good. So good it does not want to come off when ironed onto the board. Next day at work I reprinted the image, loaded that back in the copier and reprint over top of it. This was dome 5 times. Now I was able to transfer the image to the board. After the board cooled I ran it under cool water until all paper was removed. Using a marker I touched up any trace that did not look right.
The paper transfer.
Transfer ironed on
Next into the soak bath to remove paper, touch up
Doing this the old school way brought back many memories. Some I rather had forgetting about.
But the reward is well worth it.
Turned out pretty good for old school.
Board is now etched, covered in flux and dipped in molten solder.
This will give it more of that old 70's look.
Will clean the board up next then drill all the holes and start mounting components.
So, here is the board all cleaned and flux removed. The top is the original donor radio board.
Hope a can find some bits tomorrow. Have a few more places to check then I can get this thing populated with parts and reinstalled.
Component side of old and new.
Now to get all the holes drilled out, components installed, Then test board and look for ripple issues ect.


")