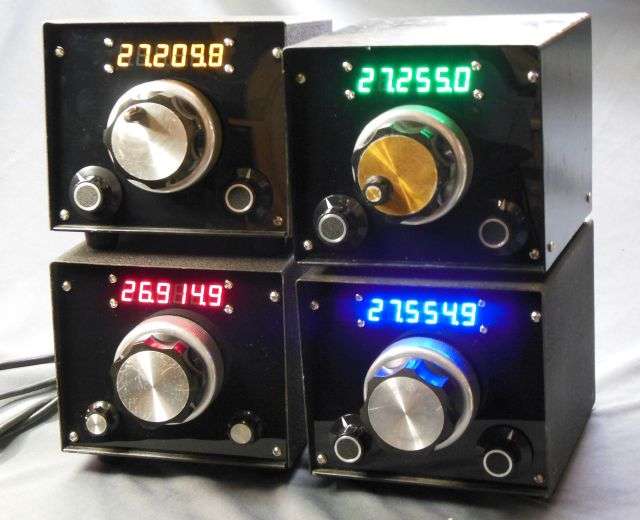
A question I get asked a lot is "How much for you to modify my Siltronix VFO?"
I reply that we don't do it that way.
The reason?
Simple.
Risk.
A 45 year-old VFO is like a box of chocolates. You never know what you're going to get.
This one was from a batch I bought at the Dayton Hamvention. Most of them were perfectly rebuildable. Didn't think I could very well sell this one. How reliable it would be to "modify" and send back to a customer? Doesn't matter.
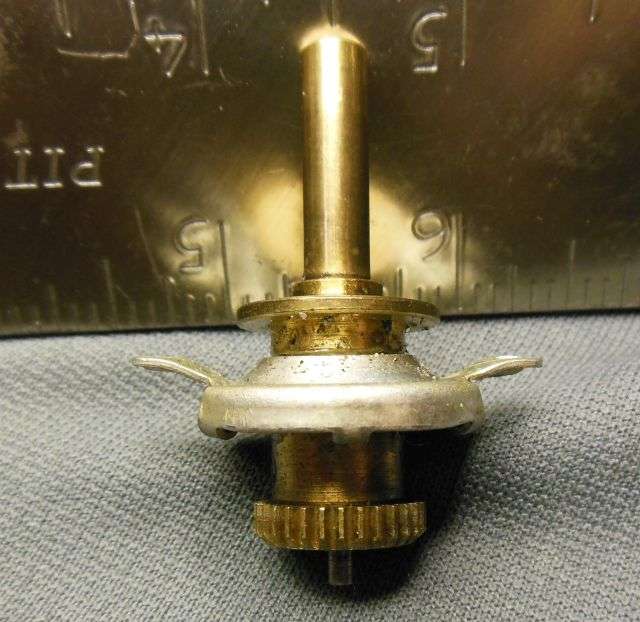
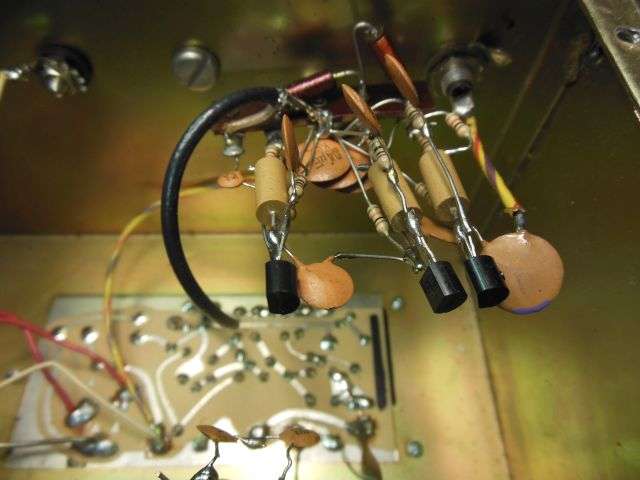
This one got dropped onto its face. The big tuning knob took the impact, and this reduction gear is the one just behind the big knob. The mounting ear on each side has been pushed back, and the reduction mechanism was totaly wockerjawed. Lotsa side play after this happened. Good thing I had a good reduction-gear mech from the rusty unit to fix this one.
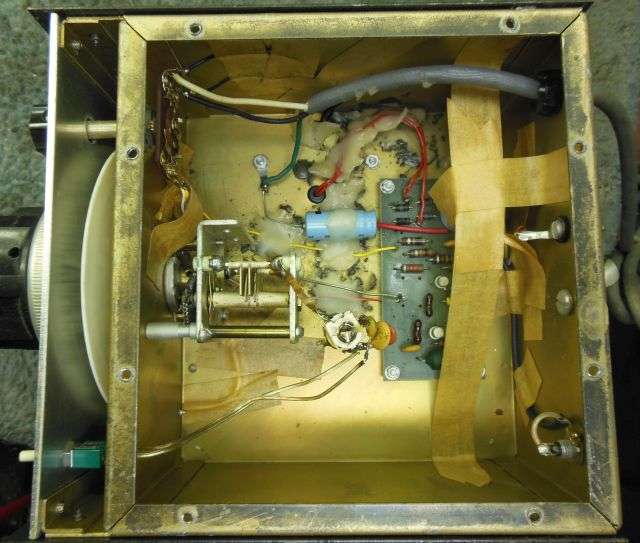
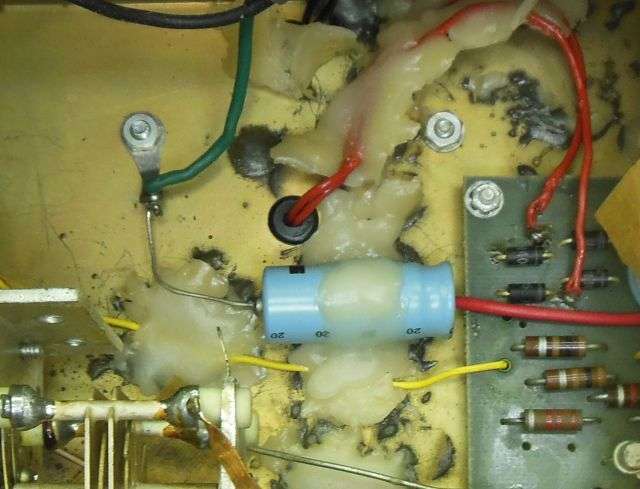
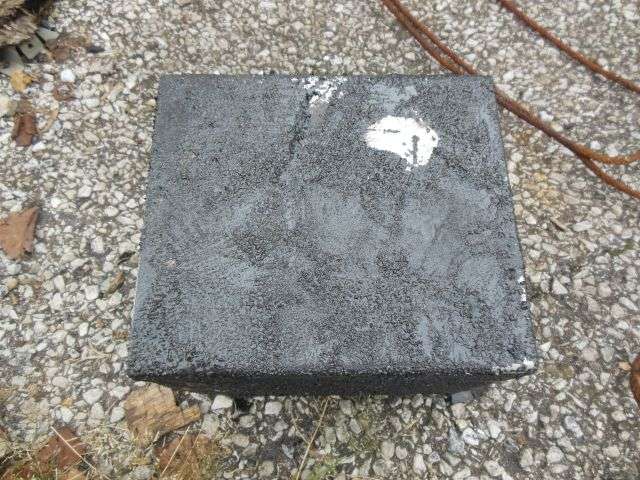
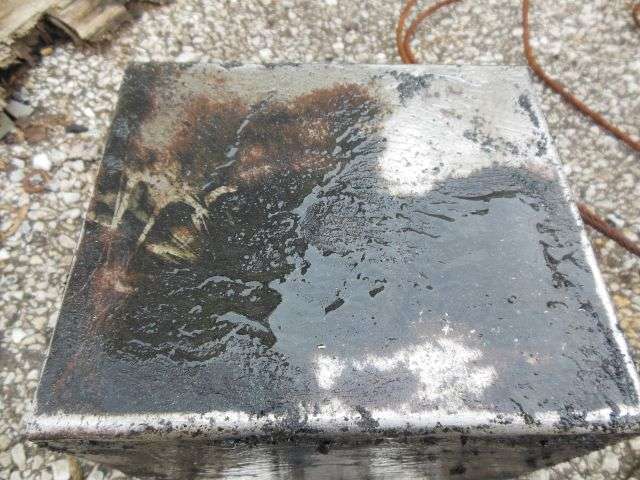
The Siltronix VFOs were famous for drift problems. I suspect that's what this guy was trying to improve with the masking tape, hot glue and hot wax dripped all over the inside.
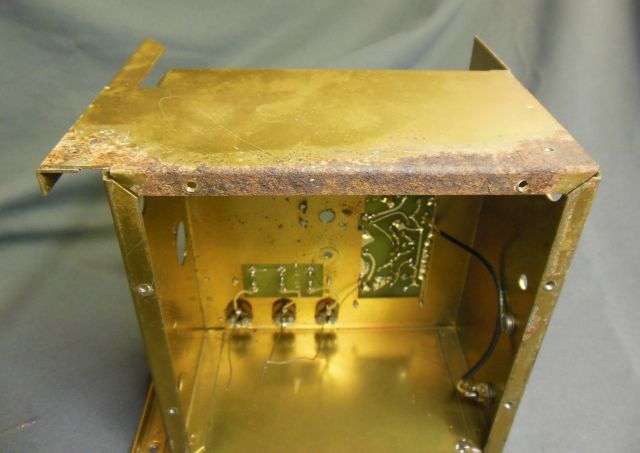
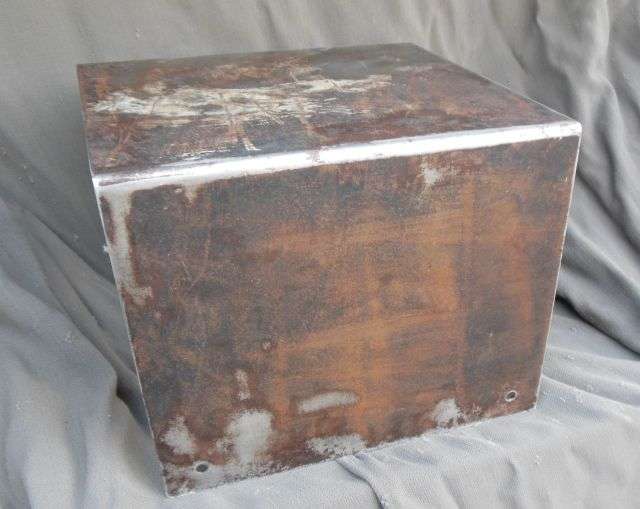
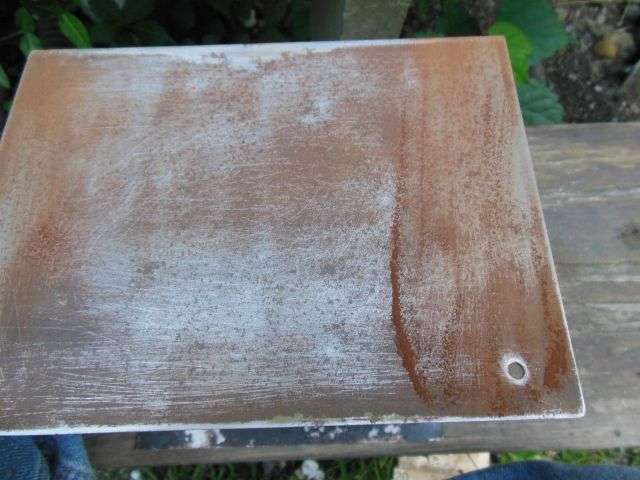
I suspect that the white wax is in fact proper candle wax, and not just canning paraffin from the grocery store. The black pit marks and corrosion visible suggest to me that the wax has a high content of stearic acid. It serves to make the candle more rigid. Not so good for plated steel, though.
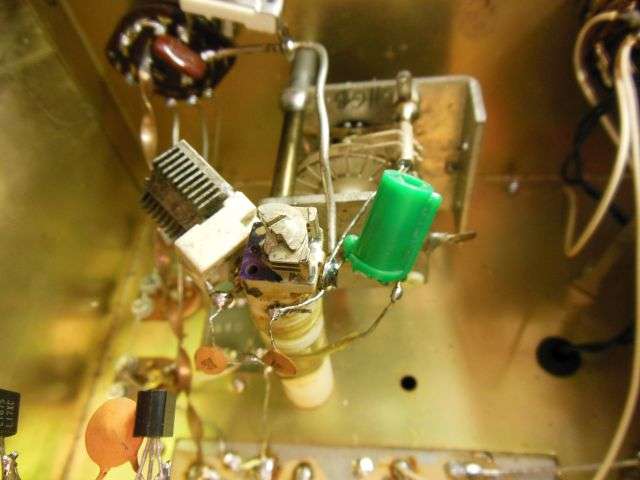
Changing the frequency coverage is a popular modification. These VFOs were built to match the many different crystal frequencies used in 23-channel radios. Murphy says that if you don't know which "number" version is right for your radio, you will end up buying the wrong one. This mod is pretty extravagant. Can't imagine it was terribly stable.
The output level from the Siltronix VFOs is famously anemic. And the band selector on the model 90 will cause the output level from the "HF" band to drop to half or less what it delivers from the "CB" band. Output-buffer circuits are popular, too.
This one just didn't work.
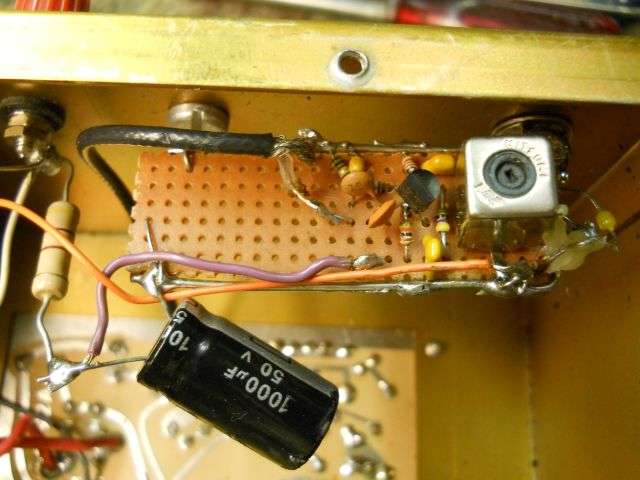
I'm sure this guy's intentions were good, but we all know which road is paved with those.
This buffer should have never worked, but qualifies as abstract art, I think.
In all fairness, only some of these that we buy are too screwed up to modify and "digitize" and work like they should afterwards. A few of this batch were clean enough to eat off of inside.
But only a few.
About that "risk" thing. Here's the worst case:
Someone ships me a VFO and it is damaged before it's packed, or gets beat up in shipping, he paid for about ten pounds of freight (postage) to send it. I'll charge for the time to unpack, diagnose, estimate and pack it back up when the customer hears the price we quote for the job (and says "no thanks"). Add to that the shipping cost for the return trip, and we're darn close to 80 or 90 bucks, unless he ships it from somewhere VERY close by.
That just seems like a lot of money for bad news alone.
Don't need the grief, so we just invite them to buy one, and consider his used VFO for trade-in value.
Much less risk of an unhappy customer. And that's the risk I work hardest to avoid.
73
I reply that we don't do it that way.
The reason?
Simple.
Risk.
A 45 year-old VFO is like a box of chocolates. You never know what you're going to get.
This one was from a batch I bought at the Dayton Hamvention. Most of them were perfectly rebuildable. Didn't think I could very well sell this one. How reliable it would be to "modify" and send back to a customer? Doesn't matter.
This one got dropped onto its face. The big tuning knob took the impact, and this reduction gear is the one just behind the big knob. The mounting ear on each side has been pushed back, and the reduction mechanism was totaly wockerjawed. Lotsa side play after this happened. Good thing I had a good reduction-gear mech from the rusty unit to fix this one.
The Siltronix VFOs were famous for drift problems. I suspect that's what this guy was trying to improve with the masking tape, hot glue and hot wax dripped all over the inside.
I suspect that the white wax is in fact proper candle wax, and not just canning paraffin from the grocery store. The black pit marks and corrosion visible suggest to me that the wax has a high content of stearic acid. It serves to make the candle more rigid. Not so good for plated steel, though.
Changing the frequency coverage is a popular modification. These VFOs were built to match the many different crystal frequencies used in 23-channel radios. Murphy says that if you don't know which "number" version is right for your radio, you will end up buying the wrong one. This mod is pretty extravagant. Can't imagine it was terribly stable.
The output level from the Siltronix VFOs is famously anemic. And the band selector on the model 90 will cause the output level from the "HF" band to drop to half or less what it delivers from the "CB" band. Output-buffer circuits are popular, too.
This one just didn't work.
I'm sure this guy's intentions were good, but we all know which road is paved with those.
This buffer should have never worked, but qualifies as abstract art, I think.
In all fairness, only some of these that we buy are too screwed up to modify and "digitize" and work like they should afterwards. A few of this batch were clean enough to eat off of inside.
But only a few.
About that "risk" thing. Here's the worst case:
Someone ships me a VFO and it is damaged before it's packed, or gets beat up in shipping, he paid for about ten pounds of freight (postage) to send it. I'll charge for the time to unpack, diagnose, estimate and pack it back up when the customer hears the price we quote for the job (and says "no thanks"). Add to that the shipping cost for the return trip, and we're darn close to 80 or 90 bucks, unless he ships it from somewhere VERY close by.
That just seems like a lot of money for bad news alone.
Don't need the grief, so we just invite them to buy one, and consider his used VFO for trade-in value.
Much less risk of an unhappy customer. And that's the risk I work hardest to avoid.
73

")