Final installment of the 300A refurb.
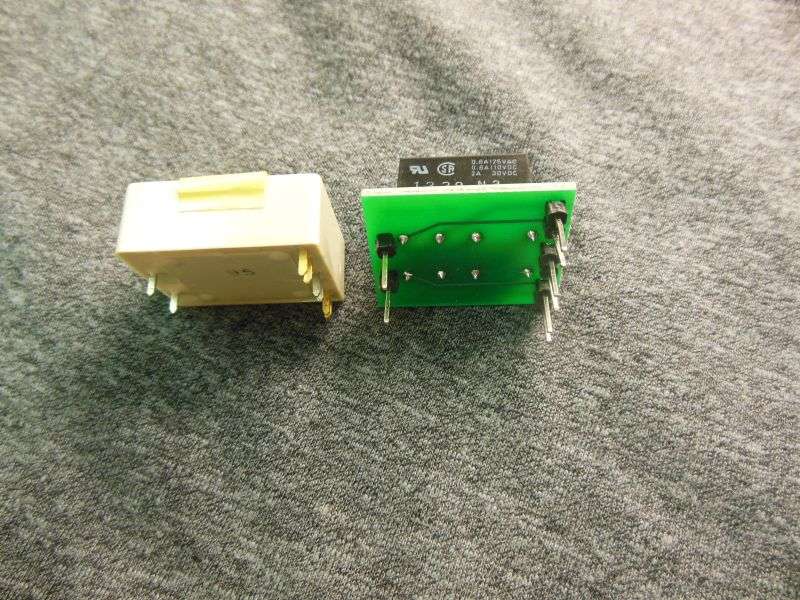
I finished the driver board repairs, wound the suppressor coils around a 47 ohm resistor(and used the ferrite beads) and installed the driver tube socket board in the chassis. Per a couple recommendations I added an auxiliary ground to the circuit board.
Below is the installed driver board installed in the chassis. In the upper right corner of the board you can see the braided ground strap soldered to the ground plane of the board.

Next was removal of the final tube socket board. This board also had cold solder joints around the tube socket pins. I re-soldered all of the pins and replaced the 22ga jumpers between the grid bias pins of the tubes (green 16ga wire on the tube socket side of the board) and replaced the filament jumpers for the series pairs (green 16ga wire on the solder side of the board).
The added ground braid is soldered to the upper right corner of the board in the photo below.

The picture below is after installation of the final tube socket board to the chassis. The area circled in red is where the ground braid attaches to the chassis. I added an external toothed washer under the braid and a flat washer on top of the braid to insure a good grounding point.

Below is the top of the driver tube board after installation. Again, the extra ground is circled in red.

Below is from the underside of the chassis with all of the boards installed and all of the wiring secured.

All that is left is install the tubes and test. Not sure of what the numbers on the tubes (other than type) mean but all 6 are the same date code(?) or lot #(?) or ???

So after tuning in the input SWR on the low and high settings (1.2:1 on both) behind the Cobra 139XLR, I was seeing 650 watts Pep on SSB on high and 175 watts Pep on SSB on low into a dummy load. Behind the TS440 with 80 watts drive, I was seeing 650 watts Pep on SSB on low into the dummy load.
Running the amp on the air, all reports were good. No more fuzzy audio when driven with the Kenwood or the 139XLR.
I believe this to be a successful repair and a good learning experience. Perhaps with this “refurbishment” this Palomar will last another 40+ years. Now at this point I believe I am into this amplifier for just over $150.00. Not bad for 1/2 a kilowatt!
73’s
David
I finished the driver board repairs, wound the suppressor coils around a 47 ohm resistor(and used the ferrite beads) and installed the driver tube socket board in the chassis. Per a couple recommendations I added an auxiliary ground to the circuit board.
Below is the installed driver board installed in the chassis. In the upper right corner of the board you can see the braided ground strap soldered to the ground plane of the board.
Next was removal of the final tube socket board. This board also had cold solder joints around the tube socket pins. I re-soldered all of the pins and replaced the 22ga jumpers between the grid bias pins of the tubes (green 16ga wire on the tube socket side of the board) and replaced the filament jumpers for the series pairs (green 16ga wire on the solder side of the board).
The added ground braid is soldered to the upper right corner of the board in the photo below.
The picture below is after installation of the final tube socket board to the chassis. The area circled in red is where the ground braid attaches to the chassis. I added an external toothed washer under the braid and a flat washer on top of the braid to insure a good grounding point.
Below is the top of the driver tube board after installation. Again, the extra ground is circled in red.
Below is from the underside of the chassis with all of the boards installed and all of the wiring secured.
All that is left is install the tubes and test. Not sure of what the numbers on the tubes (other than type) mean but all 6 are the same date code(?) or lot #(?) or ???
So after tuning in the input SWR on the low and high settings (1.2:1 on both) behind the Cobra 139XLR, I was seeing 650 watts Pep on SSB on high and 175 watts Pep on SSB on low into a dummy load. Behind the TS440 with 80 watts drive, I was seeing 650 watts Pep on SSB on low into the dummy load.
Running the amp on the air, all reports were good. No more fuzzy audio when driven with the Kenwood or the 139XLR.
I believe this to be a successful repair and a good learning experience. Perhaps with this “refurbishment” this Palomar will last another 40+ years. Now at this point I believe I am into this amplifier for just over $150.00. Not bad for 1/2 a kilowatt!
73’s
David